
Today I am sharing a decorated mdf plaque that was made for one of my lovely crafting colleagues as part of a craft swap but it just took a little longer to make and send on to her as part of our craft swap.

It is also the start of a new blog challenge for us at Let's Craft & Create and we have a flower theme this month. As with all our themes, there is an ATG option also. My project this month has a lot of flowers, which is one of my favourite things to make.
This project started with a play with some flower stamps that I hadn't' t used for a long time. It's great rediscovering stamps that you haven't used in a while particularly love the raggedy shape of these petals as they are so different and I like different.

I heat embossed the Exquisitely Exotic flower stamps by the Dreamees onto 120gms white Navigator paper with silver Wow embossing powder and then added a little colour with the Dreamees wonders of watercolour pencils.

To blend the colours I mixed a drop of water with a few drops of the silver mist dinky inkie sparkle reinker in an ink pallet. I prefer to add my water this way than use it in my water brush.

The part that always takes time is, of course, the cutting but it worth it to achieve the look you want. In the middle, I added 4mm grey/silver Dreamee pearls.

After the flowers were made I then made a decision on how I wanted to display them and on which mdf (funny because it's normally the other way around when you plan a project) I was going to use. I decided on the Pretty Pets set from my Dreamees mdf stash and covered it with one of the new design paper pads, Blushing, from the new Sparkle inks collection.

Instead of adding leaves, I thought the green pollen stamens would make a good alternative. These were originally white pollen stamens that I had inked with a juicy pickle Dreamees 2nd gen sparkle dinky inkie pad. I didn't have a stamp with the sentiment that I wanted, so I just typed one that I liked onto cardstock.

I did the same with the following hanging plaques and on the bottom one, using her name, I added some definitions for each letter.

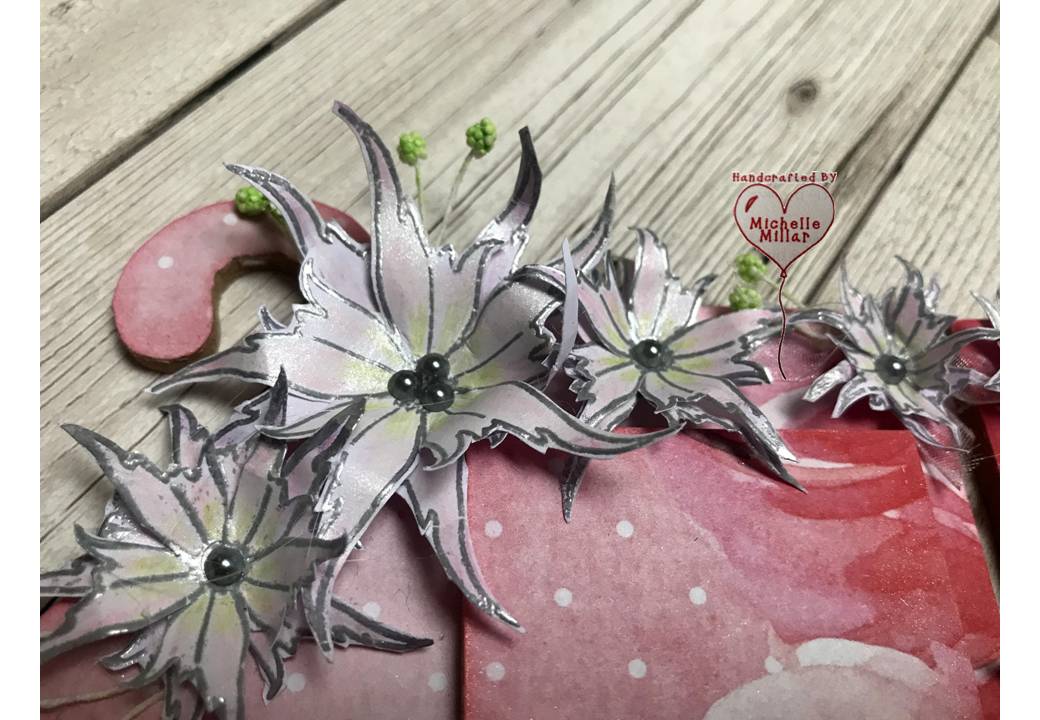
Considering this paper isn't any specific brand, I think the shimmer from these dye-based inks are brilliant (not always easy to capture in a photo).

A decorated piece of Mdf is also a great alternative to sending a birthday or greeting card and hopefully longer lasting too.
Have a go at something new, whether it's something that you have always wanted to do or something that you created that was inspired by someone.
Our design team have also been busy this month with projects of their own and there is always lots of fabulous inspiration shared by the crafters on our blog too. If you are interested, there is a prize for the winning entry, following our theme and a badge for your blog for the top 3 runners up. Just click on the link below which will take you to our blog challenge.

Happy Crafting


