blog backbdrop

Wednesday 29 November 2017

MDF Christmas Personalised Baubles

 I am now able to post two of the personalised decorated mdf baubles I made for a Christmas decoration as a gift.


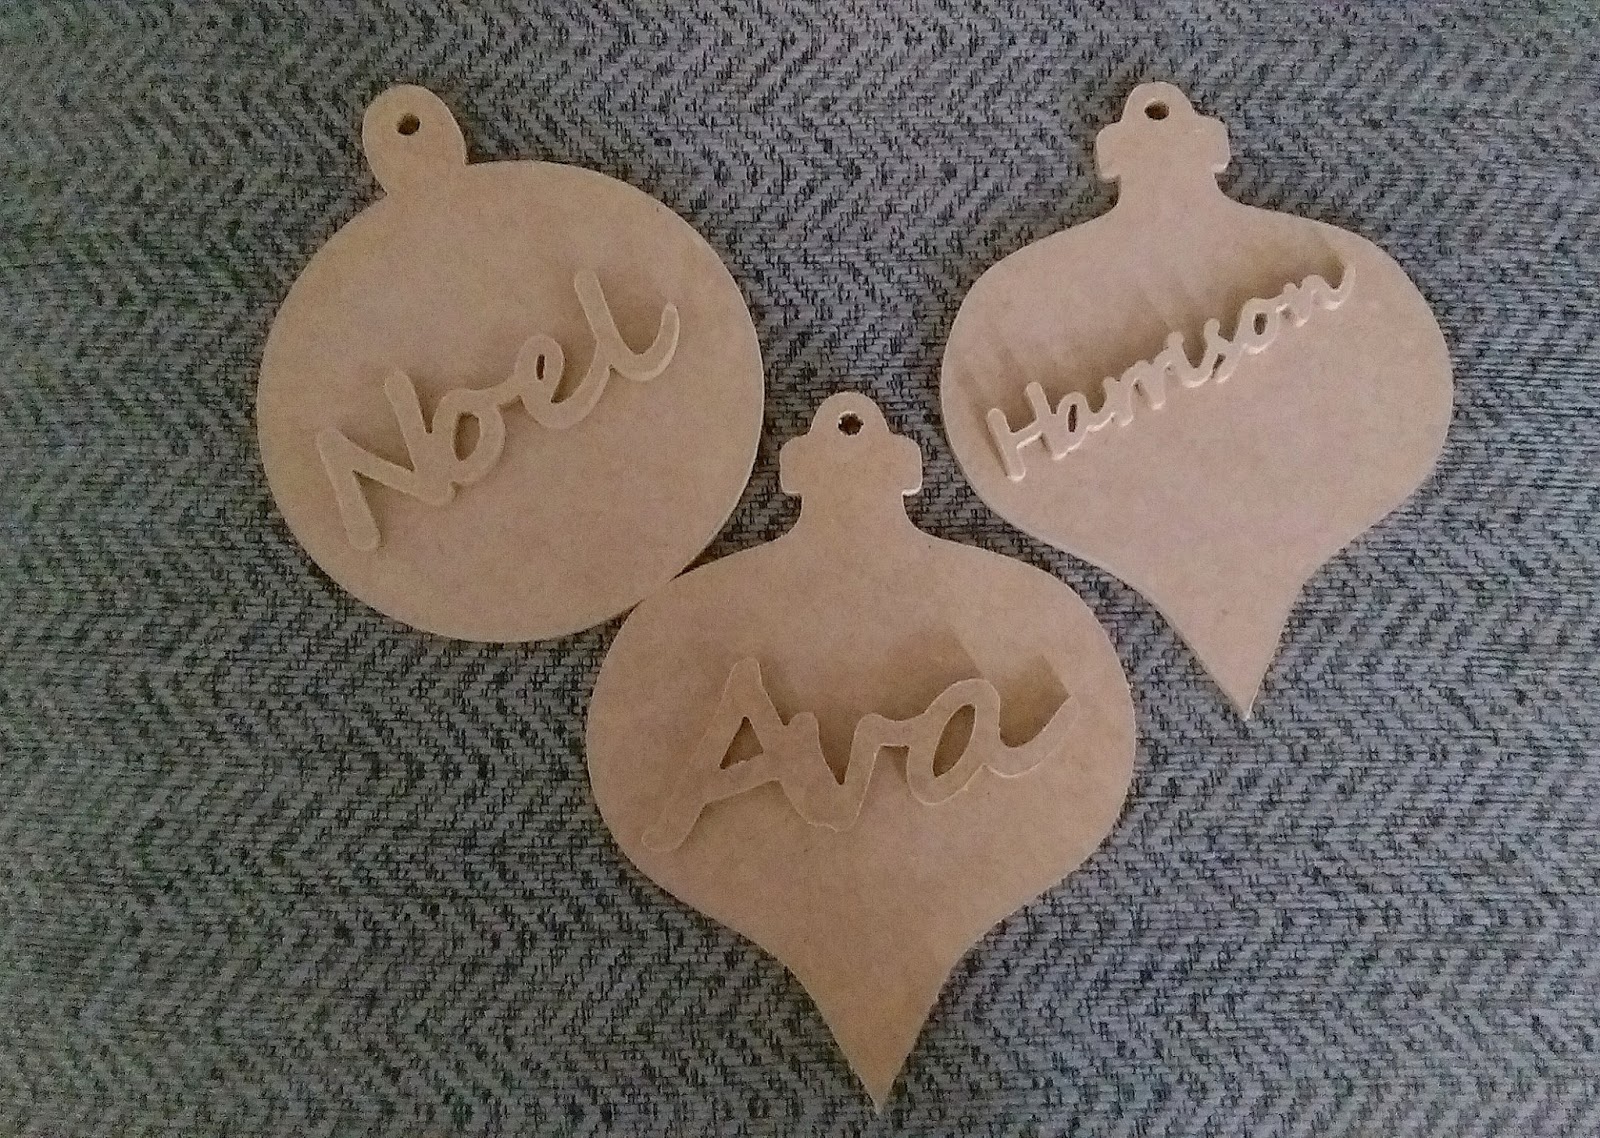
These are Dreamees products that I purchased from Create & Craft and they come as a set of 3 with different styles of personalisation available.


First I painted the baubles with chalk paint as I love the texture on mdf.. I did give the mdf a coat of clear gesso before painting them. This is not always necessary depending on the brand of chalk paint you use but I like to do this anyway to ensure that I have a good base for my paint to stick to.

In this case, I used  Rust-oleum chalky finish paint in duck egg (purchased from Homebase)  and Cosmic Shimmer matt chalky finish paint in shy violet.  For the mdf names,  I used an emulsion match pot in chalky white finish paint. Match pots are ideal for paint projects and quite often you can find them on offer in hardware stores when a range of colours are discontinued.


I also painted some wooden snowflake embellishments in white and whilst wet, dusted them with crystal glitter, shaking off the access and leaving to dry. I also painted a balsa wood fairy and glittered her wings


I used cosmic shimmer glue to stick the wooden embellishments on. I wanted to keep these plaques fairly simple.


Along of the edge of the bauble, I used some pearl strings to give the bauble a softer prettier edge as the bauble is to be hung up.


On the reverse of the bauble, I decided to use the large gingerbread lady charm from The Hobby House gingerbread collection. I attached the charm with pinflair gel glue on the back and a little hot glue for the tiny bell and thread the charm hangs from. Finished with a little Christmas verse.


I followed the same process for the 2nd bauble, adding a little gingerbread embellishment to the tree. I glittered the branches of the tree to give the illusion of snow.


I added a crystal beading to the edge of the bauble, to give it a little sparkle.


Then a gingerbread man charm by Hobby House from the same Gingerbread collection.
I also added a bow of fairy lights, finishing it off with the same Christmas verse.

I made some boxes to for these baubles, wrapping them in some tissue paper and tying the box with some Christmas ribbon with a large jingle bell on it.. 

The large bells were from Poundland and looked really effective as part of the gift wrap.

Painting your mdf is just one way you can decorate the base. When I have finished the 3rd bauble, which will be decorated differently, I shall post it on here also but until then


Happy Crafting


Dreamee Catcher Bookmarks

For one of my craft group, we do a card swap and I always make a coordinating bookmark to go with the card I send.  Here are a selection of bookmarks that I have made so far:-
Using Stamping Ups bookmark punch (which I have to say is a lovely heavy weight punch producing bookmarks 2 inches wide ) I cut out a coordinating piece of card to offset behind the bookmark
I used the flower stamp from  The Dreamees Elegant Dress stamp set and coloured them in with the Dreamees Summer Dinky Inkies collection.


On this bookmark I used the flowers stamps from The Dreamees Sensational Flowers stamp. I coordinated the colours with the card using the Summer Dinky Inkies collection and used the same backing papers on the bookmark.

On this bookmark I used the rose stamp from The Dreamees  Friendship stamp collection and teamed it with coordinating  Deamees backing papers.

I used the Gorgeous Giraffe stamps and backing paper from the Gorgeous Giraffe cd. I also used the Autumn/Winter Dinky Inkies.

For this bookmark I used The Dreamees Cute Cats cat and paw print stamp from the set. Again I have used The Dreamees Autumn/Winter Dinky Inkies. I also used a fishbone punch to embellish it.


Decorated bookmarks are also really handy for children's books, library book and school reading books.  For these I used The Dreamees Binky & Bo and Woodland Wonders stamp sets to decorate.
I used some Stickles frosted lace on the bunny and glossy accent on the owl,/acorns, along with some pearl drops and gems to finish them off.


Dinky Inkies Spring Summer


Dinky Inkies Autumn Winter


Dinky  Inkies are water based dye inks which have been formulated to work really well with their blending solution,  You can take the ink straight from ink pad to paper, allowing you to get a good depth of colour.

The blending solution comes with a set of 3 blending brushes.and you only need a few drops in the pen chamber which unscrews for you to drip the solution you need into it for your project.

Squeeze the centre of the chamber gently to release a solution through to the nib and test on a spare piece of card or paper with your chosen ink to ensure you are getting the correction dilution of ink for your project.


http://www.dreamees.org.uk/


Happy Crafting


Dreamees MDF Fairy Doors & Toadstall

The Dreamees Mdf Fairy Door Kit was one of my favourite kits to make up.. It came with enough pieces to make a small fairy door too.  I used the papers from The Dreamees Textures cd and the fairy from their Fantastic Fairies cd. 


This is the larger of the fairy doors

 The little flowers were made using a small flower punch and wired twine for the vine. I used one of the fairy toppers from the Dreamees Fantastic Fairies cd, glittered it and added some wings made with part of one of the Dreamees flower stamps.


For the smaller fairy door,  I used the Fall & Foliage stamp set around the door . I  heat embossed the leaf stamps onto some co-ordinations cardstock with gold super fine metallic Wow embossing powder. I made some little stepping stones out of greyboard and covered them with pebble papers from the cd. I sourced a shaped mdf piece for my fairy door to sit on and added a few little wood embellishments to stack next to the door. The door knocker was made using some wired twine.


When the Dreamees mdf  Toadstool came along, I thought this would make a perfect gift to make.
I used The Dreamees Textures cd for the little door and plinth the toadstool stands on.
For the base and spots, I used some leftover canvas paper I had as I loved the texture on it.


http://www.dreamees.org.uk/


These make a lovely keepsake

Happy Crafting 


Thursday 16 November 2017

Dreamees - Stylish Shoes

The following cards were made with The Dreamees Stylish Shoe stamps set.


On a kraft card blank I used backing papers from The Dreamees Fantastic Fairies cd.  I then heat embossed the Visible Image Torn Fishnets Mesh-ellaneous background stamp with black embossing powder to form a band across the card.

I stamped and heat embossed The Dreamees main shoe image onto red card using The Dreamees black glitter embossing powder.

The little flowers from the stamp set were heat embossed onto pearlescent paper and placed inside the shoe.  I added some black lace behind the topper and finished off with a bow.


http://www.dreamees.org.uk/

As you can see from the stamp set the shoe was originally filled with flowers but I chose the single little flower stamps to get the effect I wanted.


On this card, I went for a colourway and style, stamping and heat embossing the full shoe image with gold superfine embossing powder. I stamped the flowers in the shoe twice as I wanted to decoupage it on the shoe. I used the Tattered Lace rectangle dies and the Dreamees Subtle Sweetness backing papers. For the vintage looking flowers I have used The Dreamees Creative Chrysanthemums stamp set, which has been layered up with a few stamens added in the middle.


Subtle Sweetness paper


One stamp set and two different styles of using it.

Happy Crafting


Sunday 12 November 2017

Dreamees - Autumn Days Flower Stamp Set

I made this Christmas card using the Autumn Days flower stamp set


I have also used an M&C snowflake die on Hunkydory rainbow shimmer mirri card. The sentiment was from Crafters Companion.


The flowers have been heat embossed onto heat resistant vellum using silver glitter embossing powder and then inked on the back using a blue Dreamees Dinky Inky. I have layered up the flowers and added some blue gems. They look rather snowflake like done this way.


http://www.dreamees.org.uk/


Happy Crafting


Saturday 11 November 2017

November Postcard swap

My postcard swap for November. I decided to use a mix of stamps for my 6 x 4 postcard on watercolour card.


The stamps I have used are The Dreamees Binky & Bo, Inkylicious Delicate vines and Reach for the Moon and a free spring garden stamp set from a craft magazine for the grass.


After stamping my bunnies I used my handmade circle stencil (made from acetate using various die cut circles) to ink a moon by using a white Docrafts Artiste pigment ink. As soon as I stippled the ink through the circle using dauber, I added some clear embossing powder so that it would stick to the ink. I know you can't see this on the white card at the moment.  I heat embossed it to create my glossy moon.

I made a mask for my bunny using a some of my Stix 2 masking sheets. I didn't bother for the moon as it was embossed and I wanted a slightly smudgy look around the moon for a bit of shadow.

I used the blue dinky ink from The Dreamees Autumn winter set and inked my card. When dry |I took my bunny mask off and coloured them in using The Dreamees grey inky from their Spring/Summer set. As the watercolour card is slightly textured it also shows a little texture on the bunnies once coloured.

Then I heat embossed the sentiment stamp Reach for the Moon by Inkylicious using black versafine ink and then very quickly covered it with clear embossing powder and embossed it. This is a good technique to avoid stray speckles of embossing powder that you can get from embossing sentiments.

I used the Inkylicious Delicate Vines around the moon and the grass stamp from my free stamp set. Finishing it off with a few stars made with a sparkle gel pen.

As this postcard was going in the post, I was given a very good tip to coat it with a matt varnish to protect it from the weather and getting damaged from handling.

I used some waterproof Mod Podge varnish/glue that I had.


https://www.inkylicious.co.uk/inkylicious-stamps/cat_31.html


http://www.dreamees.org.uk/


I hope you've enjoyed my postcard walk though.

Happy Crafting


Thursday 9 November 2017

Dreamees - Autumn Days Stamp Set

For my Dreamees October card swap I decided to use  a mixture of the Dreamees Autumn Days and the Fall & Foliage stamps sets.


I used kraft card as my card base and used the wood grain background stamp by Stamping up (which you can just about see) onto cream paper.  I then added a fine lace border die in kraft card  and stamped lots of leaves onto various pieces of leaf coloured cardstock from the Tim Holtz Kraft Core mini nostalgic pad collection. After cutting them out I edged them with a little dinky inky brown ink to soften the leaf edges and shaped them a little between my fingers.

The large acorns were stamped onto kraft card using The Dreamees Woodland Wonders stamp set, shaded a little and I added a little glossy accent to the acorn.


I used the Dreamees Autumn Days stamp set to stamp onto hammered card for the topper and then I coloured with The Dreamees dinky inkies again. I tried to give the pumpkins a little shading and a coat of my spectrum noir clear sparkle overlay pen for a little sheen.


http://www.dreamees.org.uk/


Happy Crafting

Dreamees - Gorgeous Giraffes

 Another card made for a Dreamees monthly card swap.


First I used a Leonie Pujol  bubbles embossing folder to on a piece of coordinating cream card  which I was going to use as a topper for my cream base card.  Then I die cut some circles into the card.

Using The Dreamees Gorgeous Giraffes cd, I printed some of the backing paper and giraffe images
Then I stuck some of the giraffes behind the circle panels so that I could pop their heads through.

I used the bee stamps from the Sweet as Honey stamp set, which I cut out and decoupaged onto the card and the flowers were made using The Dreamees Something Stitchy stamps. These were stamped onto paw papers from the Pretty Pets cd.

I used a little glossy accent on the giraffes eyes and cheeks.

http://www.dreamees.org.uk/


Leonie Pujol's  products can be found on the Crafter Companion Website and 
many other crafting outlets.

https://www.crafterscompanion.co.uk/brands/leonie-pujol.html


Happy Crafting


A Side Pop Up Card

A side pop up card made for another Dreamees card swap.


I used the pink and white papers from The Dreamees whimsical wonders paper set, which have been backed onto silver rainbow mirri card  and then the white base card.
The Dreamees Recipe of a Crafter stamp was heat embossed using superfine metallic silver Wow embossing powder  The flowers have been stamped using The Dreamees A Charming Cascade flower stamp  and heat embossed onto pink & white vellum using the same embossing powder.

I have also cut out a few flowers from the backing paper and decoupaged them onto the backing paper on the card.


I made stalks for the flowers using strips of acetate and stuck them to the inside of the pop up section of the card, making sure the card will close with the flowers inside. I also die cut some swirls onto silver rainbow mirri card using one of the Dreamees dies.


http://www.dreamees.org.uk/


Happy Crafting


Dreamees - Elegant Dress Stamp Set

This is one of my card swaps using The Dreamees Elegant Dress Stamp set.


I made a circle easel card using the Tattered Lace pearl circle die set and papers from the something stitchy and whimsical wonders paper sets. The sentiment is from the Stylish Shoes stamp set.


I heat embossed the dress stamp onto Dreamees papers along with the butterflies (on pale pink pearlescent paper), then cut the dress out to make my topper.


http://www.dreamees.org.uk/


Happy Crafting


Dreamees - Recipe of a Crafter Stamp

This easel gatefold card was made for one of my Dreamees card swaps


First I made the easel part of the card  and decorated it using papers from The Dreamees Something Stitchy paper pad and then made the gatefold card to make sure it all fit together. The sentiment easel stopper is from The Dreamees Stylish Shoes stamp set.


On a die cut topper, I heat embossed The Dreamees  Recipe of a Crafter stamp with super fine silver metallic Wow embossing powder.  Onto pearlescent peacock blue paper, I heat embossed the rose stamp from one of the friendship stamp collection of stamps (also doing this onto some green pearlescent paper to get the leaves). The papers and topper were edged with The Dreamees dinky inkies ink.


http://www.dreamees.org.uk/


Happy Crafting.


Easter Cards

I have a few Easter cards that I'm sharing today and I've been using the Signature Series Digital Florist Everything Anemone Cardmak...