blog backbdrop

Wednesday 27 May 2020

Dreamee Flower Hanging Plaque

Today I thought I'd share a hanging plaque that I made for one of my lovely crafty friends who has been through some very testing times lately, putting all the recent world events aside.  I wanted to make something to cheer her up so about three weeks ago I decided to make something for her and as it was  through crafting with Dreamees that brought us together, I decided that was where I would start.


 I had just purchased some Watercolour pencils from the Dreamees website using my membership voucher and although I am not a fan of colouring I do enjoy painting with my inks and have seen the Dreamees ladies demo with these pencils many times and seen how well they blend when mixed with a little water or a little of their clear sparkle reinkers.


First I heat embossed the Dreamees Forget Me Not flower stamps with super fine silver Wow embossing powder on some Hunkydory Colour Me cardstock which was 250gsm. Great cardstock for stamping, super smooth and unfortunately down to my last 2 pieces.


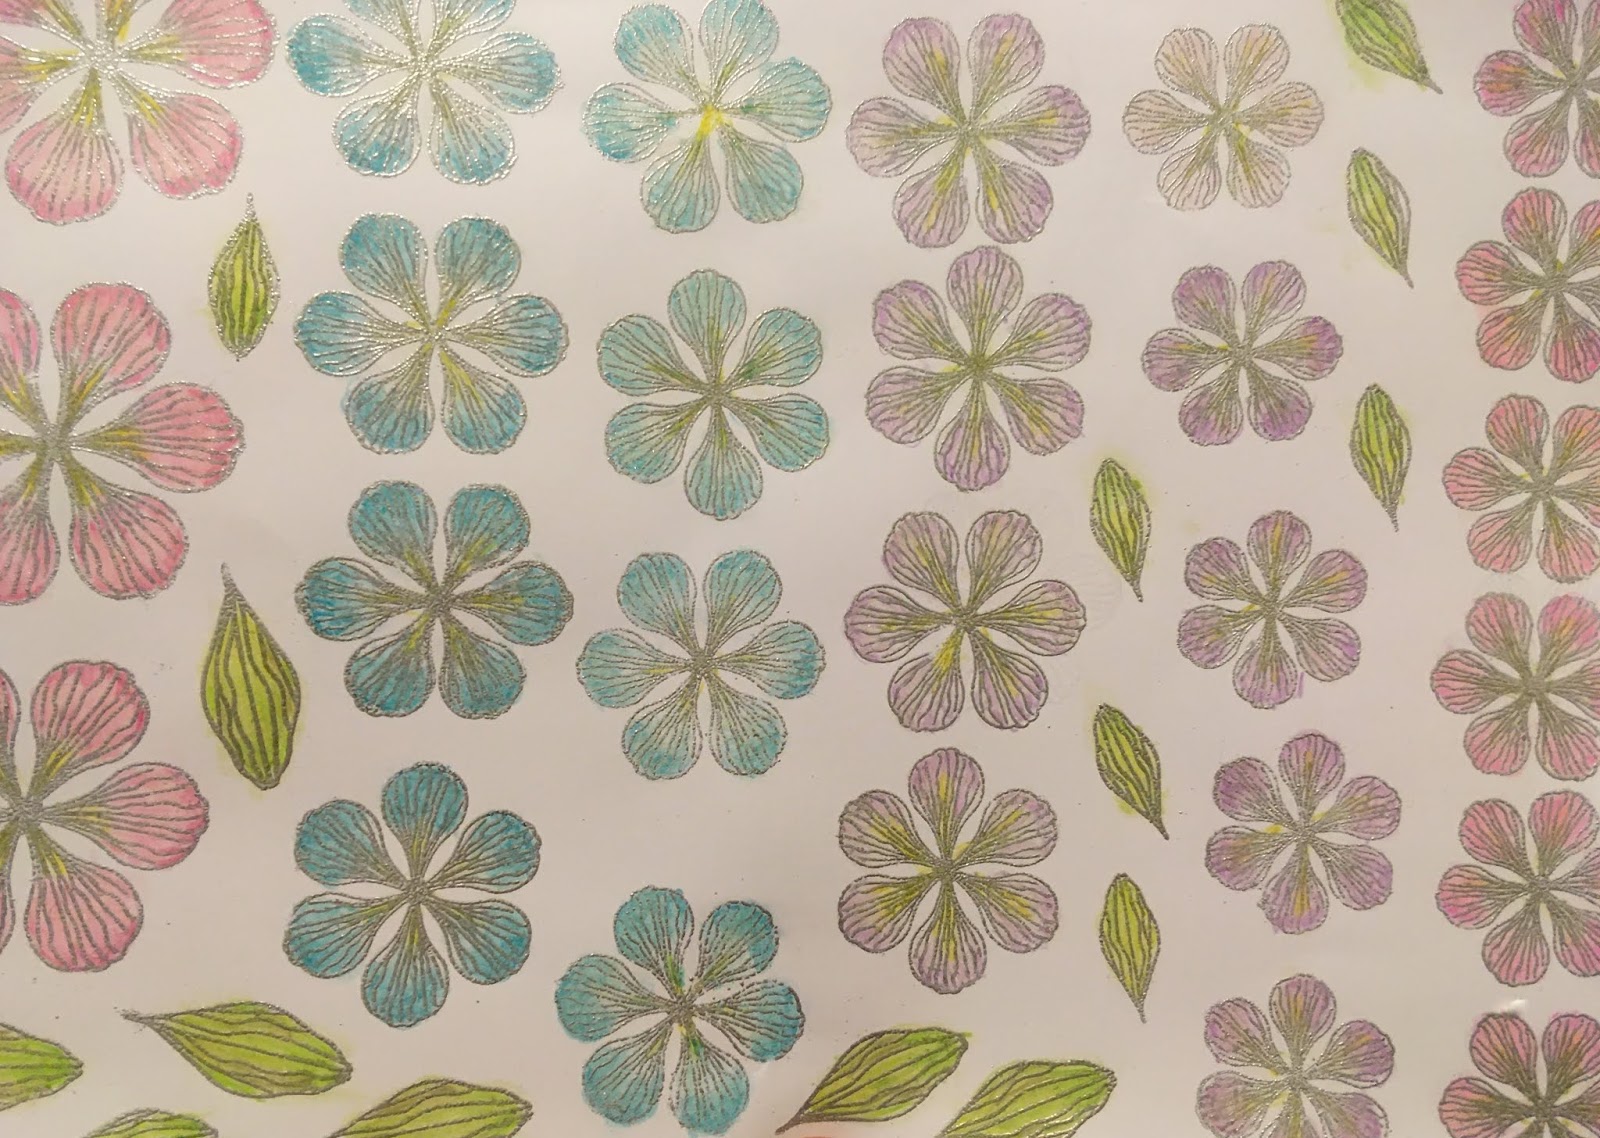
I partly and lightly coloured the flowers before using a fine paintbrush and a few drops of water in a dish to blend the colours. This was my first attempt at water colouring. Room for improvement but I was really happy with the result. These pencils have lots of pigment which made it easier to blend the colour for a more toned look.


After cutting these out, I gently curled the petals my ball tool to add a little shape.  I find a quilling tool really handy for curling the petals and leaves sometimes when you want to give them a more natural shape and add a bit more dimension. 


I used a little of the Dreamees Sparkle Silver Mist dinky inky reinker with a few drops of water and painted the tips of the flowers and leaves to add that simmer, morning dew to them.
Dreamee pearls in the centre of my flowers 


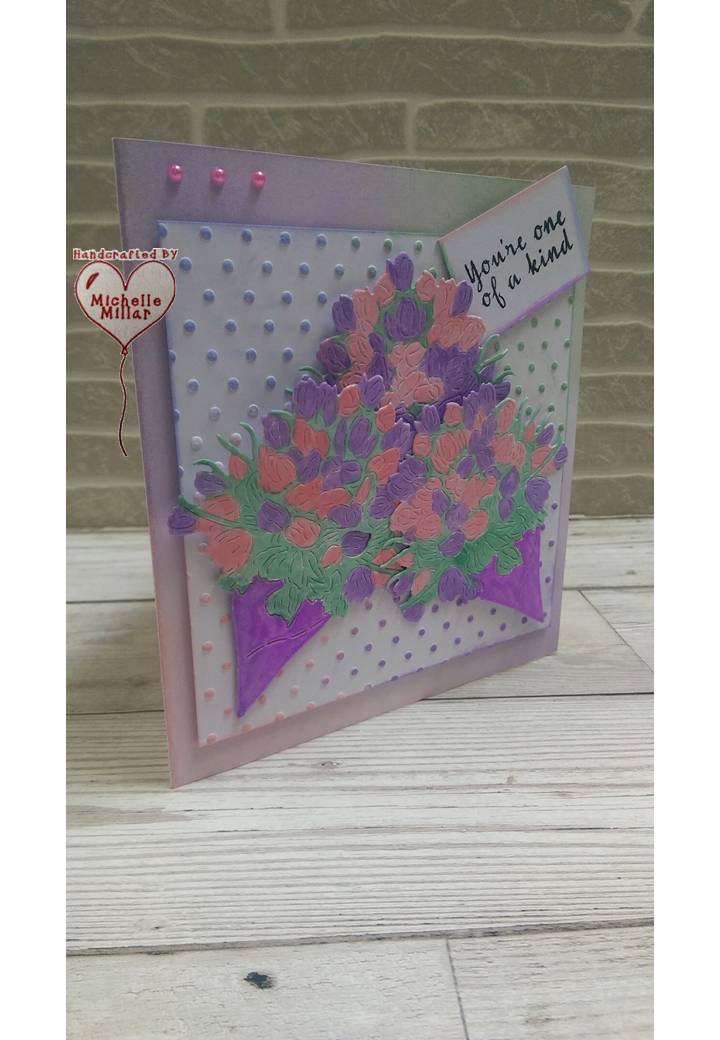
In the Dreamees First Issue of their Live to Craft Love to Craft magazine, there is a selection of lilac toned papers, as in  the luxurious lilac pad on their website. I have used one of these papers to cover a deckle edged heart Dreamee mdf piece from a collection I had and the decorative topper die by Sara Davies own collection from Crafters Companion.

I had a think about the sentiment for the plaque and thought this one would be an inspirational one for someone who always manages to find the strength inside to pick herself up and carry on no matter what life throws at her.
This stamp Reach for the Moon is by Inkylicious. I made the little heart out of kraft card and used some of the Dreamees sentiment stamps.


I added the string pearl strings weaving them around the flowers on the plaque, finishing it off with some pearl stars and a piece of pink satin ribbon to hang it from.

Intended as a surprise to brighten my friends day.


Happy Crafting
Michelle
x

Monday 18 May 2020

Duo Dies Stash 3 launch

Following the launch of the Duo Dies Stash 3 collection on Create & Craft TV  today, I am sharing my samples for the show.


The Bottled die is a really handy die and a good size for your cards. I used some of Lynda Chapmans 300gsm white cardstock for my bottles and my Dreamees chalk dinky inkies reinkers to add that zest of colour to the bottles. I do love that finish chalk ink leaves to your projects. For the lids, I used some white glossy card.

I then stencilled the background using the same colour inks and added some glossy accent over some of the background circles for texture, repeating this on the bottles also.


The solid outline die is good to add dimension to your die or highlight it with a solid colour as I have done with this card. A lot of bottle dies are geared towards boys but they can be made more feminine too.


This is my favourite die of the ones I got to work with. I also think that works perfectly as a shaker card.


Paper pieced for a more masculine look for a birthday or Father's day card.


The Tee Time golf ball die for those golf lovers


A more feminine card for the golf lovers out there.


Or a more light hearted approach just to say well done!


Some fine feather friends this time with this Bird Song die.
Using cream cardstock I inked my birds with a little distressed ink by Tim Holtz in peeled paint and decoupaged the wing of the bird to give it a little more shape.


I used some papers from my stash to mat and layer the card, tucking the perch under the band of the card so that the birds were part of the card and not just sitting on top of it.


I do like monochrome cards and went for black and silver on this birthday card with patterned vellum on top and my bird perched on the gingham ribbon.


I used kraft card for my card and a woodgrain embossing folder from Crafters Companion and then decided to play around with a different card shape, adding some hessian ribbon and a vellum topper my bird which  I inked with Tim Holtz distress ink in gathered twigs.


I had the idea of my card resembling a tree, sometimes it's just good to go with your ideas and see where they lead you.


From Birds Song to flowers with the May Day Blooms die. I used metallic mica powders to paint my flowers for this card and used 300gsm black textured card stock. The background has been stencilled with more mica powder finish before being matt and layered onto gold mirri card.

Unfortunately, there is a lot of glare of the gold mirri which doesn't help when you are taking pictures.


I have used my chalk reinkers again to paint the flowers for this card using the same May Day Blooms die. They have also been used to create the background and on the backing paper.


A Wedding Anniversary easel card just using mirri card to die cut my trio of blooms.


A little thank you card using the Maypole Wand die which has been layered a few times for dimension and coloured with promarkers.


This is such a sweet little die that I thought it would make a nice decoration for a favour box, so I die cut it out of vellum and coloured it with promarkers.


I also made a hanging tag, die cutting the outer Maypole Wand die from acetate to give the tag a bit of weight and stability.


On the handle of the wand I added some silver mist sparkle dinky inky by the Dreamees just to give it a shimmer of silver and added some pearls to complete the box.


I have used the Maypole Wand die on a celebration card but this time I have paper pieced the die. I have used a shaped card from my stash which has been stencilled with victorian velvet distress ink by Tim Holtz for a more vintage looking card.


Onto the cakes now, well paper pieced ones with the Afternoon die. 
As you know, I don't put sentiments on the front of every card I make and this one didn't need one as I think it would have taken your attention away from the cake!! Sometimes it's just nice to send a card to say thank you, it was lovely to see you, thinking of you instead of just sending a text.... it does make a difference.


Using that same Afternoon Delight die it also makes a perfect birthday card. I have just added a little colour to this one with some promarkers and stencilled my card blank with a mandella stencil that I had using my chalk dinky inkies.


I hope that you have enjoyed some of this inspiration from this collection of dies.


Stay safe
Happy Crafting
Michelle
x

Gothic Fairy Arch

I've finished my Gothic fairy arch and have a few pictures to share with you and I'm also going to add it to one of the monthly chal...