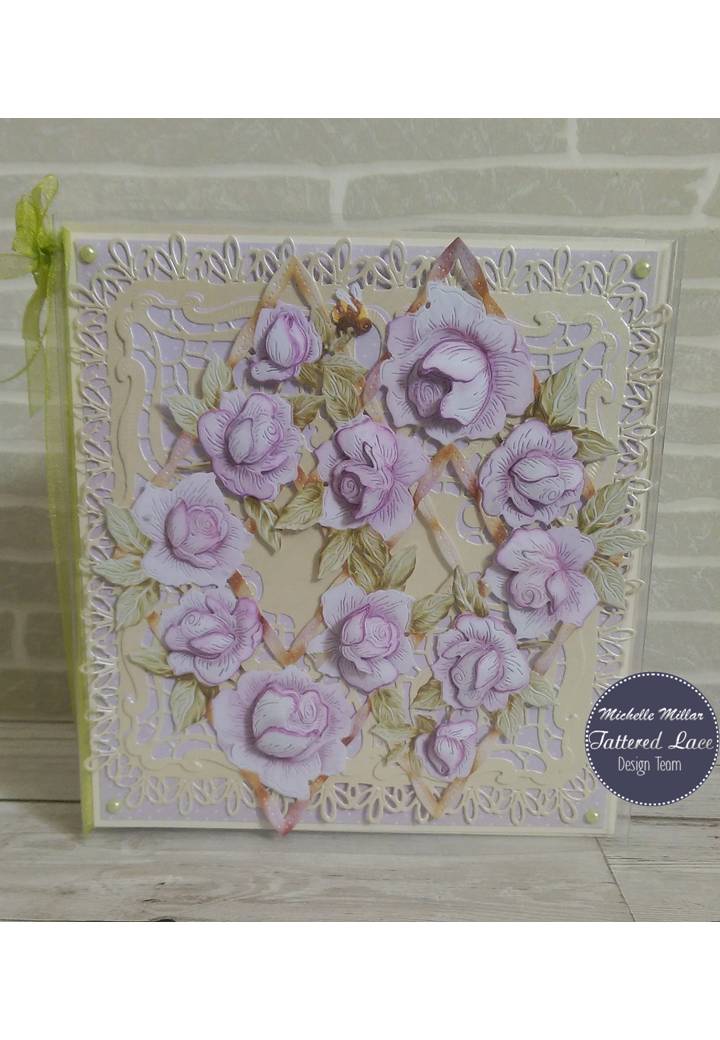
It's that time of year in the crafting world where believe it or not we start thinking about Christmas cards !! As part of Tattered Lace's 2nd Christmas launch this year I'm sharing my DT samples for their next Christmas collection this year called " The Night Before Christmas."
This collection launches on Create & Craft TV on
I had the following samples to work with:- Night Before
Christmas Collection - 3D Decoupage Winter Holly, A Star is in the Sky 1 & 2, Unity Snowman, 3D Decoupage Snow
Berries, with Snowflake Flexi Frames dies.

3D Decoupage Winter Holly

Also using part of the Tattered Lace Tall Stepper die for the card base. The Holly berries were printed onto glossy cardstock using their matching charisma downloadable for free direct from the Tattered Lace Website under downloads. I also used some sprigs of the white winter berries.


Instead of using the charisma papers I printed the holly onto plain colour core card stock, adding a little glossy accent to the berries on my circle card.

The Christmas sentiment is from one of the Dreamees Christmas stamp sets.


For my open hymn book card I used the Tattered Lace Notebook die with the holly dies which were printed onto bright white smooth cardstock. I changed the colour a little in My Craft Studio Elite for a more vintage look. This time adding the red berries which were printed onto glossy card and papers from the free Tattered Lace downloads / My Craft Studio.

The hymn book papers were also a free download sourced online with a plain embossed layer which was one of Tattered Lace's older embossing folders.

Next we have the Unity Snowman along with the Snowflake Flexi Frames for my shaker card.
The papers were free downloads from My Craft Studio.


For a slightly different look, I used the outer unity die to cut an aperture in my topper. I intended it to be a snowball but thought a patterned snowflake paper would look better. Also using the red berry dies. The card shape is from the Tattered Lace Fine Filament Portifino die set. Christmas backing papers by the Dreamees.


I wanted a lot of dimension on the topper but didnt want to see a lot of foam tape so started to look around for something suitable to use. I came across some white pom pom brading from a Gingerbread Christmas Hobby House collection that I had. Hobby House do some amazing embellishments. I thought they would be perfect as they resembled little snowballs.... I have these strange ideas.... a lot!

Next I went for a slider card using backing papers from My Craft Studio again and adding some stickles in frosted lace for a more opaque snowy finish.


The Unity Snowman comes with a jacket, but I looked at it and thought penguins, so I gave them some googly eyes to give them a little more personality. Papers again from My Craft Studio and stole a snowman's scarf for one of the penguins. The red berries die just gives the card a nice frame around my window card with more frosted lace on the acetate windows.


Well, now I'm on a role, not quite sure where this was taking me but going with the idea of changing the jacket into penguins, for a quirky Christmas card, again using My Craft Studio papers. I have also used the flexi frames, white berries and the flowers were from the Rainy Days Storybook die set.

The flowers have been die cut from white vellum and an accent of shimmer from my spectrum noir sparkle clear overlay pen (use this pen all the time). I embossed the top part of the card base with a Tattered Lace Christmasy embossing folder.


Moving on to the A Star is in the Sky 1 - which is the nativity scene set. Here I have used it as a silhouette on black card stock.


I used the charisma with this die set for a Christmas decoration. I found this hanging lightbulb in a craft shop. Adding some natural dried fibres - sisal which I thought added to the straw effect for a nativity scene. I think this is widely available in craft shops, The Works and the Dreamees also stock it.


Using the A Star is in the Sky 2 die set - Church. I incorporated it with set 1 in my easel card
This set comes with nested church dies and this lovely detailed panel that you can die cut and use mirri card behind like I have or used the matching charisma for a stained glass window effect. I have used the white berries and a lacy panel from the tall stepper card set.
I have used a colour core textured linen cream card stock for the card base.

Inside the easel I created a nativity scene using the decoupage A Star is in the Sky 1 with the charisma and backing papers from the Tattered Lace downloads.

I created a little hinge on my card to accommodate the decoupage.

I also added some sisal to the base for card for some texture for straw and a wooden star above baby Jesus.

To show you the other way to use this A Star is in the Sky 2 die set I have used the rest of the dies to make a church shaped card. I have used the matching charisma which has been printed on vellum, so the light catches the panel like a stained glass window. Great card shape for a wedding card too.


Finally, another shaped card with an idea I had in my head. I used the nativity backing papers from the Tattered Lace downloads page and printed them onto acetate.
Then I matched them up and stuck them to a set I had printed onto paper, before backing them onto mirri card, Now I had little stained glass windows. When I tried them on just the acetate, I lost the details of the image on the dark card.
I used the A Star is in the Sky 2 die as the main topper with the matching charismas printed onto bright white 110gsm printing paper and made another set to cut up for a little stained glass nativity.

Some early Christmas inspiration for you
Happy Crafting!