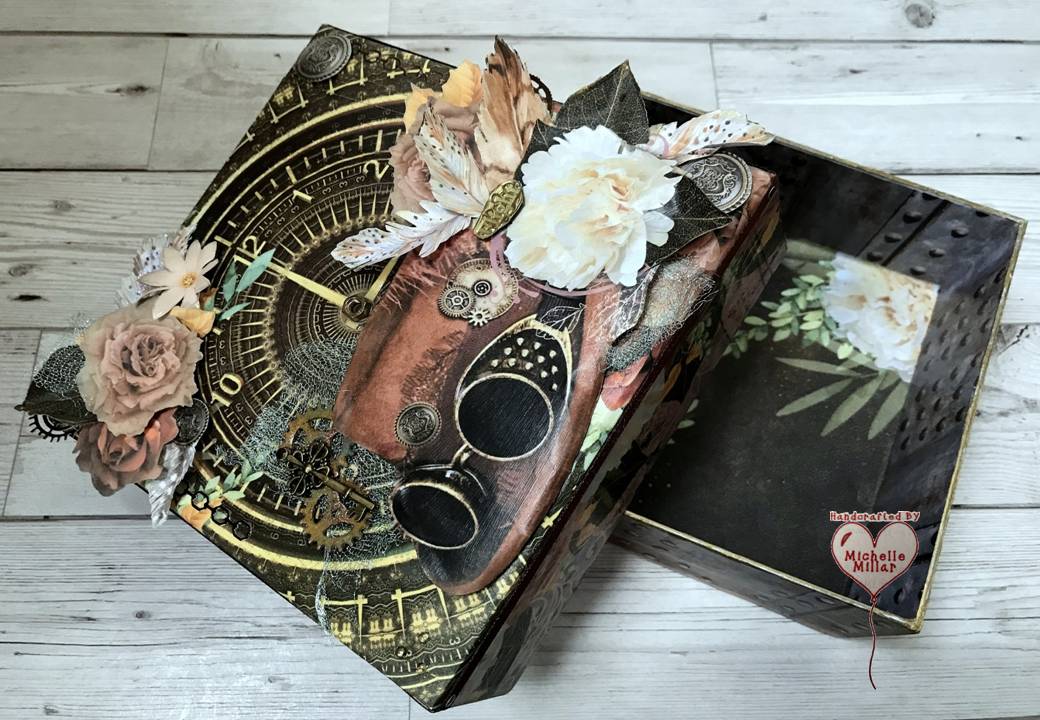
Today I'm sharing a tea bag gift box which I've made using some of the fabulous papers from The Ultimate Apothecary Collection from Opulence by Design Crafts.

This is a huge kit with lots of elements to cut out and great to use with your scrapbooking, collaging and home décor projects.
The Ultimate Apothecary Collection Herbs & Remedies Kit for Cardmakers and Papercrafters is beautiful a digital download kit containing 50 A4 pages in PDF format.
It has a wide selection of toppers, papers, labels, embellishments, inserts for your cards, etc. Lots to cut out and cut into.
I have also used some of Paula Pascual's box dies from her 'Miss P Loves' collection for my gift box.

I chose a selection of papers that I wanted to use. These have been printed on a mix of 120gsm, 160gsm and 200gm for the topper on Navigator paper/card. The higher weight card isn't always on offer but is definitely worth looking out for.
I've also reduced the print size to 70% and 85% on some sheets so that they would fit more of less into my gift box.

which makes a 6 x 4 box/folder with many more possibilities.
I double side printed onto 200gsm Navigator card and then die cut the base for my box and wrap using one of the papers from the kit. I also inked around the edges to add some tone.

This box/folder is such a clever design, doesn't necessarily need to be glued but can be, depending what you want to use it for.
This fabulous topper for the front of my box was printed on 5x7" to get the right fit.
I also used my clear glaze Sakura gelly roll pen on the glass bottles to add a touch of glossy texture and done this around the larger bottles too.
Whilst watching TV I cut out all the elements for my project and added some die cut foliage, cream lace and the fruit tea bags.

I've made some decorative stitched holders for my teabags from the papers and added the circular tabs to the tea bags with embroidery thread. On the other side of the tag there is a little label saying 'fruit tea.'

The idea behind this little gift box was simply a little 'hello Friend', a little cup of friendship, for you to sit and chill and relax. It can be a thinking of you or even a feel better soon.
It doesn't really need many words. You can craft with the kit to suit your theme or project which is really what I have done.

Inside the flap of my box, I created a pocket using one of the topper sheets to pop my little bottle tags in. I also cut out some taller jars from another sheet to fill in the gap at bottom of the flap between the baskets and make the jars look as if they were originally part of that page.
Inside the box, I've mounted the panels that I cut out on foam pads to add dimension and the foliage hangs behind it.

The little gift card that I made will fit perfectly in my gift box and I cut out these wonderful little bottles to create little tags which I have attached some twine to with a die cut flower on the end.

I added a few little holistic quotes on the reverse of the tags so that they were not plain on the back.

I've inked around around the edges of everything that I have cut out


The cream lace just adds a little texture, along with the flower and as the floral band didn't quite stretch all the way around, I just added another of the disc toppers that I had originally reduced in size for my teabag embellishments, and cut it to fit the side of the box where my flower would sit.
You can always find an alternative to embellish, especially in a bumper kit like this with so many things to cut out and cut into. Another beautifully designed kit with alternative themes.

I have also made an Apothecary Themed Journal using some of the papers and elements in this kit too.
This has been a fun little project to make and thanks for stopping by today to view my little crafty space.
If you want more inspiration and demos from Opulence by Design, follow the links below
They have a varied selection of digital kits and crafting sheets that can be mixed and matched with your crafty stash. Beautiful designs that makes crafting easier.

I have had a lot to do in my garden this summer and this was taken before I started, but I'm fortunate to get a Jay visit my garden regularly for it's monkey nuts. They are normally quite a shy bird.
Have a great rest of the week whatever you have planned for yourself.
Happy Crafting


Challenges
Allys Angels - AG - Spotlight Winner