I am also going to be using this project for our blog challenge this month on Let's Craft and Create where our theme is to use lots of layers.
My son bought me this journal kit for my birthday by The Dreamees, which comprised of 1 x set of A5 mdf covers, 1 x set A6 mdf covers, jump rings, journal stamp set, journal CD, set of fine writer pens.
Using one of the A5 mdf covers is used the following:-
- Dreamees Craft Magazine Issue 1 - I used some of the free papers that come with the magazine along with the free mdf shapes that came with the magazine(if you order direct from the Dreamees website).
- Dreamees Forget Me Not stamp set
- a strip of Hobby House gold flower pearl string
- a strip of rich plum satin ribbon
- small mdf heart
- Dreamees doily die
- Dreamees swirl die
- Backing paper from CD
- chipboard letters
- Gold superfine Wow embossing powder
- Versafine embossing ink
- Dreamees dinky inkies sparkle 2nd gen in treasure.
- Dreamees olive green pearls
- small piece cream webbing
- Tim Holtz distress ink victorian velvet
I stamped and heat embossed the Forget Me Not flowers onto some of the backing paper from the magazine. the gold embossing really highlighted the veins on the petals and leaves. I also used the flower stamp on the small mdf heart to get the same effect.
I used the mdf hearts from my shape kit that came with the magazine, covering the solid heart with backing paper
I used the treasure dinky inky on my chipboard lettering and to highlight the edges of the mdf heart and Tim Holtz distress ink in victorian velvet around the edges of my mdf journal.
I then went on to finish the other side with backing papers from the journal cd
I have stamped the Something Stitchy flower stamps onto patterned paper and added a little glossy accent to the little button centres to make them pop, also to the button stamp. It just needed a piece of ribbon to bring the layers all together.
That is only the cover....
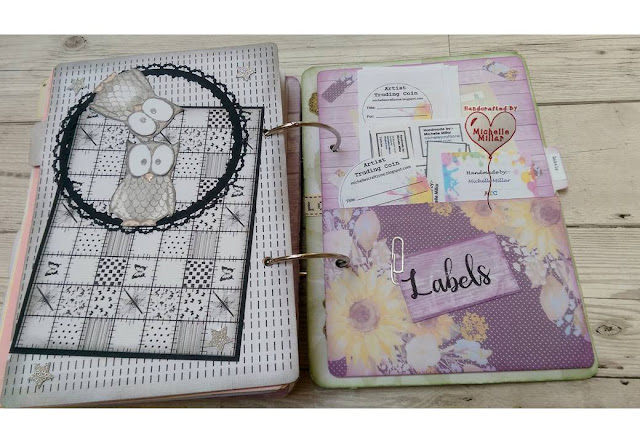
Inside I keep all my ink swatches. I made some simple charts to keep my colour swatches from the different ranges as an easy refer back to and printed off a colour chart for the Distress Inks, downloadable online.
A section for my Dreamees Stamps, CD & die collection catalogue, Tattered Lace die list.
DT Blog Challenge Info, Craft Projects and some of the all essential journal pages that came with the CD Rom; such as a To do list, Address List and Birthday list.
I've used the backing papers from the CD with the sentiments on some of my pages and for the larger titles, I have used the Dreamees Calligraphy stamp set. This alphabet stamp set is priceless in my opinion.
Have a look at the inspiration from the rest of the design team and what our crafters have been making for our blog challenge this month. There is a prize for the winning entry and a badge for your blog for the top 3 runners up.
If you don't have a blog, you can enter via Facebook just by adding the link from our actual blog challenge page to your entry on your Facebook page. Follow my link below to the challenge.
Happy Crafting
Michelle
x


5 comments:
Oh boy Michelle your craft journal is stunning I love it. Take care. Hugs Jackie
Brilliant journal Michelle and love the fabulous front cover -beautiful stitched flowers-great papers and your different sections-I have made a couple but recently bought a beautiful one but haveing trouble writing in it-at the moment its on my computer desk getting well looked at lol
Carol x
Beautiful card.
www.rsrue.blogspot.com
WOW, this is stunning. It has so much detail and great techniques used too x
hugs sally x
sallysbitz2.blogspot.co.uk
Thanks so much for all your lovely comments xx
Post a Comment