blog backbdrop

Showing posts with label Watercolour Witches. Show all posts

Monday, 28 October 2024

Halloween Projects

I have a few little Halloween projects to share but haven't got around to writing a blog post on them.
 

I have decorated a little coffin shaped box along with some coasters. I came across a box of pale pink clover leaf coasters in a charity shop for 50p, they looked like they hadn't been out of their box and were just what I needed for a project like this.


I started out by painting my little coffin shaped box from The Works, with a thin coat of white gesso. I also did the same with the coasters. 

On the Inside of the box, I decided to use some Art Alchemy Sparks paint in Night Shadow. This velvety rich paint goes a long way. These paints come in many colours, but I think some shades can be hard to find as new ones come out.


My images are from the Watercolour Witches digital download collection by Magik Graphics. I love this collection! They are not currently trading, but I am sure that they will be back at some point. 

These images have been printed using my Epson Ecotank inkjet printer and I have used the Craft Master rice paper which I would recommend, especially if you are using an inkjet printer. I purchased my rice paper a while ago through an offer on Create & Craft but I know that you can purchase it directly from Highlight Crafts.
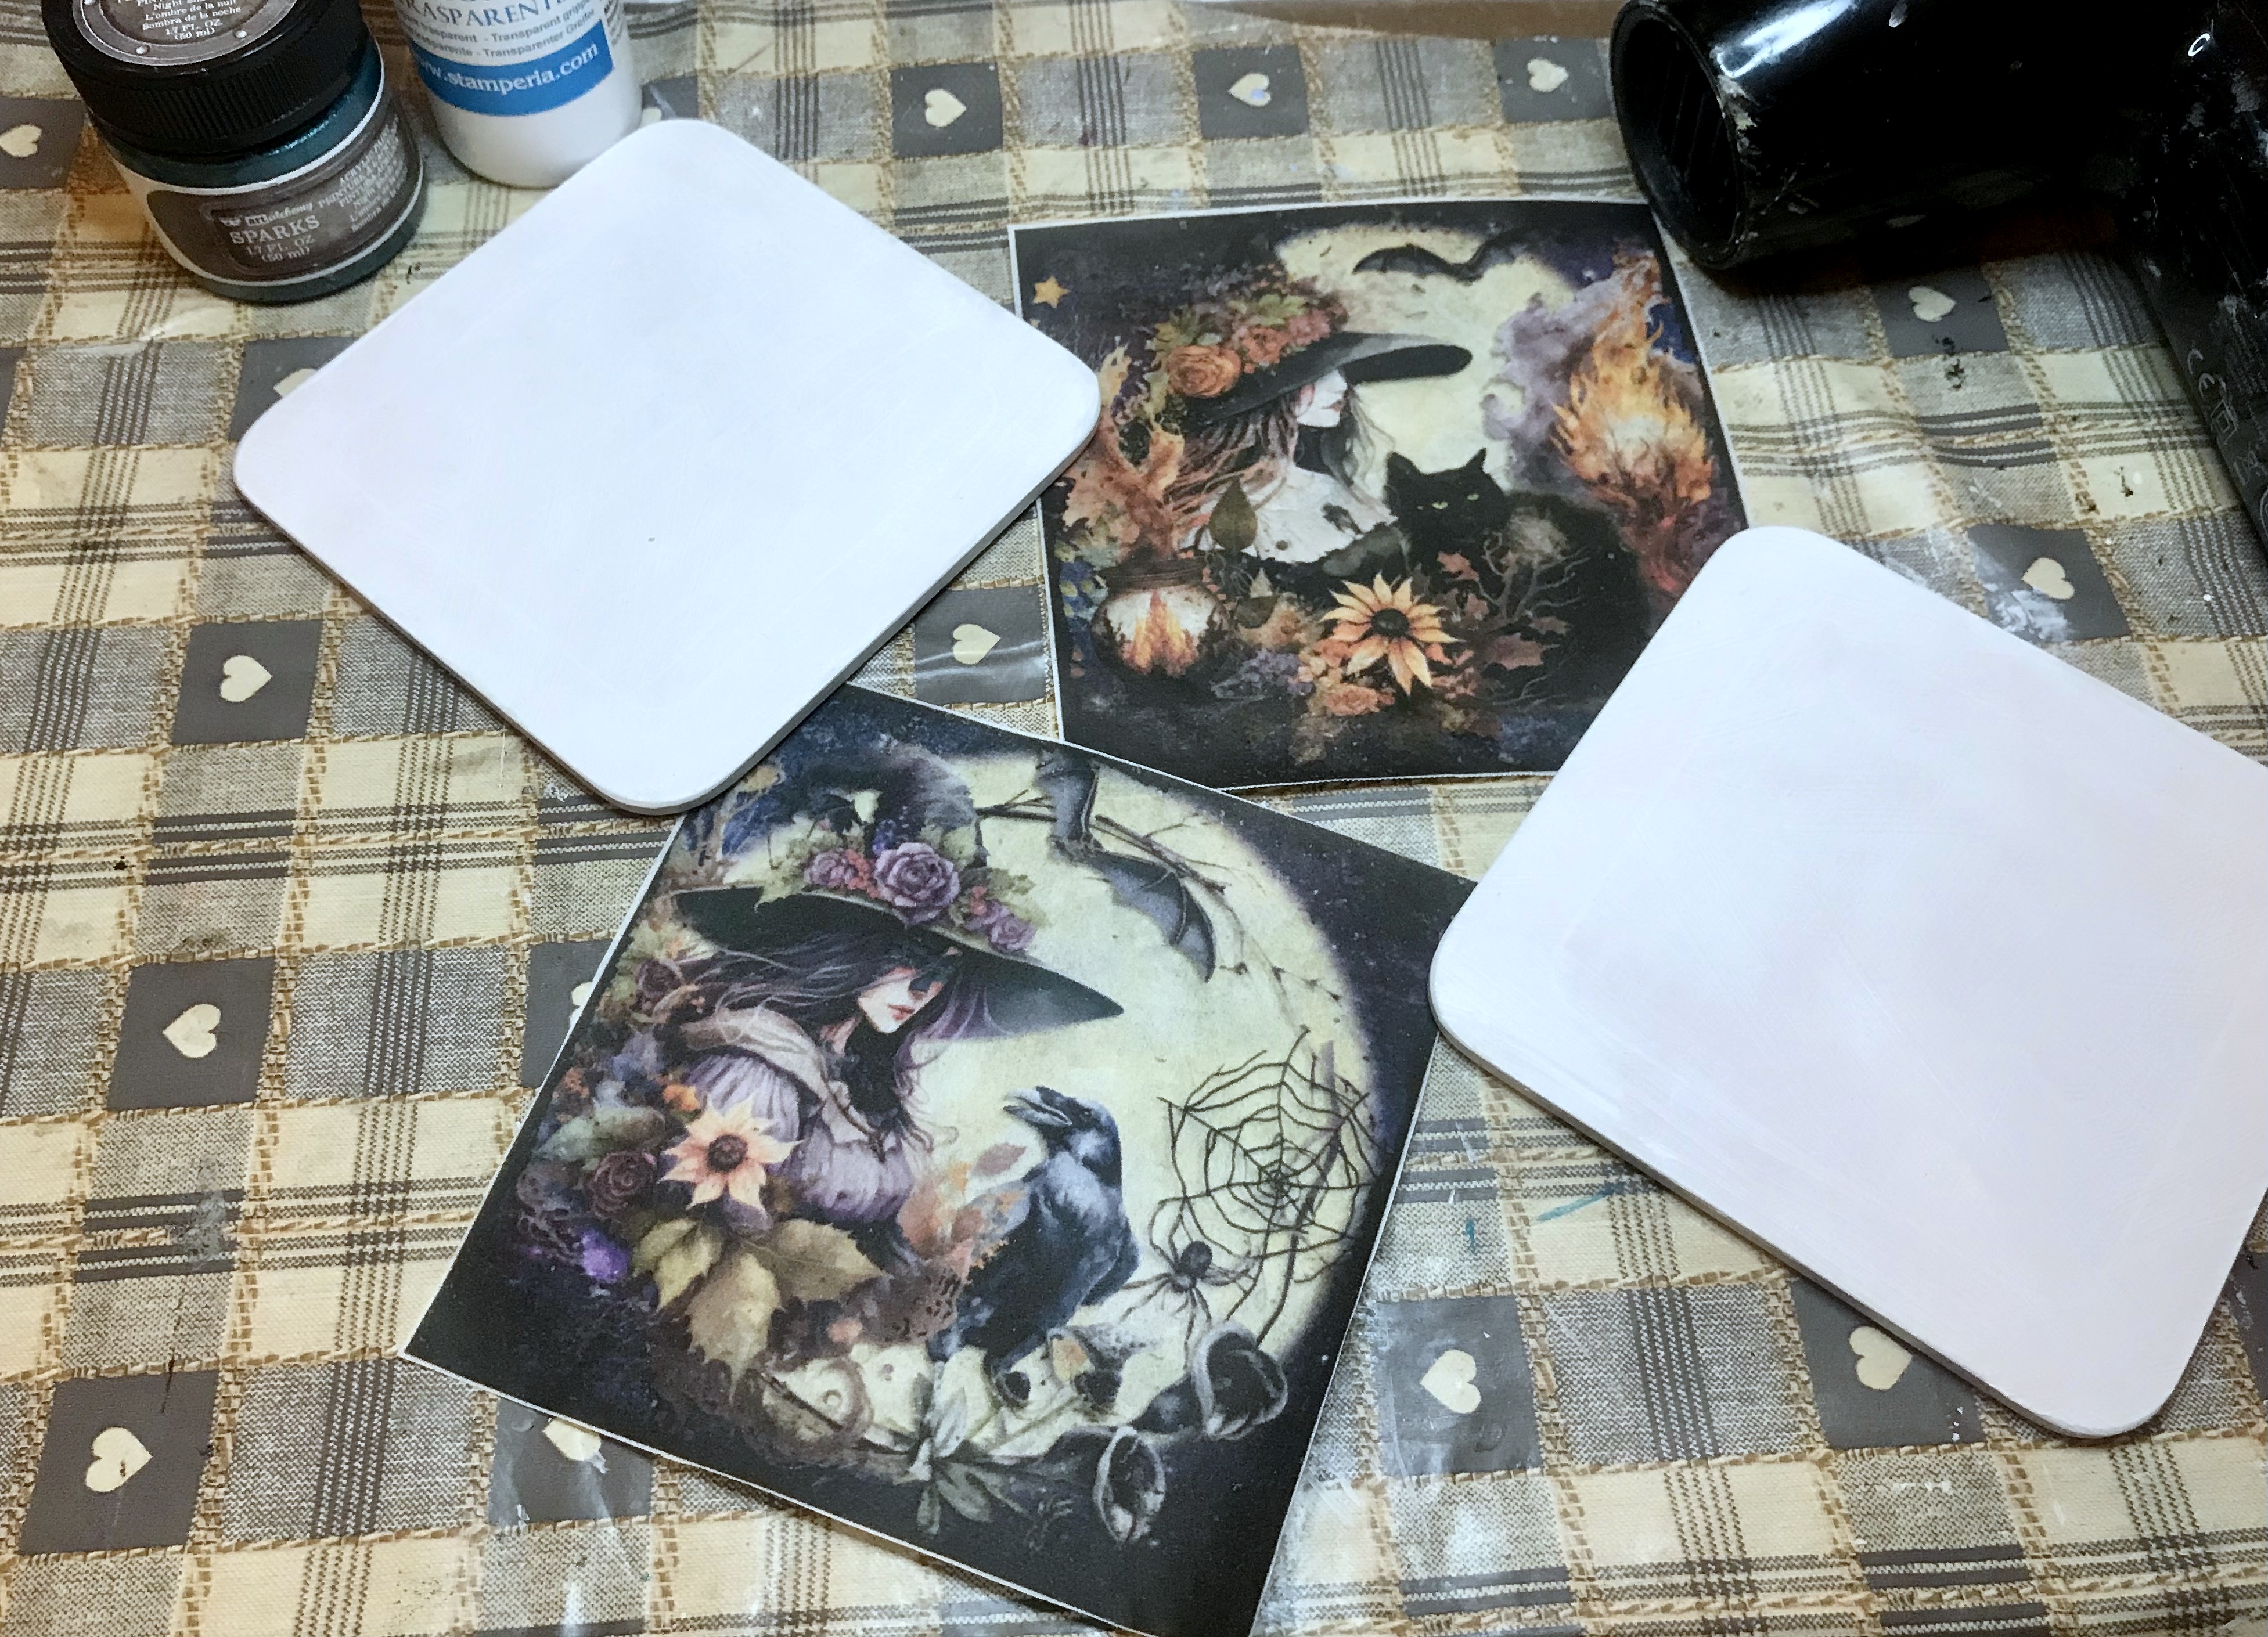

They recommend a stencil spray to adhere the rice paper to a sheet of A4 copier paper so that it will pass through your printer but I had a can of Crafters Companion Stick & Spray in my craft stash which does the job equally well when used lightly.

I used a decoupage transparent mixed media glue/medium, from Stamperia to seal my images to the coasters and the box.  


To add texture along the side of my box, I used a little sand texture paste from Pretty Gets Gritty and then I painted over the top with some black gesso.


Finally, I added some clear lacquer to seal my projects and give them a nice gloss. I also edged the little coffin box with some gold wax. I intend to use this as a little jewellery box for my dressing table.


I have a few more coasters to finish off but I'm really pleased with how they have turned out.

Have a great week, whatever you have planned for yourself.

Happy Crafting


Challenges
A place to start - AG  - Rising Star

Monday, 5 February 2024

Watercolour Witches Gift Box

One of my favourite crafty activities lately has been decorating boxes as you can give them a unique look and they are always very useful to put things into too.

For this project, I used some of the papers from Magik Graphics Watercolour Witches Collection, which is available on a CD or as a digital download, direct from their website.


This is a wonderful collection and Susan has also designed these papers to fit on these boxes, which are just under 10 x 8 inches (4 inches in depth), that a lot of crafters have been using and Susan also uses them in her Facebook live craft group.


I printed these papers on my usual 120gsm colour document Navigator paper, as this works for me and since Wilkos is no longer trading, I can still find it at Tesco which saves me having to order online.

I kept decoration to a minimum as I didn't want to cover up these wonderful papers.  This box isn't for me but I will definitely be making one to keep.


Inside, I opted for this rich amethyst metallic paint from Finnabair Art Alchemy which is amazing to use and leaves a fab velvet rich shimmer.  I also chose a different image for the inside of the lid as I thought that the colours tied in nicely.


I gave the box two very light coats of matt medium to seal it, making sure each layer was completely dry before adding the next, this prevented the paper from wrinkling or any colour bleed from the inks. It also left my box with a nice smooth finish. I then edged the box with gold wax.


I thought one of the mecha moths would look good in the top corner of the box. This one was made from hot glue and I coloured it with some copper wax. At different angles, you can see through parts of it, which adds to the dimension.

I did make a 7x 7 inch card to accompany my box. This collection also has a range of inserts to accompany the various designs for your cards and is certainly one that I really love and can not recommend enough.


All this one needed was a trio of flowers from my box that I had previously made up using some blooms from Opulence by Design Crafts and a little moss.

My decorated box has been on a bit of a tour (collecting various stamps along the way) before eventually reaching its destination safely.

Have a great week,  whatever you have planned for yourself.

Happy Crafting


Challenges:-
Mix it Up - MM    (Top  Pick ) 


Boutique Birthday Card

I made a card for my daughter's birthday earlier this year, which was inspired by samples from this kit. When you make cards for family ...