blog backbdrop

Tuesday, 10 April 2018

Crafty mdf plaque by the Dreamees

On one of the Dreamees workshops that I attended, I purchased a number of mdf pieces and this is one of the pieces I decorated.


The flowers have been stamped and heat embossed with silver metallic superfine Wow embossing powder with a Charming Cascade flower stamp set by the Dreamees using backing papers from their sensational flowers cd.


This plaque was made for one of the Dreamee Catchers in our monthly group swap and I normally make a coordinating bookmark to accompany my make.


To start with I used papers from one of the Dreamees paper pads Something Stitchy, which can also be found on a cd rom, Dreamee pearls and their craft mdf.


I also used one of my all time favourite flower stamps, by the Dreamees a Charming Cascade.
These have been heat embossed with silver metallic superfine Wow embossing powder using backing papers from their sensational flowers cd. 


Also, I have used two sets of the Dreamees dies; the butterfly dies from their Pretty Leaves & Flourishes and the large flourish from their Peculiar Leaves & Flourishes set. I have die cut the butterflies out of a piece of satin board purchased from Create & Craft (their own make, which comes in a set of pastels or brights and worth having in your stash).  The flourishes were die cut from a piece of apple green glitter card (soft for a glitter card) I bought from Poundland in a trio of colours.


After covering my plaque with one of the papers I used some thin organza ribbon to wrap around the plaque, using a glue gun to add spots of glue around the back to keep the ribbon taut.


This was just to create a little more interest on the plaque before adding the butterflies and flowers.


I added more organza looped ribbon under the flowers.


Finishing off with some Dreamees pearls.
As this was a Dreamee Catchers make I needed to use as many of their products as possible (which I have plenty of).  These group swaps are great as they give you lots of inspiration on using various different elements of their products.


And finally, my bookmark I normally enclose with each Dreamee Catcher swap I make.
I have used the other piece of backing paper to make this along with some green card.  As these papers are double sided the top bookmark (which has been layered onto the green one) has the flowers on the top and the green patterned side of the paper is on the back of the bookmark. 

 I have also stamped the wording using the Dreamees Calligraphy Alphabet stamp set. Then I used some glossy accent on the roses before finishing off the bookmark with Dreamees pearls and ribbon.

I will then wrap this make in tissue paper before popping it in the post to my lovely swap partner.

Happy Crafting


Thursday, 5 April 2018

Monochrome card - shades of pink

My DT card today was made for Daisy Chains challenges.  The theme this month is Monochrome and mine is in "shades of pink"


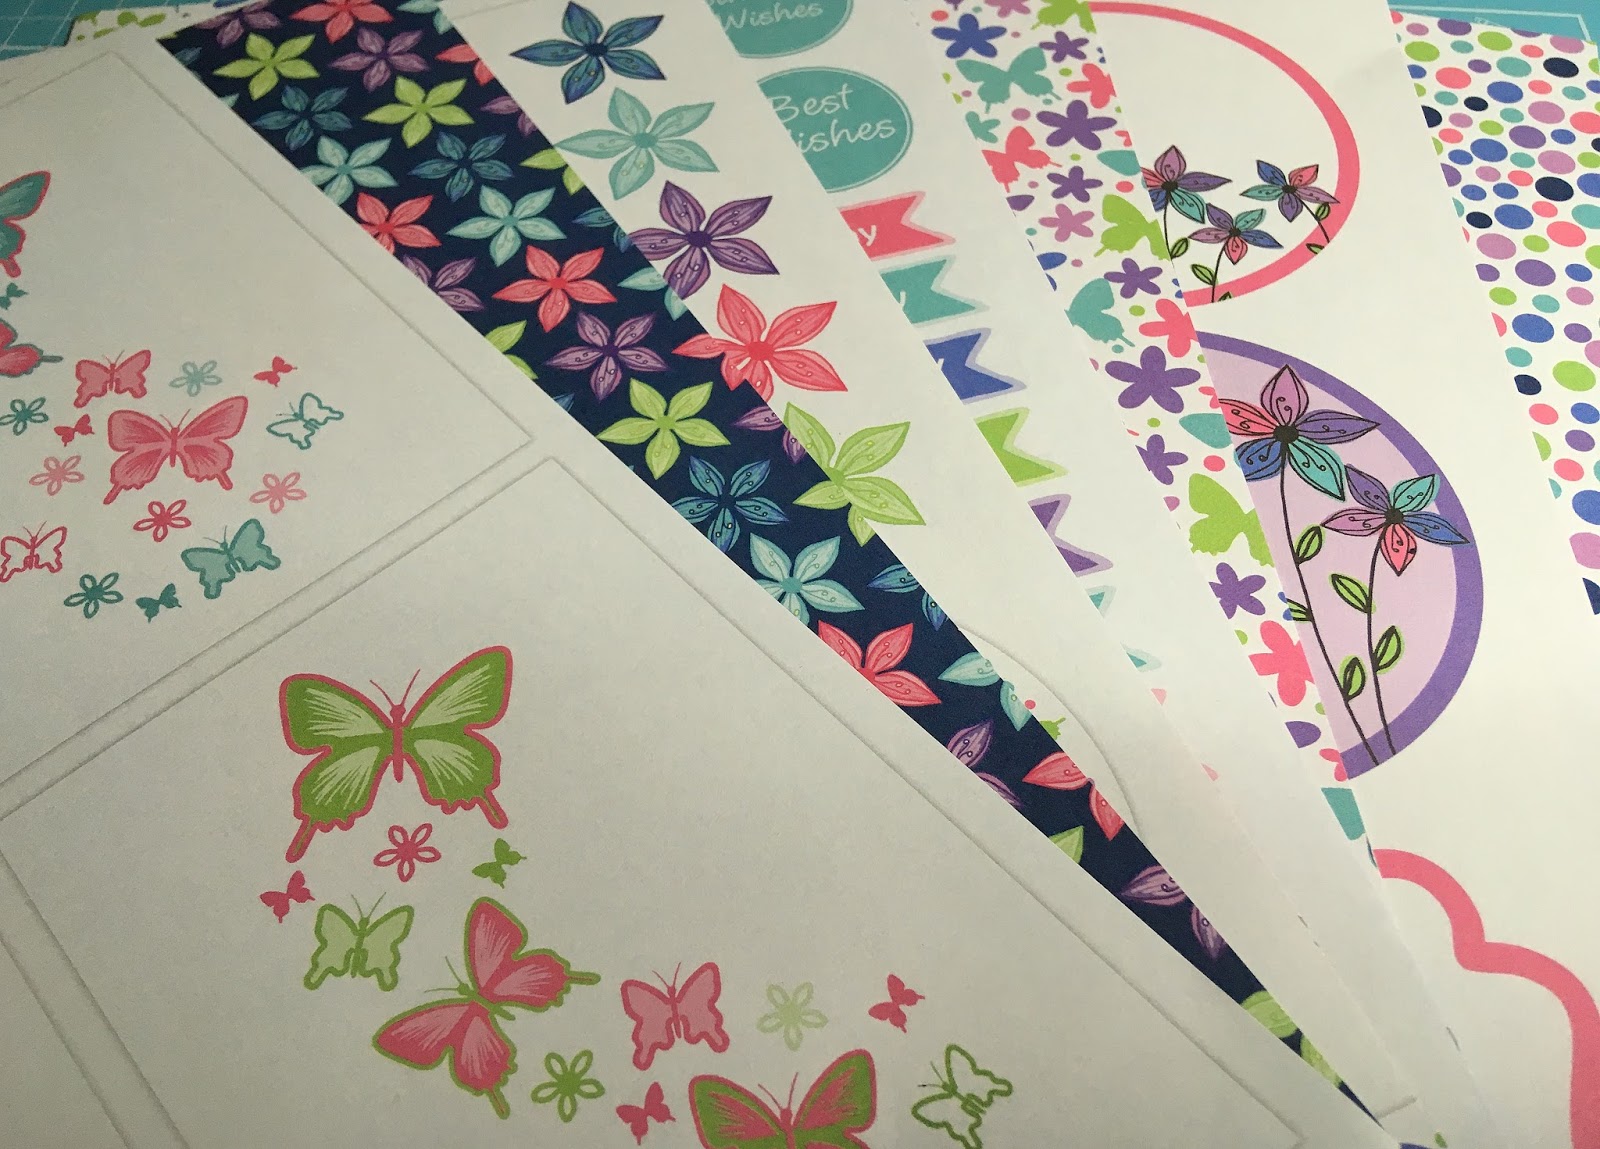
I decided to make this card out of a 12  x 12-inch double-sided scrapbook page, using a 1.6 cm flower punch and utilising the sentiment on the page for my card.  This time no inking and no stamping.


I also added a set of Dreamees dies. Their pretty leaves & flourishes set.  From the same cardstock, I die cut some flourishes and butterflies.


It was just a case of layering the card up using the design on both sides.

Then adding the flowers, butterflies and flourishes punched out / die cut from the same cardstock.  I finished the card off with some fuschia pink pearl drops and some shimmery accent from my spectrum noir clear sparkle overlay pen.


I thought that the sentiment made it quite a versatile card to send. A simple but quite effective card that didn't need any stamping or ink.

Added to the following challenges:-

Simply papercrafts - ATG challenge 56
Monochrome Magic  - ATG challenge 9
Creative Fingers - ATG challenge 144
Pammies Inky Pinkies - ATG challenge 1813
Crafty Friends - ATG challenge 80


Happy Crafting


Monday, 2 April 2018

Textured ATCs

Whilst shopping I came across some acrylic mist spritz sprays in a box and decided to have a play, making some ATCs for a group mixed media swap.


I started off with some sturdy card. A few days before I was looking at a shoe box ready to recycle but liked the vinyl feel to the shoe box so decided to have a chopping up session before recycling what was left.  I intend to use the other pieces I kept for another project.

I cut out a few pieces of text from the newspaper. I could have used any piece of newspaper really but at this point, I didn't actually have a plan as to what I was making and whether I wanted the print to show through the gesso I was going to use.


I used a little white gesso on the base of one of the pieces of cardboard and roughly stuck a piece of scrunched up newspaper, keeping in the creases as much as possible when I stuck it down.  I then gave it a light coat of gesso on top.


I gave the cards a little blast with my heat gun and then decided to leave them dry overnight to stop me fiddling with them whilst they were tacky.


Next, I used a page from an unwanted paperback book looking for short phrases I could use. I intended to use these on my ATCs once the background was spritzed.


These are my sprays -  The Crea Box Acrylic sprays came in a box of 4 (blue, green, red, yellow).  I decided not to use the blue on this occasion.


I gave the cards a gentle mist and really liked the effect, especially as they dried really quickly.


Now they looked like mini canvases.


Using some leftover decopatch glue, I adhered my phrases to the cards, giving them a light coat on top to seal them to the cards.


I thought the Butterfly Blots from Imagine Design Create would fit just perfectly onto the corners of my cards.  I stamped them onto a little piece of patterned tissue (which came out of the same shoe box I had earlier cut up) using jet black stazon ink (which is a permanent solvent pad). I used the decopatch glue to adhere them to the cards.


I also used a few of the tiny people silhouettes on the tissue paper, again giving them a very light coat of the decopatch glue to seal them to the card.


I then added some Treasure Gold metallic gilding wax in rose quartz. A tiny bit goes a long way. I passed my finger over all the raised parts of the cards as well as edging them in the gilding wax also.


They just needed to be framed onto some black card to finish them off.

Happy Crafting


Sunday, 1 April 2018

Butterfly Birthday Card - using Stamps by Chloe Box set

Chloe Endean has brought out a limited edition box set packed with lots of goodies and is fabulous value. The following card was made using the elements from the kit.


 As the card is for a special friend, it had everything I needed to make the card I wanted. I just chose to add a base card in one of her favourite colours.


This box set certainly didn't disappoint when it came through my door, packed with goodies and always the great quality you get from Chloe Endeans products.

In the box kit you get:-

  • A4 magazine packed with inspiration, projects and tutorials to show you how to get the best out of the enclosed products and others in her range.
  • Butterfly die (which leaves the butterflies and tiny flowers still attached)
  • Stamp Set - The butterfly trail stamp matches the die and there is a good selection stamps and a couple of sentiments.
  • Mask - half butterfly and half flowers
  • Butterfly embossing folder
  • Selection of double sided papers, flowers, toppers and sentiments to cut out. The butterfly panels match the die also.


To start with, I chose a butterfly panel from the paper pack and used the butterfly trail stamp over it with a clear sparkle Wow embossing powder (a Chloe Endean mix) and a versafine clear ink pad.


The die fits perfectly over the butterfly trail printed papers which I had heat embossed with the clear glitter embossing powder.


Next step I used the embossing folder with a plain piece of white card and then with a versafine embossing pen traced the raised parts of the pattern before heat embossing with some of Chloe Endeans mix of Wow powders in glacier.


Then, I used the mask with another piece of white card and the Dreamees new pearlescent ink pad in powder puff (a metallic pinky purple with a silver hue). It just gave a shimmer of colour.


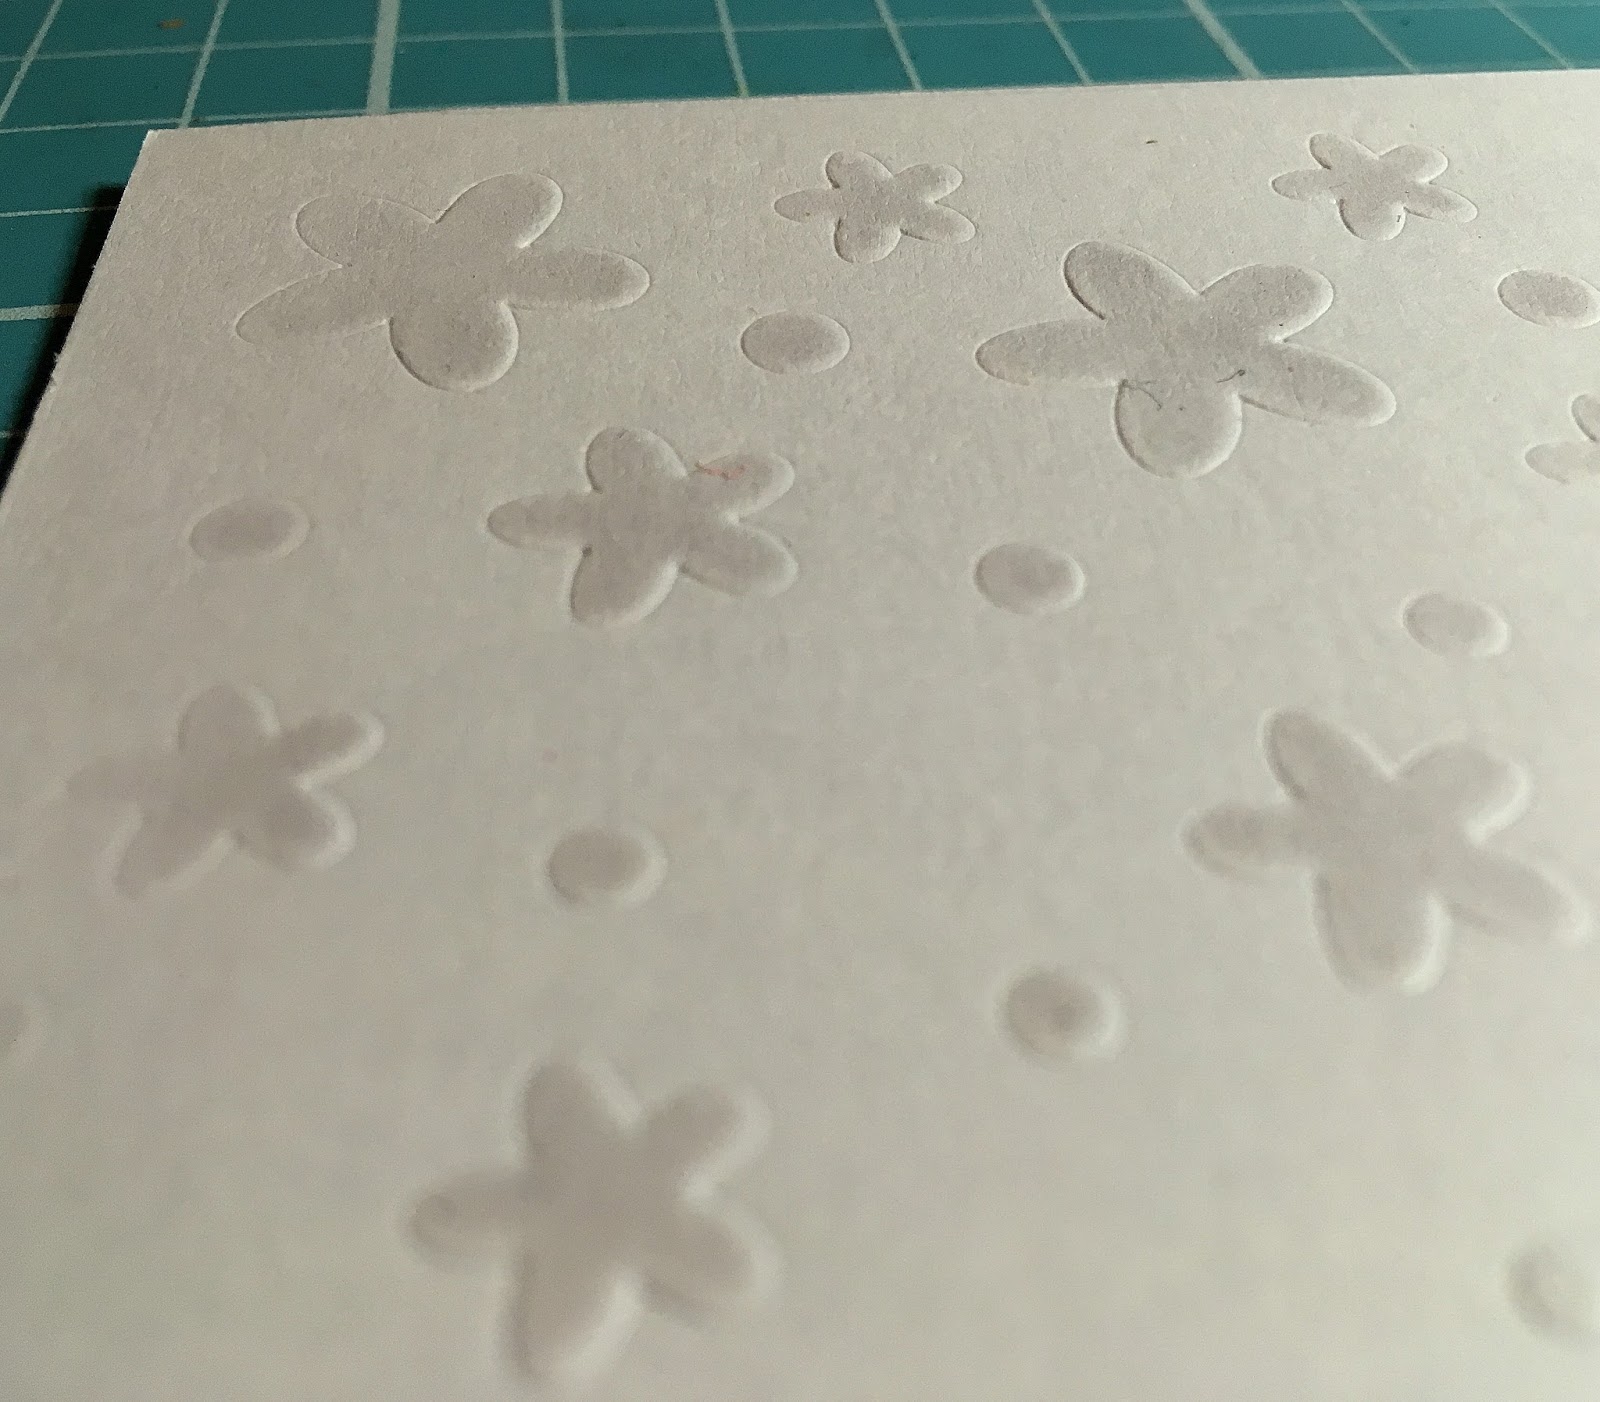
After that,  put the mask through my Sizzix machine and it embossed the card just enough to five a nice dimension to the card.


I used my quickie glue pen to glitter the butterflies and dots and my zig chisel edged glue pen to go around the edges of the card to be glittered.


From the papers in the pack I cut out some of the flowers and embossed them with Debbi Moores print magic in crystal.  Print magic is a thick embossing powder encased with glitter. When used with a clear versafine ink pad it leaves an opaque layer on your paper/card. When heat embossed it turns it into glitter card with a firmer texture.


With a few gems and a swirl of foliage using a small piece of rainbow mirri card on a vine metal die, I had my cluster of flowers for the card and you can just see the glitter on the flowers.


I used a sheet of of the candy striped backing paper from the paper pack and mounted the toppers that I had made onto some turquoise centura pearl card which I also used as a base card.  The edges of the toppers have also been glittered before mounting.


At this angle you can also see the clear glitter on the butterflies and flowers and the turquoise pearlescent card just showing through. As the papers from the pack are double sided the back of the butterfly wings on this topper also have colour.


Finished off with tiny heart iridescent heart gems.


A little turquiose ribbon layered under the toppers and a glittered sentiment strip from the pack completes my card for the occasion.


Happy Crafting


Boutique Birthday Card

I made my daughter's birthday card earlier this year using inspiration from this kit's samples. When you make cards for family and f...