blog backbdrop

Showing posts with label Stamps by Chloe. Show all posts

Thursday, 5 November 2020

Christmas Tags

 A little festive offering for you today in the shape of a large gift tag for presents, stockings or just to loop over the door handle to show that "Santa has been"......


Also, this is the last challenge for the year for us at Daisy Chains Blog Challenges, so we are seeing it out with a festive one but as with all our challenges, they are also ATG.


For my topper, I used one of the stamps from the Dreamees Santa Paws stamp set which has been stamped with Versmark ink and heat embossed with bright white opaque Wow embossing powder onto some Crafters Companion Neena Desert Storm card stock that I found in my stash. I used my Dreamees sparkle dinky inky reinkers to colour the image. When my image was dry, I went over the fur trim with my stickles in frosted lace, which is another of my favourite things to use. Also handy for my snowflakes as the stickles leave just the right amount of texture and sparkle. I used the walnut sparkle dinky inky around the edges of my die.

My stamped topper has been die cut using the Dreamees Loops and Lace square frame die. I die cut this again using the outer die, but this time onto a piece of kraft card and then used their poinsettia embossing folder (another favourite of mine) for added texture to the back.


For my pinecones, I used this gorgeous stamp by Skull and Cross Buns. I have had this stamp a few years and Emily designs all her stamps herself, just like the Dreamees.  Its a good sized chunky rubber stamp that comes mounted on a wooden block and stamps perfectly every time. I have stamped on both sides of my pine cone so that you have the detail on the reverse also.

This Crystal branch stamps is faithful go to every year from Stamps by Chloe - Chloe Endean. Unfortunately, this stamp is now retired. I use a lot of Chloe's Wow mix embossing powders too. I have stamped and heat embossed with versamark ink and Chloe's Hollywood Hills Wow embossing powder onto acetate.


For the tag I have used a piece of red textured 300gsm colour core card with some patterned paper from my stash that was printed onto this great velvet paper the Dreamees used to stock, which has a suede texture to it.   To match the stitched ribbon that I had used, I edged my label with a white gel pen. 

The rest of our design team have also been making some lovely projects this month, along with so many great crafters on our blog every month. It's always lovely to see the inspiration everyone shares. Please use the link below to take you to the blog challenge and thanks for the visit.


Happy crafting


Saturday, 5 January 2019

Christmas Rose Flower Plaque

Happy New Year 

This New Year brings a new set of challenges over on the Daisy Chains blog challenge and to start the year off, for my DT sample I have made a flower plaque using a Christmas Rose stamp and crystal branch stamp by Chloe Endean (Stamps by Chloe). This months challenge starts with "add some sparkle."


Using an oval mdf shape from the Dreamees, I painted it white with a chalk finish matchpot paint from Homebase. These matchpots are so handy for painting small projects.

I stamped the Christmas Rose stamp with versafine embossing ink onto white centura pearl pearlescent paper and then used gold Wow superfine embossing powder to heat emboss the flowers.

For the foliage, I used Chloe Endeans Crystal Branch stamp onto acetate using versafine embossing ink again with her colour mix of Wow embossing powders in Hollywood Hills.


For the added sparkle to the centre of the flowers, I have used some stickles crystal glitter glue.


Finished off with a piece of organza ribbon and a few gems.  I have to say I love this flower stamp, it's my all time favourite and I know I say this every time that I use it!


Follow the link to the challenge over on Daisy Chains blog challenge and see what the rest of the design team have made along with the other entries.  The challenge is just for fun and there is always lots of inspiration to see.


Happy New Year
and
happy Crafting!

Monday, 27 August 2018

Retirement card using the Christmas Rose stamp by Chloe Endean

I made an 8  x  8 inch  Retirement card using Chloe Endeans Christmas Rose stamp. This stamp never ages in my opinion. Its a good size with lots of detail and easy to cut out, especially effective when embossed onto vellum.


The Christmas Rose was heat embossed with super fine Wow metallic silver embossing powder onto turquoise vellum with crystal gems in the centre.

I used white centura pearl cardstock for the card base then layered it up using  Tattered Lace pearl lace circle nesting dies, with more white centura pearl, silver rainbow mirri card and turquoise centura pearl just under the white lacy layer so you can see the colour to coordinate with the flowers.


On the last circle die I have also die cut it using The Dreamees square lacy divine die. I then heat embossed the leaves from the Dreamees sweet sunflowers stamp set onto acetate using Chloe Endeans glitter embossing powder mix in Hollywood Hills.  I used Pinflair glue gel to stick the flowers onto the card and also on the leaves which have been slotted in under the largest topper on the card.


Finished off with some woven ribbon. I added quite a few pages inside the card for people to write their goodwill messages and for pictures and memories to be added inside as a keepsake book.


As this card has a lot of dimension,  it needed a handbag box envelope to keep it in. I carried on the theme with the leaves by using them on the envelope.  I use my large envelobox scoreboard by Crafters Companion to make my dimensional boxes.


Happy Crafting

Sunday, 1 April 2018

Butterfly Birthday Card - using Stamps by Chloe Box set

Chloe Endean has brought out a limited edition box set packed with lots of goodies and is fabulous value. The following card was made using the elements from the kit.


 As the card is for a special friend, it had everything I needed to make the card I wanted. I just chose to add a base card in one of her favourite colours.


This box set certainly didn't disappoint when it came through my door, packed with goodies and always the great quality you get from Chloe Endeans products.

In the box kit you get:-

  • A4 magazine packed with inspiration, projects and tutorials to show you how to get the best out of the enclosed products and others in her range.
  • Butterfly die (which leaves the butterflies and tiny flowers still attached)
  • Stamp Set - The butterfly trail stamp matches the die and there is a good selection stamps and a couple of sentiments.
  • Mask - half butterfly and half flowers
  • Butterfly embossing folder
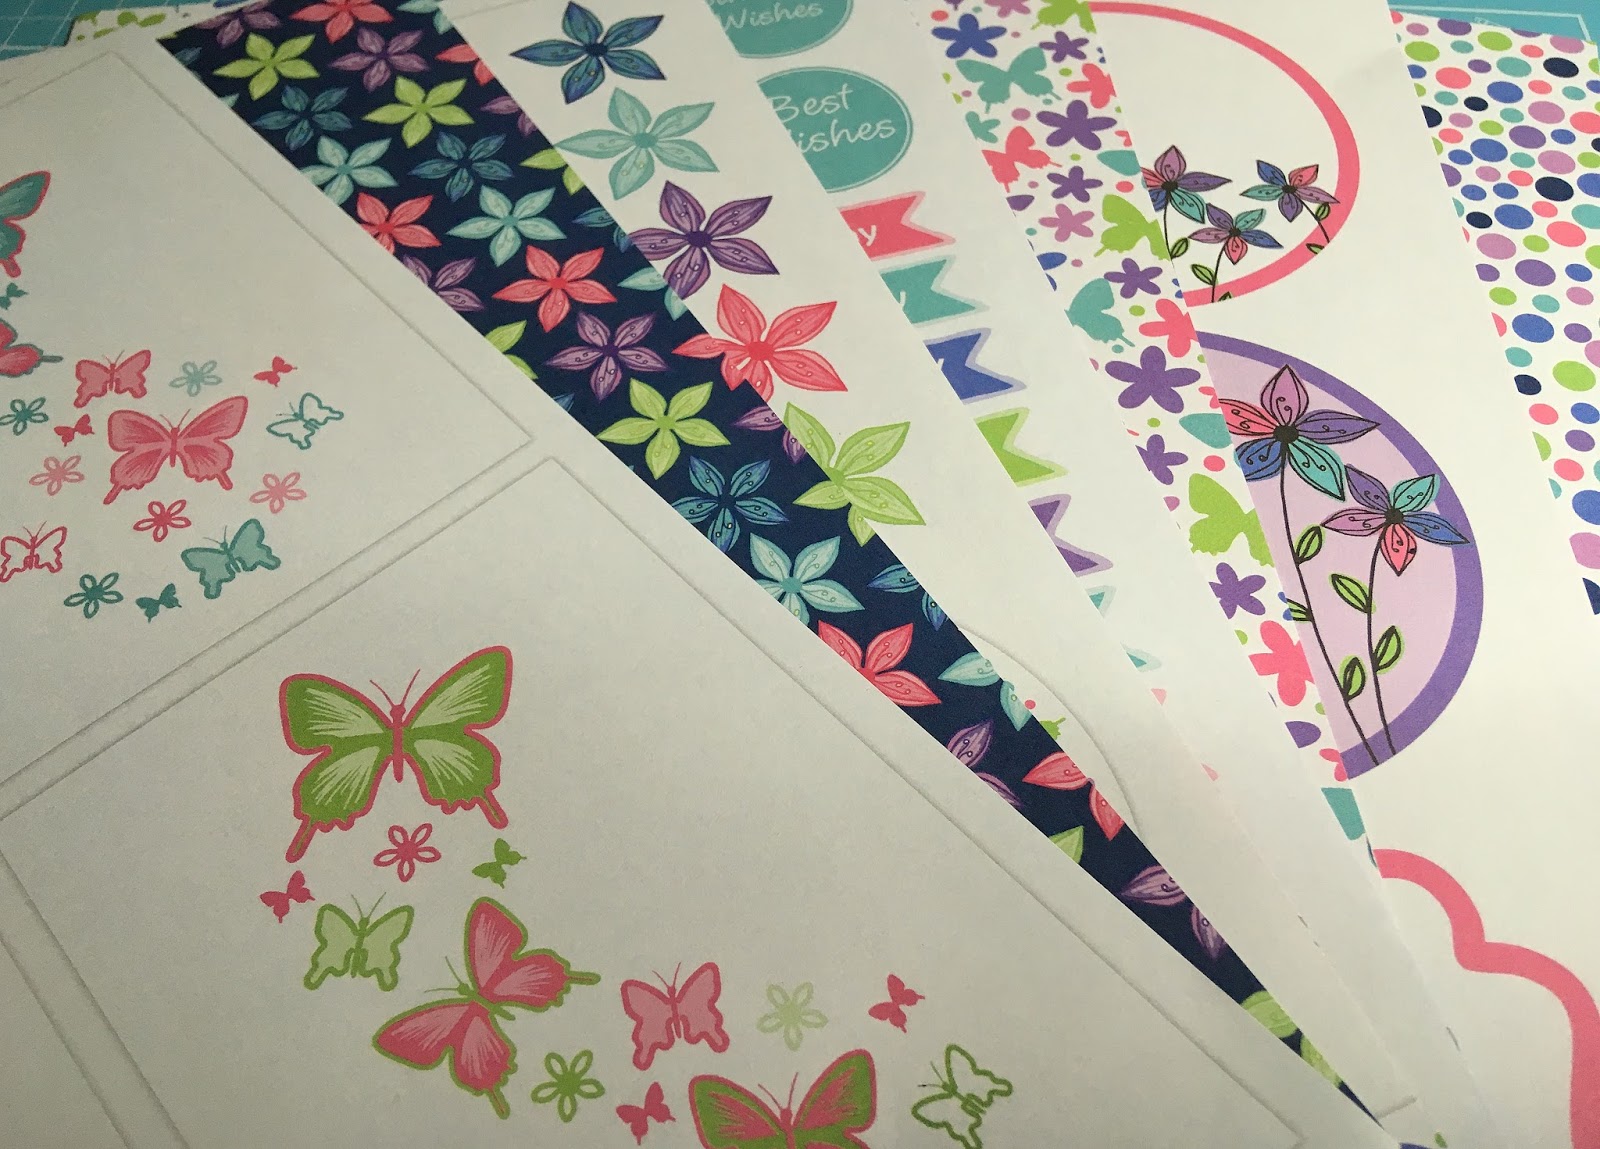
  • Selection of double sided papers, flowers, toppers and sentiments to cut out. The butterfly panels match the die also.


To start with, I chose a butterfly panel from the paper pack and used the butterfly trail stamp over it with a clear sparkle Wow embossing powder (a Chloe Endean mix) and a versafine clear ink pad.


The die fits perfectly over the butterfly trail printed papers which I had heat embossed with the clear glitter embossing powder.


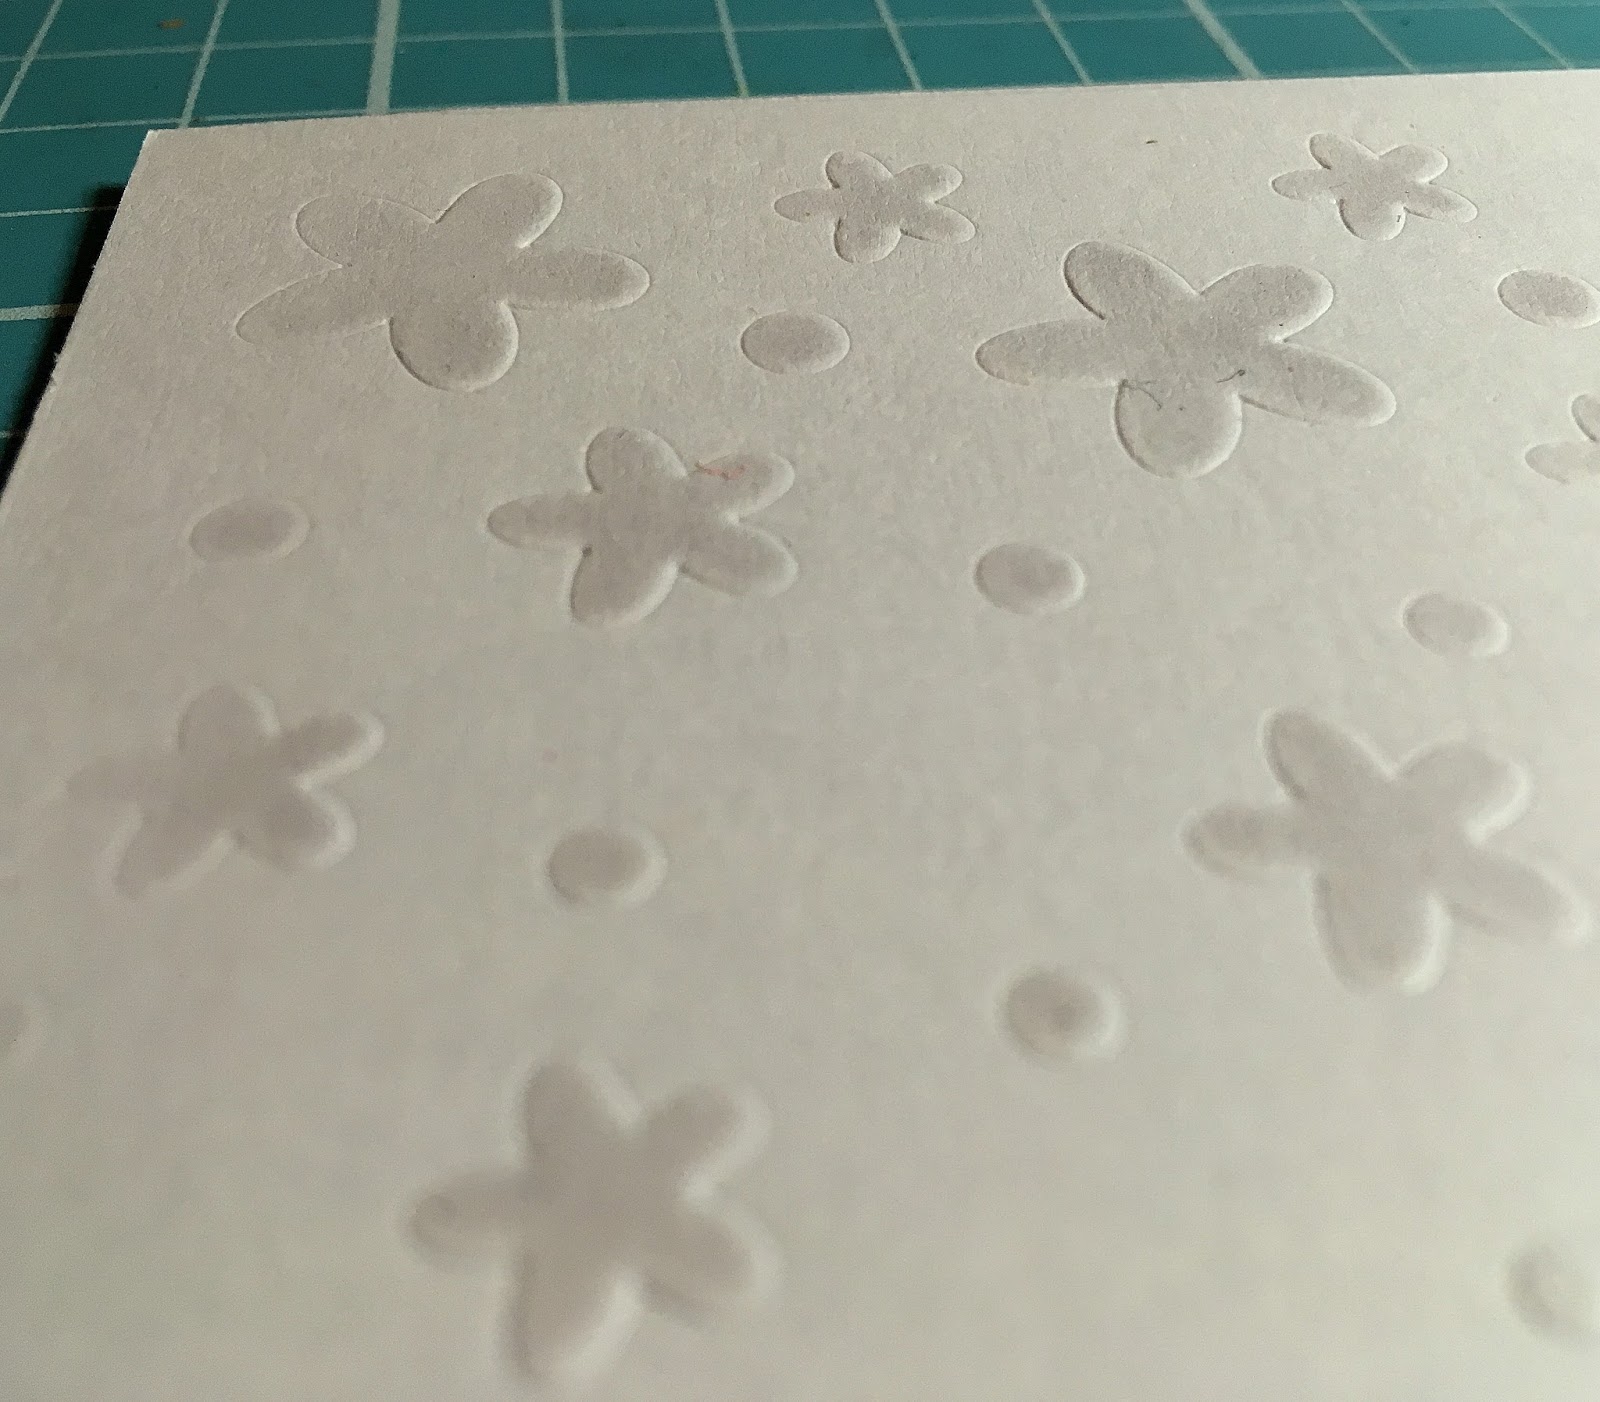
Next step I used the embossing folder with a plain piece of white card and then with a versafine embossing pen traced the raised parts of the pattern before heat embossing with some of Chloe Endeans mix of Wow powders in glacier.


Then, I used the mask with another piece of white card and the Dreamees new pearlescent ink pad in powder puff (a metallic pinky purple with a silver hue). It just gave a shimmer of colour.


After that,  put the mask through my Sizzix machine and it embossed the card just enough to five a nice dimension to the card.


I used my quickie glue pen to glitter the butterflies and dots and my zig chisel edged glue pen to go around the edges of the card to be glittered.


From the papers in the pack I cut out some of the flowers and embossed them with Debbi Moores print magic in crystal.  Print magic is a thick embossing powder encased with glitter. When used with a clear versafine ink pad it leaves an opaque layer on your paper/card. When heat embossed it turns it into glitter card with a firmer texture.


With a few gems and a swirl of foliage using a small piece of rainbow mirri card on a vine metal die, I had my cluster of flowers for the card and you can just see the glitter on the flowers.


I used a sheet of of the candy striped backing paper from the paper pack and mounted the toppers that I had made onto some turquoise centura pearl card which I also used as a base card.  The edges of the toppers have also been glittered before mounting.


At this angle you can also see the clear glitter on the butterflies and flowers and the turquoise pearlescent card just showing through. As the papers from the pack are double sided the back of the butterfly wings on this topper also have colour.


Finished off with tiny heart iridescent heart gems.


A little turquiose ribbon layered under the toppers and a glittered sentiment strip from the pack completes my card for the occasion.


Happy Crafting


Monday, 6 November 2017

Skull and Cross Buns - Pine Cone stamp

Skull & Cross Buns stamps are designed, created and hand carved by Emily. These quirky stamps
are really quite adorable and a good choice if you are looking for an alternative to standard designs on the market.

I ordered the pine cone stamp and was not only impressed at how well made it was, but how well it stamped.  Emily had posted a picture showing her new range of Christmas stamps and I really liked her idea of using the stamps to make your own wrapping paper.

I decided to make some Christmas gift tags and was really happy with the outcome.


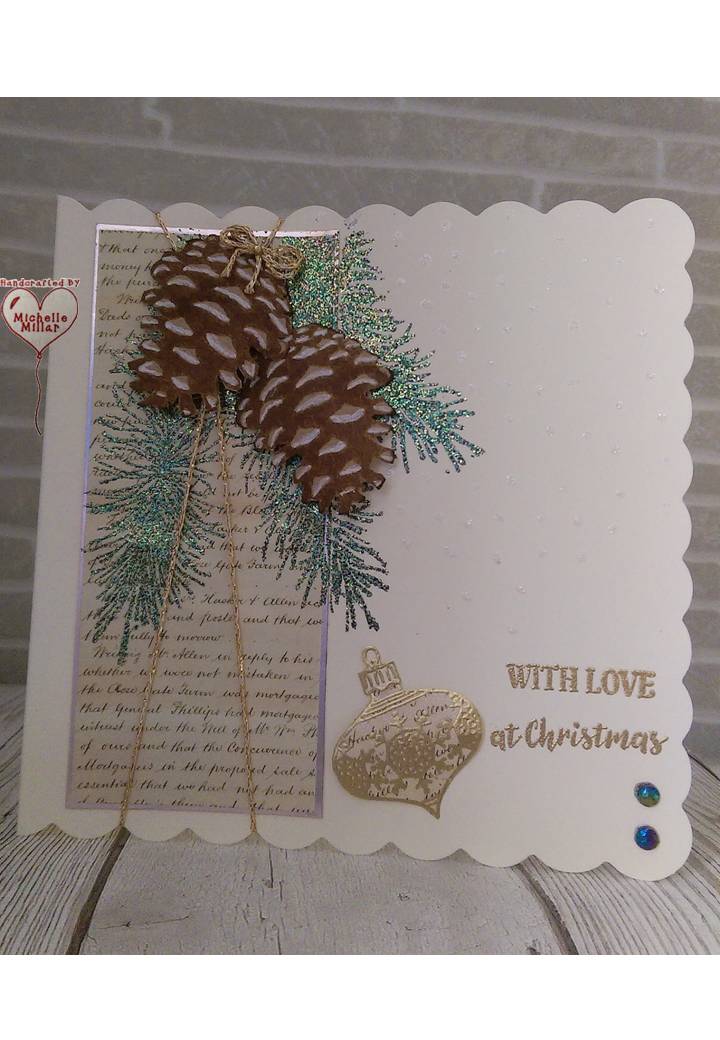
I stamped onto kraft card using the pine cone stamp and moulded it a little to give it some shape. I glued it to the kraft card tag using some pinflair silicone glue gel. Using some script backing paper I stamped and heat embossed the pine branches stamp by Stamps by Chloe, using Chloe's Hollywood Hills Wow glitter embossing powder mix. A little Hobby House Christmas ribbon, a bell and a couple of gems finished off the look I wanted.


This stamp measures 4cm x 4. 8cm and sits on a solid wooden block with their name and icon etched into the side.


I then decided it would be nice to have some Christmas cards to match my tags, so used a scalloped edged cream card blank and repeated the process. I also stamped and heat embossed a bauble onto cream card and added it along with a stamped sentiments using gold superfine Wow embossing powder.  I have highlighted the pine cones with a white gel pen to give the illusion of snow.


Then I decided to have a play with my mica powders. I used the Skull & Cross Buns pine cone stamp to form my background. First I dusted my centura pearl white card with an anti-static bag.  Then I stamped the card using versafine clear embossing ink and tapped a very little metallic mint mica powder onto the card using a soft brush (I have a small soft make up brush which does this very well too). Brush gently and the mica powder will stick to the embossing ink. You only need a very small amount as mica powder goes a long way.

If you want to seal your mica powder so it doesn't transfer onto your hands and everywhere else, a good tip is to spray a very fine mist of hairspray towards your card but not directly onto it. Avoid using a hairspray with conditioners as it will only make it sticky.

For the pine cones this time I heat embossed them onto vellum using topaz Wow embossing glitter, using the pine branch stamp by Stamps by Chloe and Chloe's spruce embossing powder mix.
This is very similar to her Hollywood Hills glitter powder, just a deeper shade.


The Christmas verse is by Stamps by Chloe and has been heat embossed onto vellum using the same topaz embossing glitter powder. I have used the vellum sentiment to make a wrap for the card.

The link for the website is as follows:-

http://www.skullandcrossbuns.com/


Happy Crafting


Monday, 23 October 2017

Stamps by Chloe - Chloe Endean

Today I thought I would share another firm favourite of mine and that's stamps by Chloe. Her cards are always very sparkly and so pretty.

Chloe has her own range of Wow glitter embossing powder mixes which I have a good selection of.  I use the metallic gold and silver super fine embossing powders all the time as with all Wow powders they emboss really well and catch fine detail perfectly without doing dull, which can happen if you heat the powder too long.

I have a mix of spring and winter in this collection


With this card I used Crafters Companion black centura pearl cardstock and a layer of pink pearlescent paper. The Stamps by Chloe flower ring stamp has been heat embossed onto the co-ordinating pearlescent paper twice. I fussy cut around the edge of  the first flower ring so it left me with a pearlescent centre topper and then cut groups of the flowers out of the second ring, which were layered onto the first flower ring to give a little dimension. I like using Pinflair glue gel for dimensional projects. I finished the card of with some little black gems in the centres of the flowers.


Another card made in a different colour way with the Stamps by Chloe Flower Ring. This time it has been heat embossed onto vellum using the super fine Wow embossing powder. It has been layered up in the same way and has a piece of glitter backing paper and a white tonic centura pearl cardstock with a green hue. Finished off with co-ordinating pearls.

These cards were made using my absolute favourite of a flower stamp and that is the Christmas Rose, which at date of posting is still available on Chloes website. Its quite a big flower stamp which stamp beautifully and is so easy to cut out. On these cards I stamped onto Chloes Mars (red) pearlescent paper which is quite thick compared to other pearlescent papers I have used and has a rich lustrous rich sheen to it.

 I used Versamark clear ink and rich gold super fine metallic Wow embossing powder to bring out
the fine detail of this stamp. I also used her pine branches stamp (which I'm not sure is still current, but if you can get hold of it I would recommend you do so as its very versatile and a fab stamp
 to use).  I watched Chloe demo making these flowers and wanted to recreate these on my cards.
After cutting these flowers out use a ball tool in the centre of the flower to give the flower a
 little shape. 

Then, pinch the centre if each leaf between finger and thumb to form a crease. Gently re-inforce
the shape of the flower by using the ball tool in the centre of each flower after you have finished
shaping the petals.

I use a foam mat when shaping my flowers. When you assemble them off set the petals. I use a
tacky pva based glue that dries clear when sticking them together, like Cosmic Shimmer acrylic glue.
I placed a co-ordinating gem in the centre of the flower and left my collection of flowers to dry before constructing my card.

The foliage branches behind the flowers were heat embossed with Chloe's Sparkling Spruce Wow powder mix embossing powder (which has flecks of gold in it) onto heat resistant acetate.
I used Ivory centura pearl cardstock and a Crafters Companion birthday sentiment for the card, along with some glittery peel offs for the names. As these cards were made for birthdays near Christmas, it seemed an ideal flower stamp to use. I these flowers have a real wow effect once you make them up.


This time I have used the Christmas Rose on ivory pearlescent paper and embossed it again with the rich gold super fine embossing powder. The card was made into a flower ring, inspired by the one Chloe Endean made with an acetate layer on each flower. I have to say I loved making this card.


I used heat resistant acetate to emboss the flowers in the same way I made the ivory flowers on pearlescent paper. It is a little more fiddly to shape and pinch the petals on the acetate but is worth it when you put your flowers together. The acetate layer gives such a beautiful delicate dimension to
the flowers which really stand out on the card. Apart from the pine branch foliage you really don't need anything else on your card as the flowers take centre stage.

I used Crafters Companion Timeless double sided cardstock for the card base as I wanted it to co-ordinate with the box I had made for the card. Gold mirri card and ivory centura pearl cardstock
was layered onto the card for a base for the flowers.  This card was made for another Christmas Birthday.


I do think that when you have put a lot of love into making a card for the receiver to enjoy, it should have a box to sit in. Cards like this will hopefully become a keepsake and thus need a box
 to go back into.

I have always scored my cards using my Crafters Companion Ultimate Pro. this was my first major craft purchase. For larger makes like boxes I use their A3 boxer board, it never fails me and I get perfect score lines every time.


The Christmas Rose stamps doesn't have to be used for Christmas, its a very versatile stamp as you can see here I have used it on two special birthday cards.

I have heat embossed these lovely flower stamps onto coloured vellum this time using the silver metallic super fine Wow embossing powder.

With vellum you need to heat emboss very gently, especially if it is not heat resistant as you will risk it buckling and shrivelling up if it gets too much heat. I love embossing onto vellum as it makes your flowers look so delicate and almost like frosted glass.

The detail on this stamp isn't lost using the vellum. This time I haven't creased the petals, just curled each petal gently from the edge using the end of a thin paint brush...would you believe. It does need to be gently so not to crease the vellum as you are going for a very natural curve.

I have used white (with a silver hue|) centura pearl cardstock and  Hunkydory rainbow shimmer mirri board. The dies are the Pretty Pearl circle dies by Tattered Lace. I have also use the same Crafters Companion birthday die.


Another card made using vellum for the flowers but this time for Mothers Day.
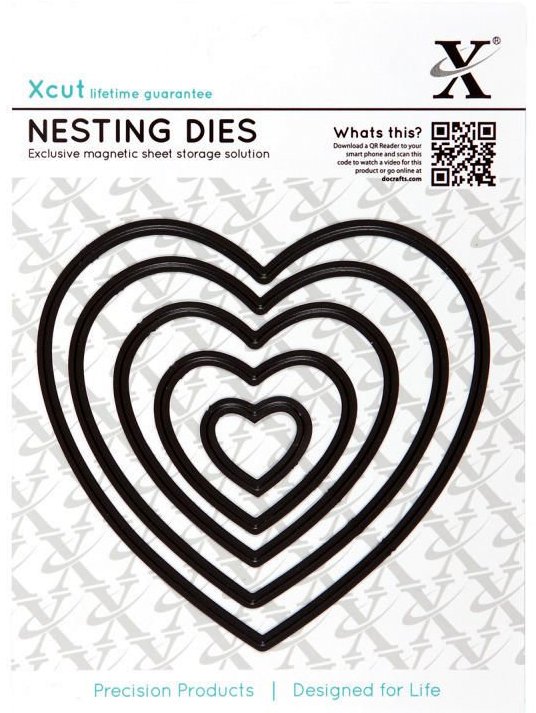
I used white (with a silver fleck) centura pearl cardstock, Hunkydory mirri cards and an Xcut heart die set. The silver swirl die was from The Dreamees.

These are some of the products used:-


If you have any questions about making these flowers or the products I have used, I'd be happy to answer them.

Happy Crafting


Hollywood Glamour Birthday Card

I made these birthday cards a few months ago, ahead of time, as I knew I wouldn't be crafting for a while. For my card base, I used a 7 ...