blog backbdrop

Showing posts with label Autumn Days. Show all posts

Monday, 17 October 2022

October Flip Flap book pages

 Autumn is definitely my favourite season, although it does feel a little short this year with all the crazy temperatures that we have been having.

I'm sharing my last flip flap book pages for the time being from our Dreamees group swap, although I have really enjoyed doing these ones as I have Autumn themed them, well I had to really.....


For page one I created a kitchen inspired chalkboard followed by an Autumnal tag on page two and its accompanying Autumnal verse.


I decided to recreate a similar version of something that I had made before but much smaller to fit onto a 6 x 6 inch page. I gessoed a piece of card (leftover card packaging from soup) to create a base for the chalkboard paint. I didn't want it to be too heavy for the page either and had to be very patient to let it dry completely before checking that it had worked.  I then embellished the page with some die cuts for a bit of a country kitchen look.


My second page I based around the Autumnal tag with this cute little digi owl from one of Hayleys CDs, this was also a stamp and the papers/embellishments are from the Woodland Wonders collection. This Totally Timber paper pad has some lovely grainy timber paper for projects and I've added an Autumnal verse  to mark the season.


On the flip side more Autumnal vibes with pumpkins on my third page and an Autumnal wreath for my final page.


I used my Dreamees Autumn Days stamp on this page and decoupaged the pumpkins to add dimension, I also did this for the barrel which I stamped out twice and inked the panels to make them look aged.

My smallest Dreamees dies came in very handy to fill the background with an array of mini blooms and of course some Stickles glitter glue to add a little sparkle.


On my final page, I decided on an Autumnal wreath using the fretwork star die which has been heat embossed with vintage photo distress ink and clear embossing powder onto kraft card.

I then built the wreath up with a mix of all my foliage die cuts and I even found a few stamped leaves from my fall & foliage set. I added the tiny inked rolled roses last and finished off with some Stickles glitter glue/pearl drops.

A few nature pics to finish on...


The last of my sunflowers in the garden. These smaller headed lemon valentine varieties are really pretty and the blue tits perch on their gangly stems as they are next to the bird feeder.
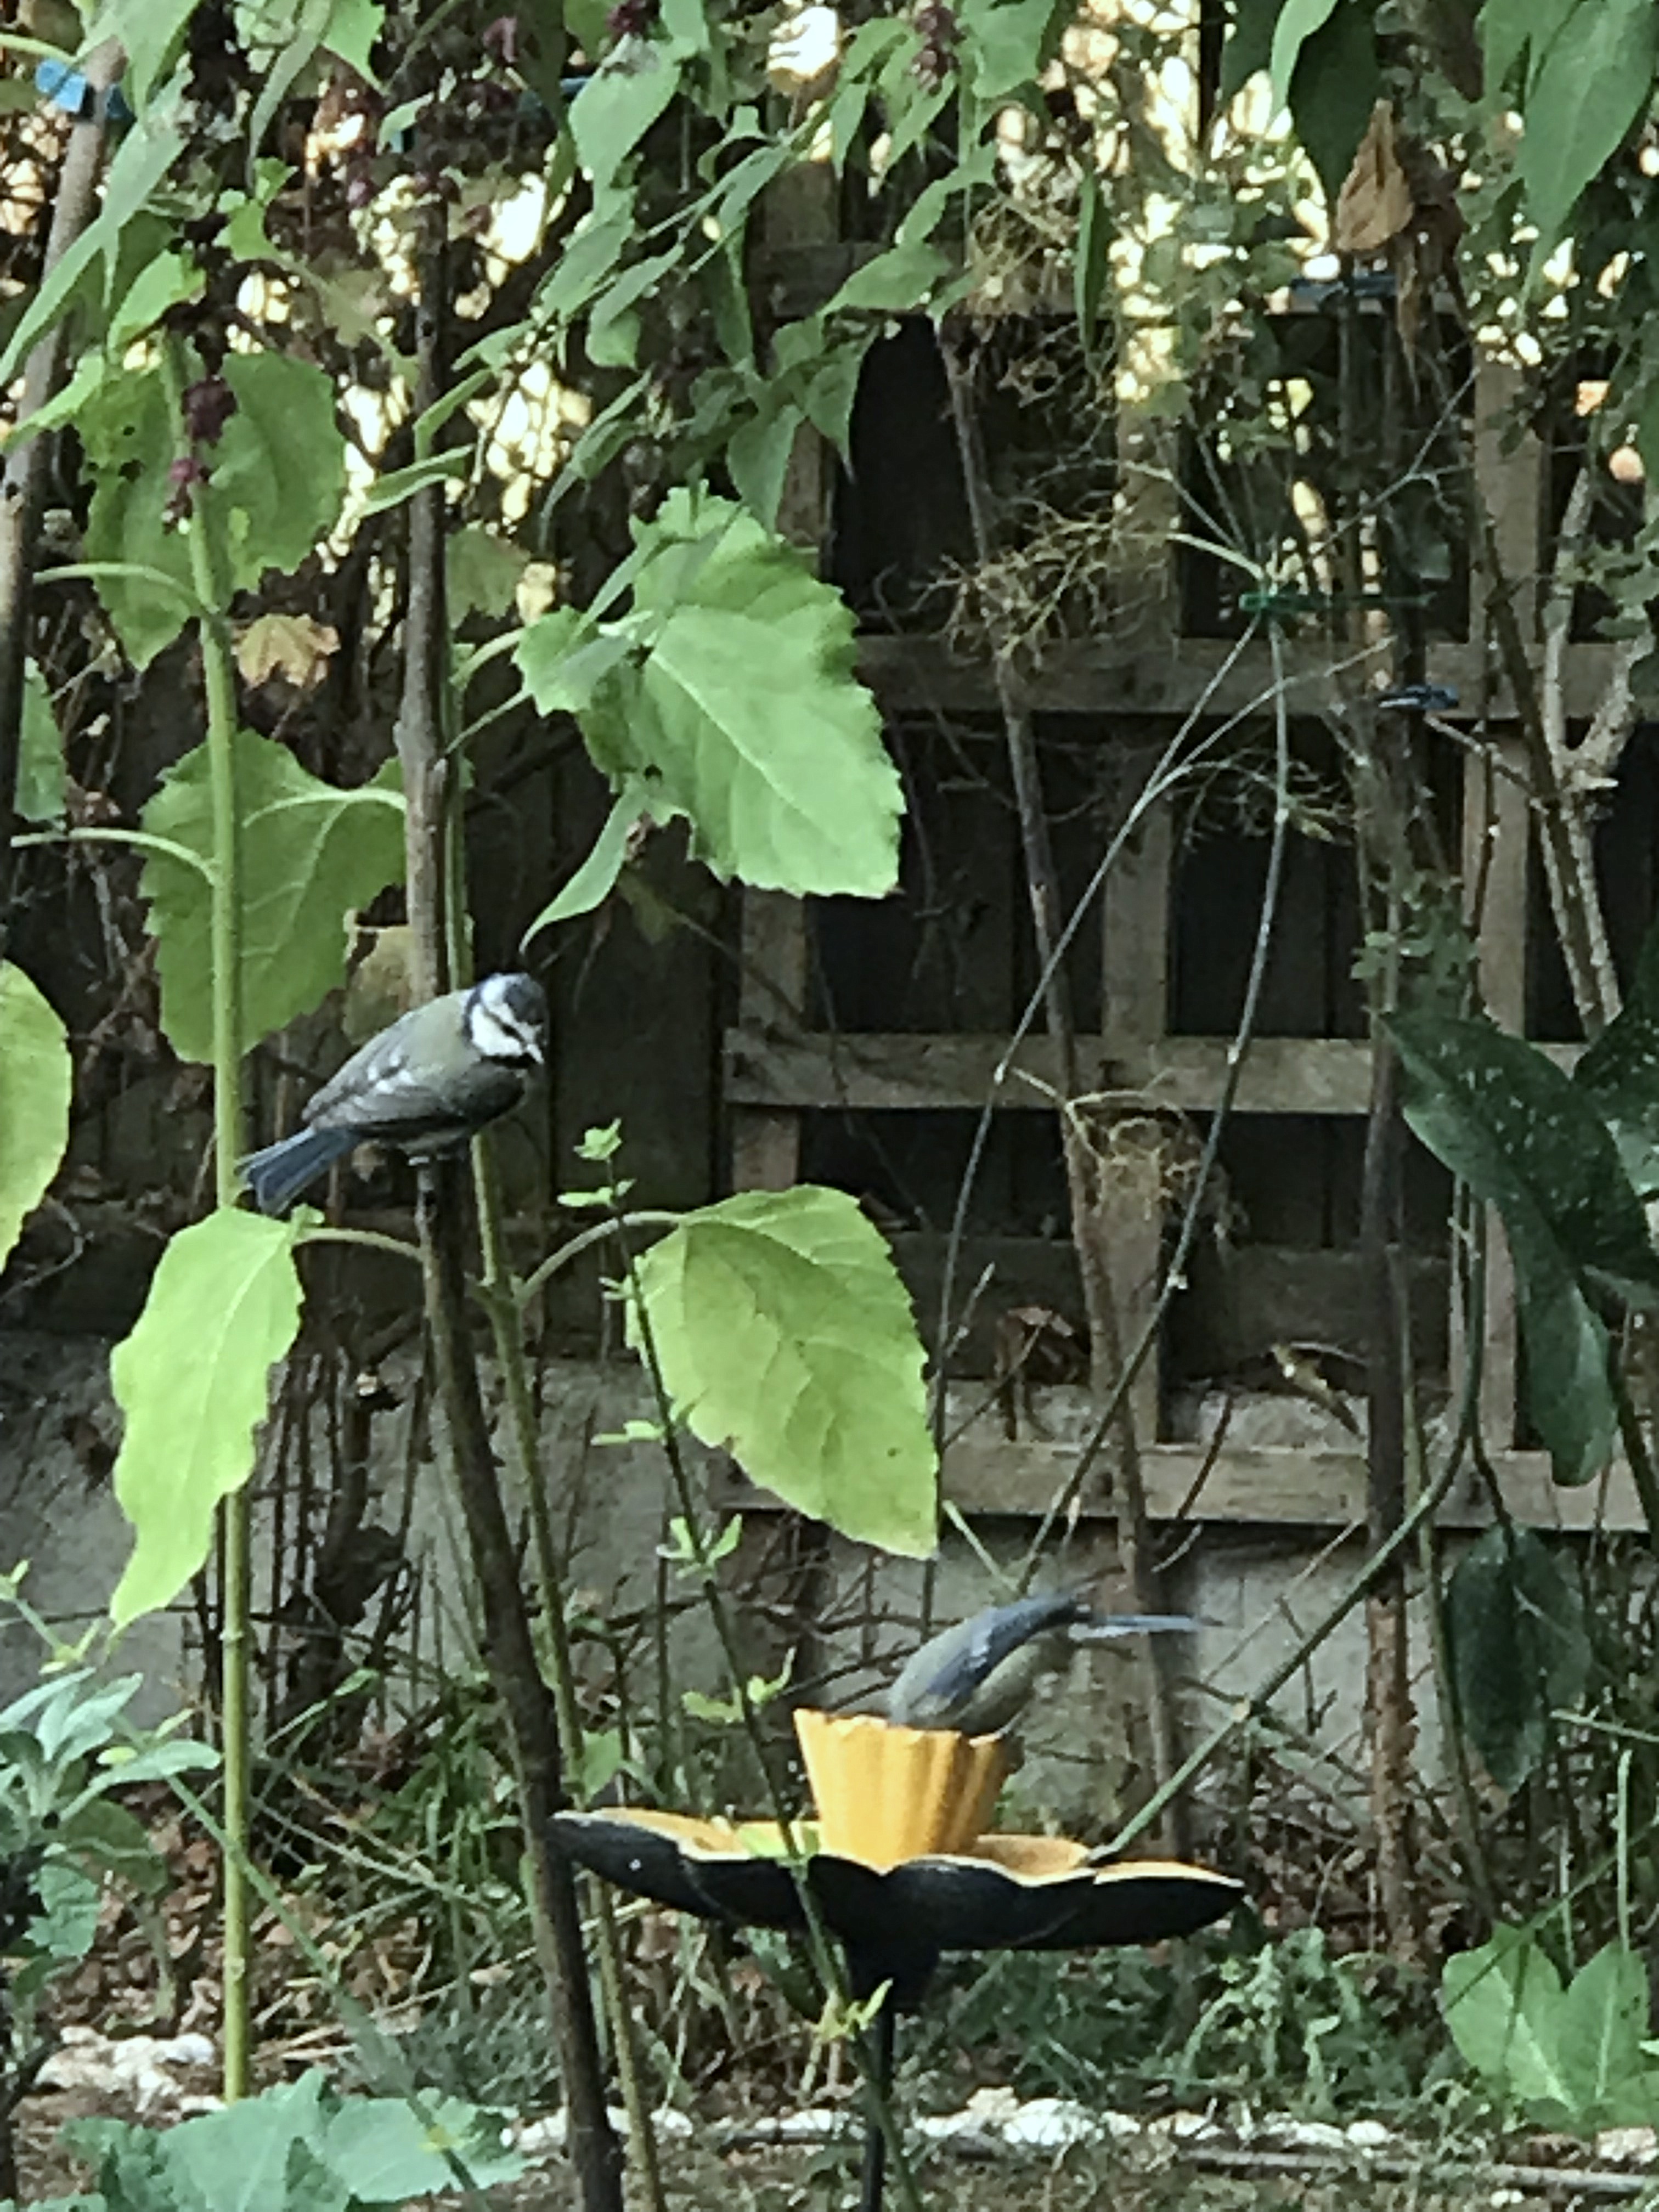

I have a few of these flower feeders dotted around my garden as the small birds seem to prefer them and to bath in them too.


I tidied up my garden a bit, not too much as it's always been more wildlife friendly and always under the supervision of my feathered friends who are keen to see if I unearth a worm or too.


I have watched this one grow from a fledgling, a very mottled chestnut with just her head to go and one of the culprits for demolishing the bug homes that are dotted around the garden also.  I go gathering pinecones for my garden and what doesn't get gnawed by the squirrels or the mouse, will get tossed around the garden in a game of ping pong by the birds. Well, at least it keeps someone entertained.

Have a great week whatever you have planned for yourself and I hope your day is a good one too.

Happy crafting


Sunday, 5 June 2022

May's Memory Book Page

Today I am sharing May's flip-flap memory book pages for our Dreamees monthly group swap.  


I try to use as many Dreamees products where possible to comply with the swap but more importantly, it's about having fun creating. 

With these pages, I picked a sewing theme and carried it all the way through and as always, it's so easy to mix your Dreamees collections, old and new to get the most out of them instead of leaving them redundant in the draw.

I really like this Festive Fretwork flower die set, they are perfect as Christmas flowers and make beautiful all-year-round blooms too with their textured petals on the larger dies.

The Dreamees did a sewing stamp and cd collection some time ago which I have made good use of in my project and still find their cds come in very handy from time to time, especially for themed papers and toppers, like this little fob watch which I printed onto one of their papers.


I wanted to create lots of different textures on these pages. On here I used that cute little mouse stamp from Autumn days looking up at the calendar from the perfect planners stamp set.

I have created the sentiment plaque using Debbi Moore's metal magic, which works on a similar basis as an embossing powder. Once the powder has melted, it can be stamped into and then sets like an embellishment.


The page concertinas out with some mini pieces of inspiration on each side, each made to look as if they have been stitched 
I have used the basket from their endless possibilities set with air dry clay for my basket of felt flowers. Being a sewing theme I also made good use of my stitching tool and some embroidery thread.  I know my swap partner has dogs so I have added a stamped image of this cute little pup under the recipe sentiment.


For a different texture, I used film and fibers, on my tangled treat butterfly and this accompanied my usual ATC card that I always add with my book pages.


On the flip side of the concertina page, I have stamped some bees buzzing around some honeycomb which I have made using a little air dry clay again from one of their stamps. Air-dry clay is really light so works well for added texture in these projects. 

I find Das clay from The Works/Hobbycraft is pretty good for small pieces like this. It's inexpensive and once opened if you keep it in an airtight box with a baby wipe inside it extends the life of your clay.


On the reverse side of the pages, I have gone for a more vintage shabby vibe.
I found a template for the button card and covered it with Dreamees papers. The buttons were made using a die by Tattered Lace and it has proved to be a very handy embellishment for projects but lots of your little stamps can be made into embellishment too, like the pins, needles, and scissors that I have used all over this project, with the help of glossy accent!


I've used a small piece of corrugated cardboard as a base for my stamped mannequin. This has been dry brushed with gesso before adding a small piece of rice paper to one corner. With one of the Dreamees little book of textures, I stenciled some white texture mousse for interest. Once dry, I went over it with a little white pearl drops.

The little flowers were from one of their CDs and I have also added glossy accent to the stamped image of the sewing machine.


For the pockets that I created on the next page, I found these little Toppers on one of the Dreamees CDs which I printed onto some of their patterned paper and then backed onto cardstock ready to embellish.


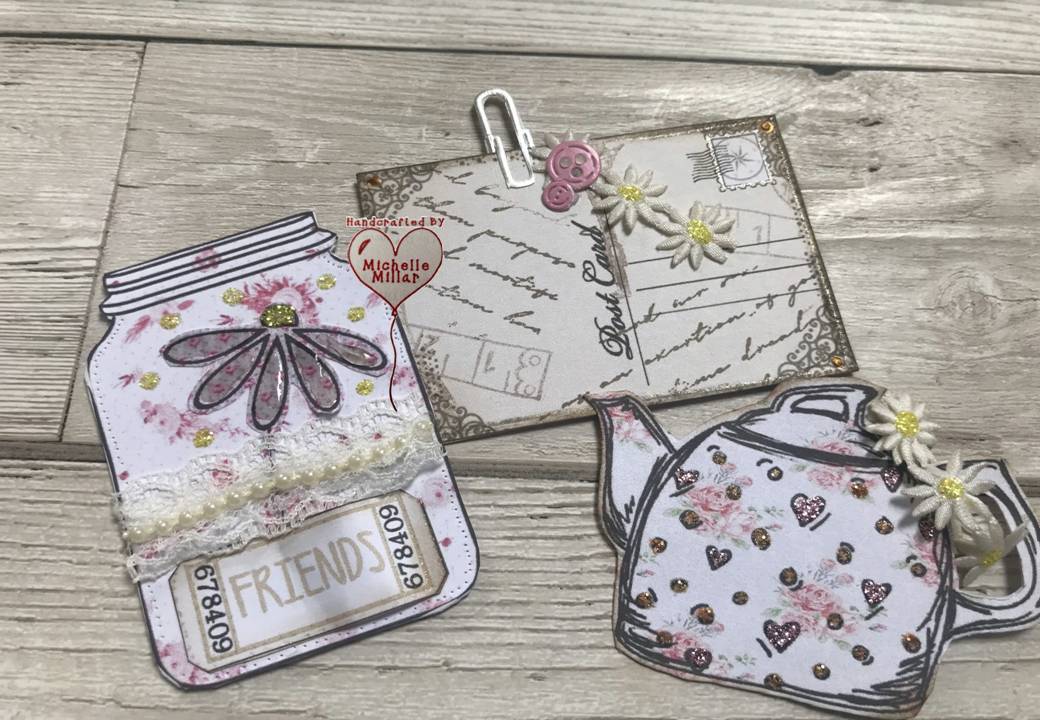
I had forgotten that Hayley Bignall had also created some digi images on some of her CDs and here this little daisy came in very handy on the jar. With a little background stamping on the postcard they just needed a little bling in the shape of stickles glitter glue.


A few inspirational quotes on the back of my tags to finish on. All those little odd pieces of ribbon and lace have been ideal for this project. I am still using my stash of mixed ribbon and lace that I bought from a charity shop pre- covid. I have certainly put my lucky find to good use.

This is a lovely group project swap to be part of especially as I can pick it up and keep adding to it over the course of the month until I am happy that I have done enough with it.

Have a great day, whatever you have planned for yourself
Happy crafting

Wednesday, 2 March 2022

Februarys Memory Book Page

I have another memory book page to share with you, which is part of a monthly group craft swap project that I have signed up to for this year.


The aim is to use as many Dreamees products where possible but more importantly to have fun creating. 

I've used our usual 6x6 inch kraft card base which we are all using for our "flip flap book" page swaps, so that after all the swaps are complete, these book pages will fit into the spine that Carol Bignall has shown us how to make.

For the first side, I've used papers from the Rose Garden paper pad and a selection of dies. In the lattice pocket, I made a decorated tag in its own matching decorated string envelope.


I found a template for the string envelope online, which I think will be very handy to use with my patterned papers for other projects.  Using a small piece of heavyweight kraft card, I created lots of layers for my shabby chic tag mixing in some lace, ribbon and die-cut embellishments.


These sentiment recipe stamps are a really nice touch in projects like this.


I also like making embellishments out of stamps and this retired stamp was one of the Dreamees very early stamps. I thought that it would make a sweet little hanging embellishment so added some glossy accent for some texture and a glitter pen around the heart.

A stamped sentiment on the reverse of my little mug


I found a poem for the winter month of February which I added under the first flap and used the rest of the cute little mice from the Autumn Days stamp set, placing them in the barrel from another set.


At the base of the second flap, I popped in an ATC card which was created using one of these cute stamps from their mushroom house stamp set.


I also added another ATC card using one of the Kokeshi doll digi stamps from Vera Lane's digi stamp collection for this month's swap.


On the reverse side of the book page I used the Dreamees Aquamarine paper pad


I created an acetate frame for my stamped flowers using the loops and lace oval die and had to keep in mind not to add too much dimension as it was going in a book.


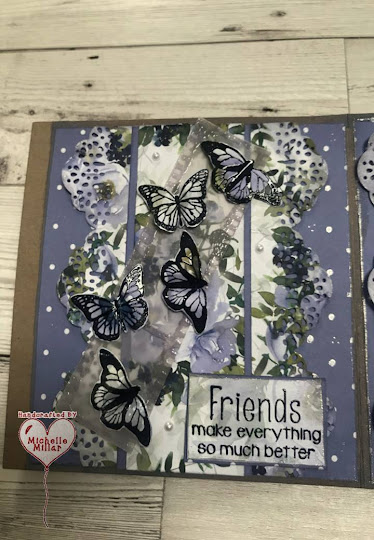
The butterflies have been heat embossed onto the same pretty design paper and then attached to a stamped/heat embossed piece of grey vellum film strip.

I have traced over various areas of the book page with a shimmer pen to add a little twinkle here and there and bring out some of the lovely colours in the design papers.

This is the only project that I have made a craft commitment to this year and have been enjoying being part of it.  I have a month to complete these projects which is great because I can pace myself and plan these small projects out and although I have cut back on all my crafting now, it's important that I still continue to do the things that I enjoy.

I have already received two gorgeous memory book pages from my swap partners for my "flip flap" memory book and love how each page is so unique and beautifully put together and that is what is so great about these projects, every page will be different.

Have a great day, whatever you have planned for yourself
Happy crafting


Monday, 2 December 2019

Inspiration Journal

Today I am sharing an inspiration journal I made for a special young lady.


I decided to use kraft card as my base and was pretty happy with how it took the ink especially as each page is double sided.  Each sheet is A5 in size.  I have used Tim Holtz distress oxide inks throughout my journal for that chalky texture and especially as you can layer the inks on top of each other without losing definition.


As well as keeping this quite simple I wanted it to have lots of inspirational sentiments and knowing Poppy's love of art I thought these pages would appeal to her.


Hansa Hand

Traditionally an ancient middle eastern amulet symbolising the hand of Fatima. The protective sign symbolises happiness, luck & good fortune.  There are many different styles and I have sketched a hand with the all seeing eye, watching over humanity and warding off negativity.
I have used a mandala stencil on the backround to tie in with the sketch.


Artist Trading Cards

With a washi tape background, I used a selection of Vera Lane Studios digi stamps.
  • pray n playing
  • just fly
  • puddle jumps


I have used marble backgrounds on my cards using the ink and shaving foam technique ( which also makes the card smell lovely, as it happened to be cocoa butter shaving foam).

I am not a colourist but don't mind colouring small areas and have used promarkers to do this which I found much easier to use than the spectrum noir aqua markers that I had been given.


The Oak Tree Poem 

Inspired by the Oak Tree poem by Johnny Ray Ryder, I drew a tree to fit around the poem using the fall and foliage stamps by the Dreamees also using the stamps as a background for my tree. I absolutely love this poem.


Attached to the page as a flap.


Shine Bright

Using the shine bright and the ripple effect stamp sets by Visible Image,  on a distress oxide background.  Then stencilled with Dreamees dinky inkie pearlescent ink in mellow yellow. The ripple stamp has been heat embossed with gold embossing powder.


Just be Happy

The Visible Image just be happy stamp mixed with the ripple effect stamp to create the bubbles. I have also added some glossy accent to some of the bubbles for texture.


The Friendship Dish

I love this friendships dish stamp by the  Dreamees and have used some heat embossed a set of their flower stamps for a background.


Believe

I have used the Visible Image dragonfly stamp with versamark ink and mica powders and word stamps by Inkilicious. The sentiment added at the bottom was very apt for the page.


Be a Mermaid

I have used a mix of distress oxides and mica powders for the background and a mermaid stamp by stampendous along with a nautical set of stamps by Sheena Douglass from her Sea View collection.
I particularly liked the inspirational sentiments.


Fly

Although the background looks patchy on this one, it was made with antique linen and frayed burlap distress oxides. The sentiment and black butterflies are from the butterfly blot stamp set by Imagine Design Create.  The large heat embossed butterflies are from Crafty Individuals.


Make a Wish

Using distress oxides again and white opaque ink through a stencil which was them heat embossed with clear embossing powder. Also using the Face it & beautifully flawed stamps from Visible Image. 


Creativity

I love this inspirational stamp set by Visible Image and have teamed it up with this cute Autumn days stamp set by the Dreamees.


You've got Mail


The background is made up of a dictionary page referencing :-  letters/post with little envelopes holding quotes from Alice in Wonderland.


I have used a mix of Dreamees stamps for the background, masking off the face stamp and using antique linen distress oxide for the skin tone on the kraft card.


On the tag, I have used a digi image by Vera Lane Studios using one of her Kokeshi dolls.

I really enjoyed making this journal and didn't have a specific plan when I started it, just went with the flow.  I think that is what is really enjoyable about journal pages, they tend to be a bit of a voyage of discovery. There is no right or wrong with mixed media and sometimes the best work is achieved totally by accident.

Happy Crafting!


Decorated Mdf Storage Box

One of the things I really enjoy doing is decorating boxes, especially as they are really handy for keeping all your crafting accessories in...