The Dreamees are a friendly, family run business (mother & daughter) that create products I love to craft with. Hayley Bignall hand draws all her own stamps and mum Carol Bignall puts all the CD Roms, together they bring inspirational products that are not just great quality but good value for money. We mustn't forget Jimmy... Hayleys other half, who makes all the mdf and runs MDF IT.
You can buy their products from The Dreamees website or of Create & Craft, where they regularly bring themed bundles at one time only deals that you wont necessarily find on their website. What you will get by watching their shows on Create & Craft is bags of inspiration from their demos which is why I have the ever growing collection that I do.
http://www.dreamees.org.uk/
http://www.mdfit.uk/
https://www.createandcraft.com/gb/
The first stamps brought of The Dreamees were the Ditsy Stitch Flower Stamp & Friendship Stamp.
I made this stamp using the friendship stamp, which was stamped onto cream card and then glued to the oval mdf plaque using Collall multi purpose glue which dries clear. I then made the flowers using the Ditsy Stitch flower stamp which was stamped onto a lightweight cream card and coloured in with promarkers. I added a little ribbon and pearl strings to finish it off.

On this plaque I used black acrylic paint and stamped onto the mdf with versafine clear embossing ink and used bright white Wow embossing powder. A little faux stitching with a white gel pen and ribbon to finish of my plaque.
On this Dreamees plaque I heat embossed onto Mars red pearlescent paper (by Stamps by Chloe)
and glued it to the centre plaque. The outer frame plaque was decorated with black centura pearl cardstock and Ditsy Stitch flowers which were heat embossed onto the co-ordinating pearlescent paper with black embossing powder.
One of my friends had a Mad Hatters Tea Party themed birthday party so I thought I'd make her card loosely themed on this using. The hat template on The Dreamees Templates and More cd had the ideal template for the hat and after seeing Carol's sample, I thought it would be such a pretty make.
I printed the templates out on craft card and the backing papers and baking paper onto white pearlescent paper. I also printed off a colour selection of the paper rose templates and started to
put it all together.
I chose white, pink and taupe roses and glued them to the hat using a glue gun, tying a thick white bow around the centre and finishing off with Dreamees pearls. I inked the rim of the hat with Tim Holtz Victorian Velvet distress ink. It softens the look of the hat a little.
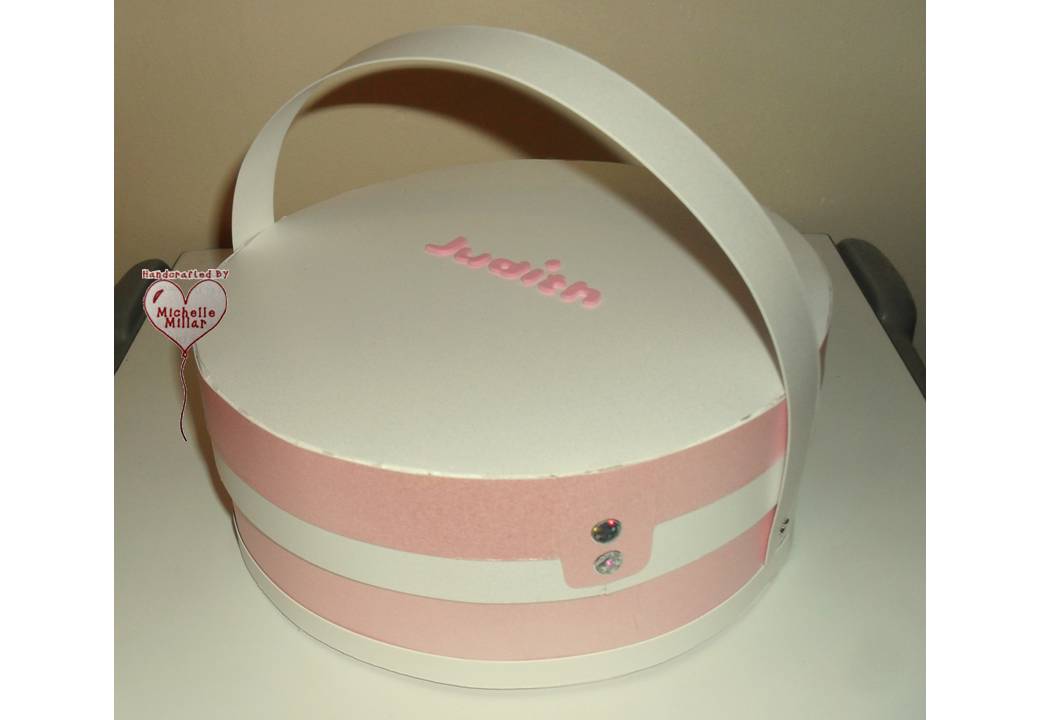
Thinking that all god hats should have a box, I decided to make one using Crafters Companion centura pearl cardstock which is 300gsm and great for construction and scoring. I didn't have a pattern for the box, it was sort of by eye. I used coordinating card especially for the band
around the hat box. A few sourced playing cards for the hat and the box all to tie it in.
Another project was some Christmas Dreamees MDF which I decorated for a Christmas Fayre.

The large sleigh was decorated with papers from The Dreamees Simply Christmas cd
The flowers were some I had made and were left over from a previous project by Debbi Moore.
They just happened to be the colour I was looking for, which was handy.

I used one of the snowflake stamps from the Precious Poinsettia Christmas stamp set, on the ice skate. I stamped and heat embossed some cream paper with super fine Wow embossing powder,
then stuck it to the mdf using collall multi purpose glue. The I trimmed around the boot.
The small sleigh was also covered with papers from The Dreamees Simply Christmas cd
and the poinsettia was made using one of the flower stamps from the set.
I used sentiments for the Christmas cd along with papers from The Dreamees Simply Christmas cd finishing off with two little red bells.
The mdf tags in the set were just simply decorated with lightweight cream card, a little hessian, suede cord and a Live, Love, Laugh sentiment.
There were two sets of mdf mittens in the set, these are the large mittens decorated with papers from The Dreamees Simply Christmas cd and some pom poms I had made.
Wanted a different look for the quirky mdf Christmas tree, so I covered it with cream glitter card
and used some gem strips for crystal decorations.
Some Dreamees mdf baubles decorated with Dreamees Christmas backing papers and some ribbon and gems to co-ordinate.
That familiar Dreamees Friendship stamp on with poinsettia flowers which have been stamped onto coloured paper.
These mdf plaques proved very popular. I made them using cork backed coasters that were donated to me as they were no longer used. I stamped onto black card with a versafine clear ink pad and used bright white super fine Wow embossing powder with the Jingle Bells stamp from the Dreamees Poinsettia stamp set. I always use an anti static bag when embossing especially with a sentiment stamp to get rid of any stray flecks of powder that want to stick too.
I then stuck my stamped sentiment to the smooth side of the coaster using a tacky pva based glue like Cosmic Shimmer. I made the poinsettias using the same flowers from the stamp set onto coloured paper with a few drops of black diamond stickles in the centre. Some faux stitching with a white gel pen and some ribbon glued to the back (cork side) of the coaster with a hot glue gun and they were ready to go...and they certainly did.

#
 |
anti static bag.
|
I quickly discovered a great love for decorating mdf and have many creations to share with you.
This Dreamees Home mdf kit was decorated using papers from The Dreamees tangled cd. I just added The Dreamees mdf heart and kept the mdf bunting for another project. I also used the Dotty Letters stamp set on the mdf heart.
I printed the flowers from the Dreamees Tangled cd onto light weight cream paper and used a Spectrum Noir sparkle clear overlay pen on the flowers to give them a shimmer.
The Spectrum Sparkle Overlay Pens come in pack of 3 and are great to use in your crafting.
They add a gentle shimmer to your projects and come in various colours also.
Available from Crafters Companion and various other craft outlets.
 |
| Dotty Alphabet |
The Dreamees Fall & Foliage stamp set is such a versatile stamp set, one I have used a lot in my projects. I stamped these lovely leaves onto some co-ordinations card and inked the edges with Tim Holtz gathered twigs distress ink. The mdf drift wood shape is from Stamps Away and I used a Stamping Up bark stamp for the back ground, which was stamped onto craft card first.
The sentiment is from one of The Dreamees cds.
I used this Dreamees mdf plaque to make a baking plaque for a birthday gift. I used The Dreamees Dotty Alphabet, some baking embellishments and a piece of Santoro Mirabelle backing paper which had textured roses on it.
This was the second baking plaque I made, using backing papers from The Dreamees Subtle Sweetness paper set, The Dotty Alphabet stamp set a few butterflies from the Fall & Foliage stamp set and some more baking embellishments.
A Dreamees mdf jam jar this time decorated with papers from their Subtle Sweetness set, the recipe stamp from their Recipe Bundle 2 stamp set, some bees from the Sweet as Honey stamp set and an embossed flower from the swirly & sensational stamp set.
An alternative jam jar from The Dreamees. This time decorated with papers from Whimsical Wonders and a Friendship Recipe stamp from the 1st Recipe Bundle stamp set.
A few more Dreamees mdf pieces using the Whimsical Wonders papers and The Dreamees
Pretty Pearls stamps set which has been heat embossed onto vellum using icicle glitter and sparling spruce Wow embossing powder. I first painted the mdf with duck egg chalk paint for a textured finish.
On these piece I used The Dreamees Friendship Dish stamp set
I used the summer mix of Wow embossing powder by Stamps by Chloe to emboss these flowers onto vellum. The Dreamees have since brought out a lovely collection of their own embossing powders but these projects were made prior to me having them.
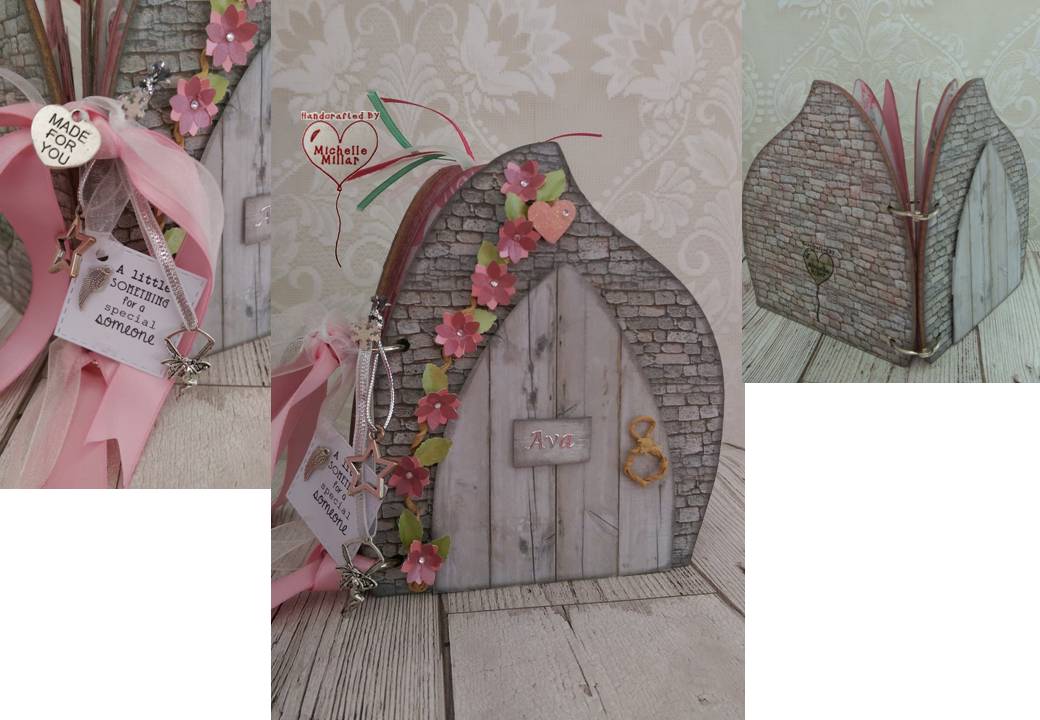
Ava loves fairies (and so do I) !! Its just as well I have a cd by the Dreamees called Fantastic Fairies, where this backing paper has come from. The large mdf fairy I sourced and painted it with black acrylic paint. I added a peel off and her name to complete her hanging plaque in her favourite colour.
I made this Dresser as an alternative birthday card for my daughter using The Dreamees Templates & More cd. I used craft card to make it with as its a good card for constructing and backing papers from the same cd which have been printed onto pearlescent paper. I have also used a Crafters Companion Downton Abby die for the mirror and sourced some dressing table embellishments. The miniature card is actually from the cd, I shrunk it down as small as I could to make a miniature version of it. I put pearl brads on the draws which open and finished it of with adhesive pearl strings and a bow.
My last project to share with you today.....for now is my Sparking Bouquet. I was given this lovely mini bottle of wine and after I finished it, instead of recycling it, I decided to upcycle it!
So I set to work stamping lots of little flowers from The Dreamees Pretty Pearls stamp set onto vellum and heat embossed it using gold metallic super fine Wow embossing powder. With some Dreamees pearls in the centre I then strategically stuck them onto my bottle using a hot glue gun.
I was really pleased with the outcome.
Well, I've shared a selection of my Dreamees mdf projects with you, along with a few others to start with. Stay turned for some cards which I shall be sharing with you next time. Until then...
Happy Crafting