blog backbdrop

Showing posts with label Skull & Cross Buns. Show all posts

Wednesday, 30 December 2020

Last of the festive cheer

As we are close to ringing out the end of this year I thought I would just share the few cards that I managed to get made which were only a handful by all accounts.

My little collection all made with my festive Dreamees stamps and Loops and Lace die collection by the Dreamees which as you can see a lot of my cards has been my favourite go to die set collection lately. I particularly love this Santa Paws stamp set that Hayley Bignall designed, which really does capture a traditional essence of Christmas.


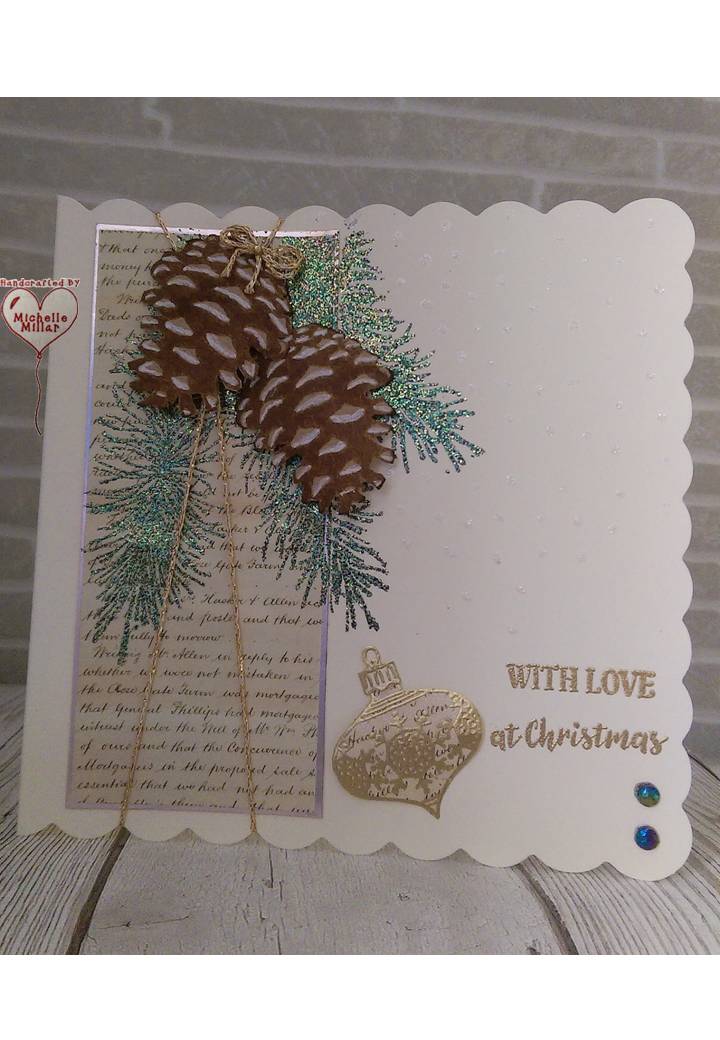
Each card does vary as I don't like making identical cards. The card above has the addition of the pine cone stamp by Skull & Cross Buns to match the tag Christmas tag I made earlier.


I made all the festive flowers using the Loops & Lace flower dies and used mostly Dreamees festive design papers from their past CDs and paper pads. I painted my stamped images using my second generation dinky inkies.


This adorable stamp is also part of the Santa Paws stamp set and with a bit of imagination, you could adapt this and use all year round. I know I am biased where Dreamees are concerned but when you love what you use its only natural that you want to share it with others too.

I love using my Stickles glitter glue in frosted lace at Christmas for all those snowy icy edges as it adds that perfect amount of glittery texture that doesn't rub off like glitter can do.


These sparkle dinky inkies are brilliant. They just add the right amount of shimmer without going over the top but you can intensify that sparkle with the  re-inkers  should you want to.
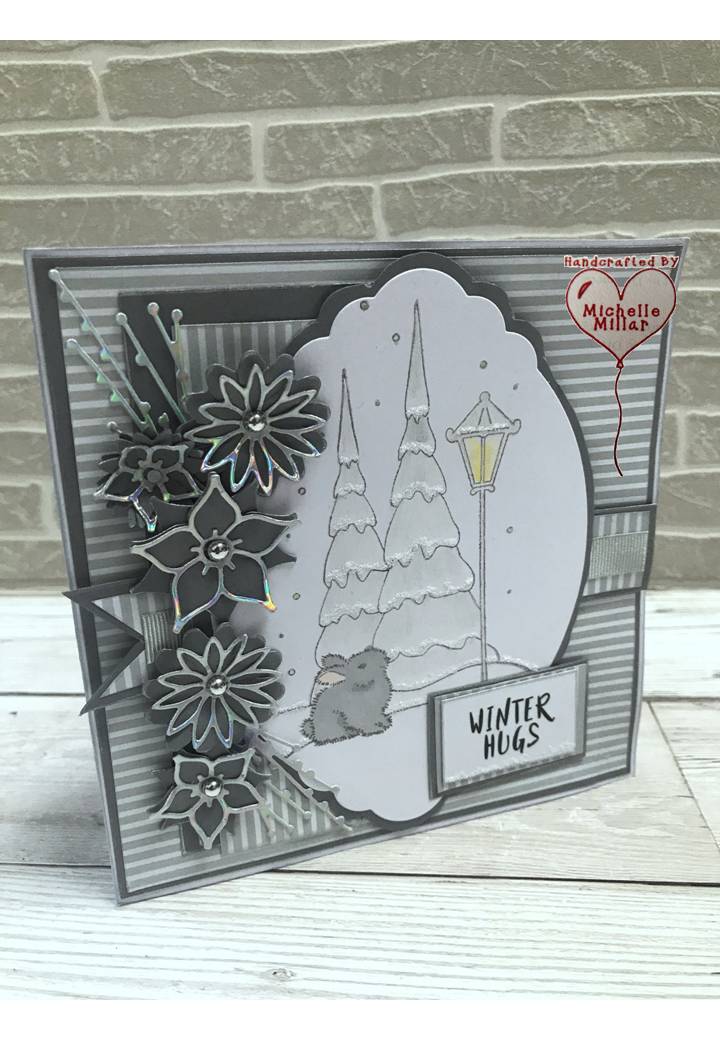
Some of the sentiments were Festive Dreamees ones from a past printed Christmas collection with backing papers.

The adorable winter bunny was coloured in with a promarker. I wanted him to stand out and the colour worked well.


And something a little different using a little mdf stocking and the Christmas sentiment tab stamps.

Finally, finishing with another stocking card made for my brother in law and family using the little mdf stockings by the Dreamees and the little fir tree branch die by Tattered Lace. For the background, I also used the poinsettia embossing folder.  I added a few miniature bells to the edge of the card and some stickles glitter glue in frosted lace for a snowy effect.

I had hoped to make a lot more cards this year but unfortunately, it just didn't turn out that way, which is a shame but not the end of the world.
Enjoy your evening
Happy Crafting


Thursday, 5 November 2020

Christmas Tags

 A little festive offering for you today in the shape of a large gift tag for presents, stockings or just to loop over the door handle to show that "Santa has been"......


Also, this is the last challenge for the year for us at Daisy Chains Blog Challenges, so we are seeing it out with a festive one but as with all our challenges, they are also ATG.


For my topper, I used one of the stamps from the Dreamees Santa Paws stamp set which has been stamped with Versmark ink and heat embossed with bright white opaque Wow embossing powder onto some Crafters Companion Neena Desert Storm card stock that I found in my stash. I used my Dreamees sparkle dinky inky reinkers to colour the image. When my image was dry, I went over the fur trim with my stickles in frosted lace, which is another of my favourite things to use. Also handy for my snowflakes as the stickles leave just the right amount of texture and sparkle. I used the walnut sparkle dinky inky around the edges of my die.

My stamped topper has been die cut using the Dreamees Loops and Lace square frame die. I die cut this again using the outer die, but this time onto a piece of kraft card and then used their poinsettia embossing folder (another favourite of mine) for added texture to the back.


For my pinecones, I used this gorgeous stamp by Skull and Cross Buns. I have had this stamp a few years and Emily designs all her stamps herself, just like the Dreamees.  Its a good sized chunky rubber stamp that comes mounted on a wooden block and stamps perfectly every time. I have stamped on both sides of my pine cone so that you have the detail on the reverse also.

This Crystal branch stamps is faithful go to every year from Stamps by Chloe - Chloe Endean. Unfortunately, this stamp is now retired. I use a lot of Chloe's Wow mix embossing powders too. I have stamped and heat embossed with versamark ink and Chloe's Hollywood Hills Wow embossing powder onto acetate.


For the tag I have used a piece of red textured 300gsm colour core card with some patterned paper from my stash that was printed onto this great velvet paper the Dreamees used to stock, which has a suede texture to it.   To match the stitched ribbon that I had used, I edged my label with a white gel pen. 

The rest of our design team have also been making some lovely projects this month, along with so many great crafters on our blog every month. It's always lovely to see the inspiration everyone shares. Please use the link below to take you to the blog challenge and thanks for the visit.


Happy crafting


Monday, 6 November 2017

Skull and Cross Buns - Pine Cone stamp

Skull & Cross Buns stamps are designed, created and hand carved by Emily. These quirky stamps
are really quite adorable and a good choice if you are looking for an alternative to standard designs on the market.

I ordered the pine cone stamp and was not only impressed at how well made it was, but how well it stamped.  Emily had posted a picture showing her new range of Christmas stamps and I really liked her idea of using the stamps to make your own wrapping paper.

I decided to make some Christmas gift tags and was really happy with the outcome.


I stamped onto kraft card using the pine cone stamp and moulded it a little to give it some shape. I glued it to the kraft card tag using some pinflair silicone glue gel. Using some script backing paper I stamped and heat embossed the pine branches stamp by Stamps by Chloe, using Chloe's Hollywood Hills Wow glitter embossing powder mix. A little Hobby House Christmas ribbon, a bell and a couple of gems finished off the look I wanted.


This stamp measures 4cm x 4. 8cm and sits on a solid wooden block with their name and icon etched into the side.


I then decided it would be nice to have some Christmas cards to match my tags, so used a scalloped edged cream card blank and repeated the process. I also stamped and heat embossed a bauble onto cream card and added it along with a stamped sentiments using gold superfine Wow embossing powder.  I have highlighted the pine cones with a white gel pen to give the illusion of snow.


Then I decided to have a play with my mica powders. I used the Skull & Cross Buns pine cone stamp to form my background. First I dusted my centura pearl white card with an anti-static bag.  Then I stamped the card using versafine clear embossing ink and tapped a very little metallic mint mica powder onto the card using a soft brush (I have a small soft make up brush which does this very well too). Brush gently and the mica powder will stick to the embossing ink. You only need a very small amount as mica powder goes a long way.

If you want to seal your mica powder so it doesn't transfer onto your hands and everywhere else, a good tip is to spray a very fine mist of hairspray towards your card but not directly onto it. Avoid using a hairspray with conditioners as it will only make it sticky.

For the pine cones this time I heat embossed them onto vellum using topaz Wow embossing glitter, using the pine branch stamp by Stamps by Chloe and Chloe's spruce embossing powder mix.
This is very similar to her Hollywood Hills glitter powder, just a deeper shade.


The Christmas verse is by Stamps by Chloe and has been heat embossed onto vellum using the same topaz embossing glitter powder. I have used the vellum sentiment to make a wrap for the card.

The link for the website is as follows:-

http://www.skullandcrossbuns.com/


Happy Crafting


Hollywood Glamour Birthday Card

I made these birthday cards a few months ago, ahead of time, as I knew I wouldn't be crafting for a while. For my card base, I used a 7 ...