blog backbdrop

Monday, 18 May 2020

Duo Dies Stash 3 launch

Following the launch of the Duo Dies Stash 3 collection on Create & Craft TV  today, I am sharing my samples for the show.


The Bottled die is a really handy die and a good size for your cards. I used some of Lynda Chapmans 300gsm white cardstock for my bottles and my Dreamees chalk dinky inkies reinkers to add that zest of colour to the bottles. I do love that finish chalk ink leaves to your projects. For the lids, I used some white glossy card.

I then stencilled the background using the same colour inks and added some glossy accent over some of the background circles for texture, repeating this on the bottles also.


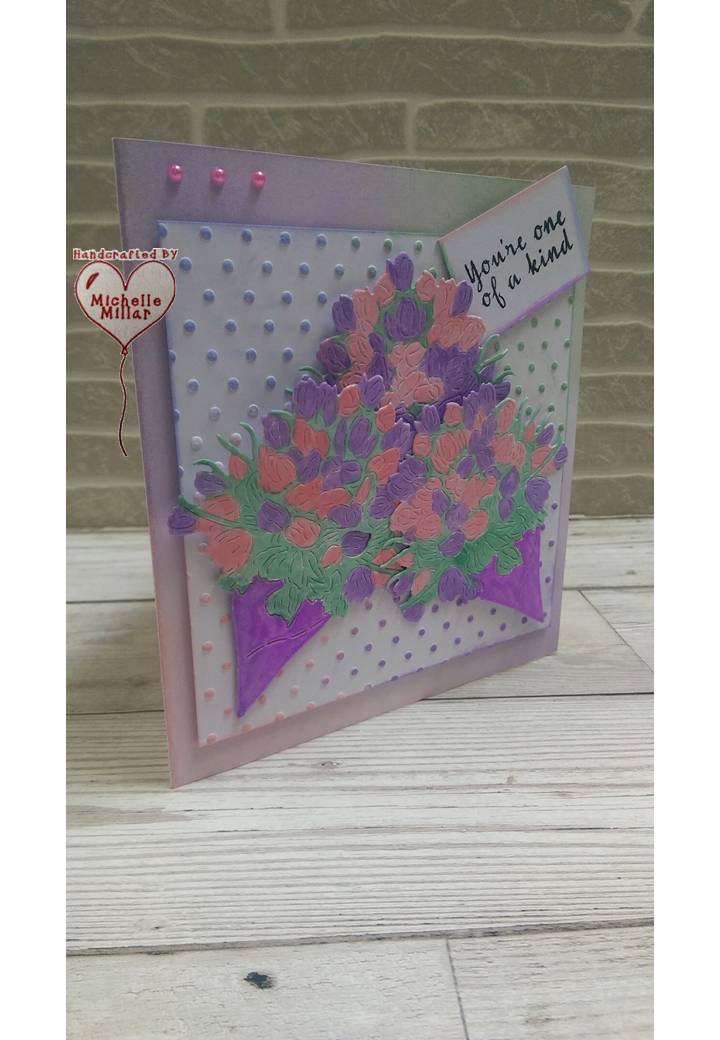
The solid outline die is good to add dimension to your die or highlight it with a solid colour as I have done with this card. A lot of bottle dies are geared towards boys but they can be made more feminine too.


This is my favourite die of the ones I got to work with. I also think that works perfectly as a shaker card.


Paper pieced for a more masculine look for a birthday or Father's day card.


The Tee Time golf ball die for those golf lovers


A more feminine card for the golf lovers out there.


Or a more light hearted approach just to say well done!


Some fine feather friends this time with this Bird Song die.
Using cream cardstock I inked my birds with a little distressed ink by Tim Holtz in peeled paint and decoupaged the wing of the bird to give it a little more shape.


I used some papers from my stash to mat and layer the card, tucking the perch under the band of the card so that the birds were part of the card and not just sitting on top of it.


I do like monochrome cards and went for black and silver on this birthday card with patterned vellum on top and my bird perched on the gingham ribbon.


I used kraft card for my card and a woodgrain embossing folder from Crafters Companion and then decided to play around with a different card shape, adding some hessian ribbon and a vellum topper my bird which  I inked with Tim Holtz distress ink in gathered twigs.


I had the idea of my card resembling a tree, sometimes it's just good to go with your ideas and see where they lead you.


From Birds Song to flowers with the May Day Blooms die. I used metallic mica powders to paint my flowers for this card and used 300gsm black textured card stock. The background has been stencilled with more mica powder finish before being matt and layered onto gold mirri card.

Unfortunately, there is a lot of glare of the gold mirri which doesn't help when you are taking pictures.


I have used my chalk reinkers again to paint the flowers for this card using the same May Day Blooms die. They have also been used to create the background and on the backing paper.


A Wedding Anniversary easel card just using mirri card to die cut my trio of blooms.


A little thank you card using the Maypole Wand die which has been layered a few times for dimension and coloured with promarkers.


This is such a sweet little die that I thought it would make a nice decoration for a favour box, so I die cut it out of vellum and coloured it with promarkers.


I also made a hanging tag, die cutting the outer Maypole Wand die from acetate to give the tag a bit of weight and stability.


On the handle of the wand I added some silver mist sparkle dinky inky by the Dreamees just to give it a shimmer of silver and added some pearls to complete the box.


I have used the Maypole Wand die on a celebration card but this time I have paper pieced the die. I have used a shaped card from my stash which has been stencilled with victorian velvet distress ink by Tim Holtz for a more vintage looking card.


Onto the cakes now, well paper pieced ones with the Afternoon die. 
As you know, I don't put sentiments on the front of every card I make and this one didn't need one as I think it would have taken your attention away from the cake!! Sometimes it's just nice to send a card to say thank you, it was lovely to see you, thinking of you instead of just sending a text.... it does make a difference.


Using that same Afternoon Delight die it also makes a perfect birthday card. I have just added a little colour to this one with some promarkers and stencilled my card blank with a mandella stencil that I had using my chalk dinky inkies.


I hope that you have enjoyed some of this inspiration from this collection of dies.


Stay safe
Happy Crafting
Michelle
x

Monday, 11 May 2020

Jazz it up birthday card

Today I thought I'd share a birthday card that I made for my brother in law.  As he loves his music I thought this stamp set would be perfect to use.


The Stamps set I used for my card is the Jazz it Up by Visible Image. I heat embossed the main Jazz it Up stamps with black embossing powder and slightly overlapped the saxophonists.


I used glossy accent on the bubble stamp to give it more dimension.
The background was created with Tim Holt distress oxides in abandoned coral and salty ocean.


With a little background stamping with a Crafty Individuals distress diamonds rubber stamp and some frayed burlap distress oxide. 

I stamped the keyboard border and attached it to some foam tape to add more dimension.


I love making backgrounds for cards and find that when I make a men's card I tend to turn to my stamps. I love Visible Image stamps, they are always that bit different and quirky as well as being excellent quality.


Happy Crafting
Michelle
x


Tuesday, 5 May 2020

Vintage lace card

Today's card share is a vintage lace card made with a lovely vintage postcard that one of my friends gave me. She gave me a few and said "I'd be interested to see what you do with them" So, I thought to start with I would make her a card, to let her know I was thinking of her across the miles in these uncertain times over the past few months.


I am also using my card for our theme this month on Let's Craft and Create's blog challenge. We would like you to use ribbon, lace, twine, all or some in your project this month. 

for my card I used:-

  • 5.5 inch textured deckled cream card base
  • A5 burnt orange patterned paper from stash (Tattered Lace)
  • A wide strip of cream vintage lace from haberdashery remnant shop
  • A strip of antique gold satin ribbon from stash
  • Paper doily from stash
  • Vintage postcard
  • Polka dot backing paper from a Dreamees CD printed on cream paper
  • Dreamees Something Stitchy flower stamps
  • Dreamees butterfly dies from the pretty/peculiar leaves & flourishes dies
  • Pearls


I love my Dreamee flower stamps and use them all the time
when making flowers like this for my cards. I stamped my flowers using cocoa memento ink and layered them up. I think the gsm of the card for these was about 120. You can add a pearl in the centre like I have or a drop of glossy accent to highlight the button centres. With the butterflies, I die cut them from the same backing paper as the flowers.


I added a little sparkle to the centre of the flowers with a spectrum noir clear overlay pen.


Have a look at the inspiration from the rest of the design team and what our crafters have been making for our blog challenge this month. There is a prize for the winning entry and a badge for your blog for the top 3 runners up.


Stay safe
Happy Crafting
Michelle
x


Fairytail card

For this months blog challenge over on Daisy Chains, I have made a card using the Twilight Kingdom fairytale collection by Hunkydory for my DT card.


As the theme this month is "Tic Tac Toe," my DL card has flowers, silver metallic pearls and butterflies to follow a line of the theme.


I have had this cardmaking kit for some time and made a lot of cards from it. The Twilight Kingdom cardmaking kit is a lovely fairy tale collection in hues of pink, purple and teal with everything from toppers, cardstock sentiments and coordinating inserts for your cards. I have just added a few extra embellishments.


For my card I used one of the A4 printed pieces of cardstock with a silhouette scene of butterflies in long grass and cut it down to size for my DL card.

As the toppers were already shaped and backed with a black border, I didn't actually have to do anything else but add some black foam tape that I have to the back for some dimension.

I added this really pretty black paper rose handmade by my crafty friend Sharon and some fine black & silver ribbon.

The small metallic silver pearls just gave the card a bit more of a twinkle.


I added one of the matching inserts to my card which are really pretty and finish a card off nicely. I gave this birthday card to my niece.

Have a look at the inspiration from the rest of the design team and what our crafters have been making for our blog challenge this month.


Happy Crafting
Michelle
x


Kindness Postcards

I love a postcard; they come in all shapes and forms, from a reminder of where you have been to a hello friend, but unfortunately, they are ...