

So here is what I came up with:- Invasion of the heart, He loves me...he loves me not!
Love is a game.

I used the Imagine Design Create stamp set - Retro Gamer to first stamp the little space invaders onto white stamping card.

I used Tim Holtz distress oxide ink in candied apples to stamp these little critters and then cut them into little squares. I added round foam pads to the base of each to add dimension.

As I wanted the set of these cards all to coordinate, I pre-cut the card, starting with a red base and finishing with the red and white gingham. I experimented with the first set by using some glossy accent on the little invaders to see how they would look.
It was then a case of planning how I wanted them to look on the card before attaching with the sticky pads. I did add a little cosmic shimmer pva based glue to the base of the sticky pads whilst placing them on the card. This gave me more movability whilst sticking. I also used a black fine liner pen to create a scribble border.

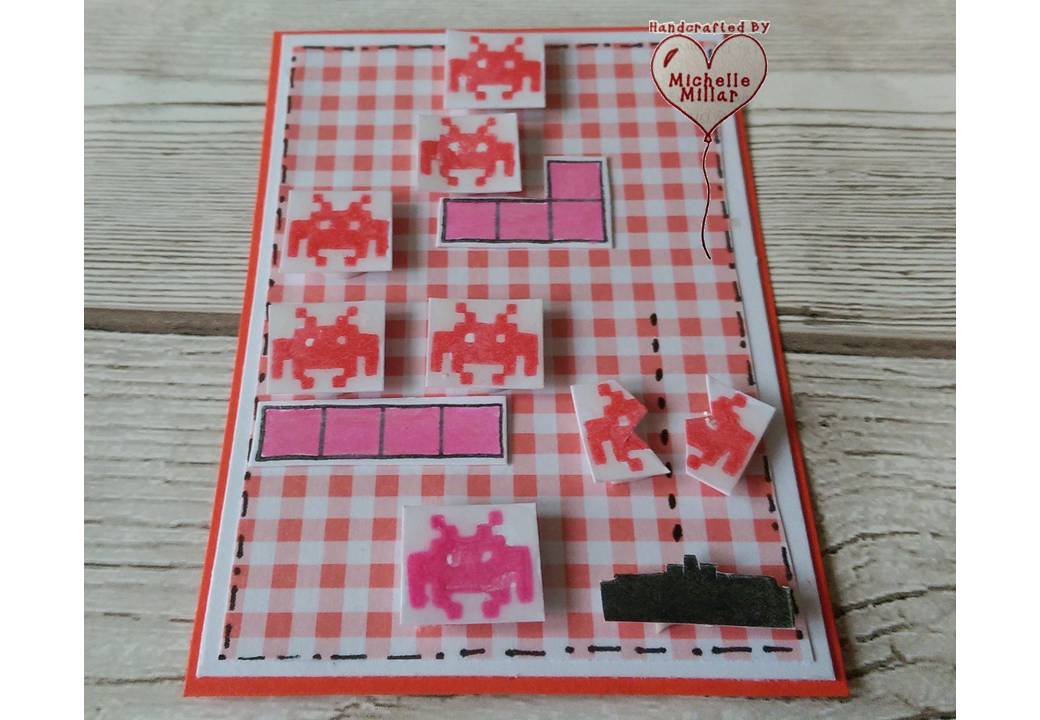
Invasion of the heart

For the next card, I used the Tetrus blocks from the Retro Gamer stamp set and the little space invader. This time I used the glossy accent once everything was stuck down on the card. I used Tim Holtz pickled raspberry distress oxides for the female space invader. I have to say this is my favourite of the three of these cards.
He loves me......he loves me not!

Final card I added the largest heart from the Imagine |Design Create Butterfly Blot stamp set along with the Retro Gamer stamp set. As before I planned what and how I wanted the card to look. Normally that's a case of me looking at the project and just going with whats in my head! Again I have added glossy accent to the space invaders, love hearts and controllers.

Love is a game
I used two controllers on this card, one for outgoing space invaders and the one at the top for incoming love hearts.

Valentines day themed game cards
Happy Crafting


