blog backbdrop

Monday, 3 March 2025

Decorated Dragon Box

It's dragon week for me  in my crafting world and I have been working on a few themed projects that I'd like to share with you, starting with my decorated dragon box.


I love dragons!! and I was so enthusiastic when Amanda told me that she had designed a dragon collection.

The Dragon Within Breathing Courage & Creativity Collage & Mixed Media Mystical Dragons digital download Kit from Opulence by Design Crafts is a stunning collection and I have absolutely loved crafting with this.

It has 40 pages of backing papers (10 x 8 PDF) - including textured prints, beautiful prints and panels for your projects, toppers and embellishments, mystical affirmations and dragon inspired greetings, quotes and sayings.

The 8 x 8 inch prints fit the boxes that I use from The Works perfectly and i love the selection of textured dragon skin prints too.

 
The hard part was deciding what papers I was going to use as these would be printed onto rice paper.


I think this one is my favourite and I'm loving how this design looks on the rice paper too.


I can't recommend this rice paper enough, it is brilliant! They do recommend to use the Cadence stencil spray, which I believe is very good as it leaves no residue behind, to adhere to a piece of copier paper so that it can pass though your printer (I have and Epson Ecotank) but I tend to use up whatever I have in my craft stash first and what I had was the Stick & Spray from Crafters Companion, which does the job - just use sparingly.


My box has been given a coat of cream gesso  to prime the box and highlight the detail in the rice papers. I really like the soft tone to the cream gesso.

I feather the edge of the rice paper to aid a smoother join and used a mix of two mediums to seal my box. I started off with a matt medium primer from my stash from Stamperia (what was left and used Cadence Satin Magic bond and seal for the top coat of my box).


I love the Celtic feel to this paper, which was just perfect for the mould that I decided to add to it.


I have really been looking forward to using this dragon eating tail mould from Emlems and thought that it would sit perfectly inside the lid of the box. I didn't want to add any dimension to the top of my box as sometimes I like to stack them.

It's the first time that I have ventured into using resin and I purchased a complete kit from IndigoBlu which suited me fine as I'm a slow crafter, don't make many projects and this resin also cures quickly.


The inside of the box has been painted with a mix of Pretty Gets Gritty whipped Mousse in sea glass (watered down)  and CreaBox Metallics (a fabulous metallic paint set from Lidl). I wanted a mottled look for the inside to tie in with the base.

I also used the leather look band from one of the papers to edge my box. Any edges can be hidden with a touch of wax when finishing off.


Along the inside edges I had some advocado paint in my stash which I dabbed over the edges of the rice paper. When dry, I smudged in some art alchemy antique lucky emerald wax (which has a great antique gold hue to it) and merges the rice paper more into the box leaving a darker border around the box.


The edges of the lid have been painted with some matte brown paint  and I have used one of the Celtic symbols from the papers, heat embossed it and mounted it on greyboard to create a disc to go inside by dragon ring which I have added gold wax to. 

I have added a touch of emerald green wax to the tips of the dragon fins to break up the gold and I've also added a few gold cogs and some tiny black metallic gems in the centre of the symbols on the inside of the lid. 


I've also added a touch of the same vintage green metallic wax to the edges of the base of the box.


I love decorating boxes as they are always useful and perfect if you need to make one to a theme to gift too.


Not forgetting that glorious dragon to grace the top of my box. I sealed the image with some Cadence satin magic bond & seal. I like the satin finish on my boxes. I added some brass corners, glossy accent, clear gems and a hint of shimmer down the neck of the dragon.

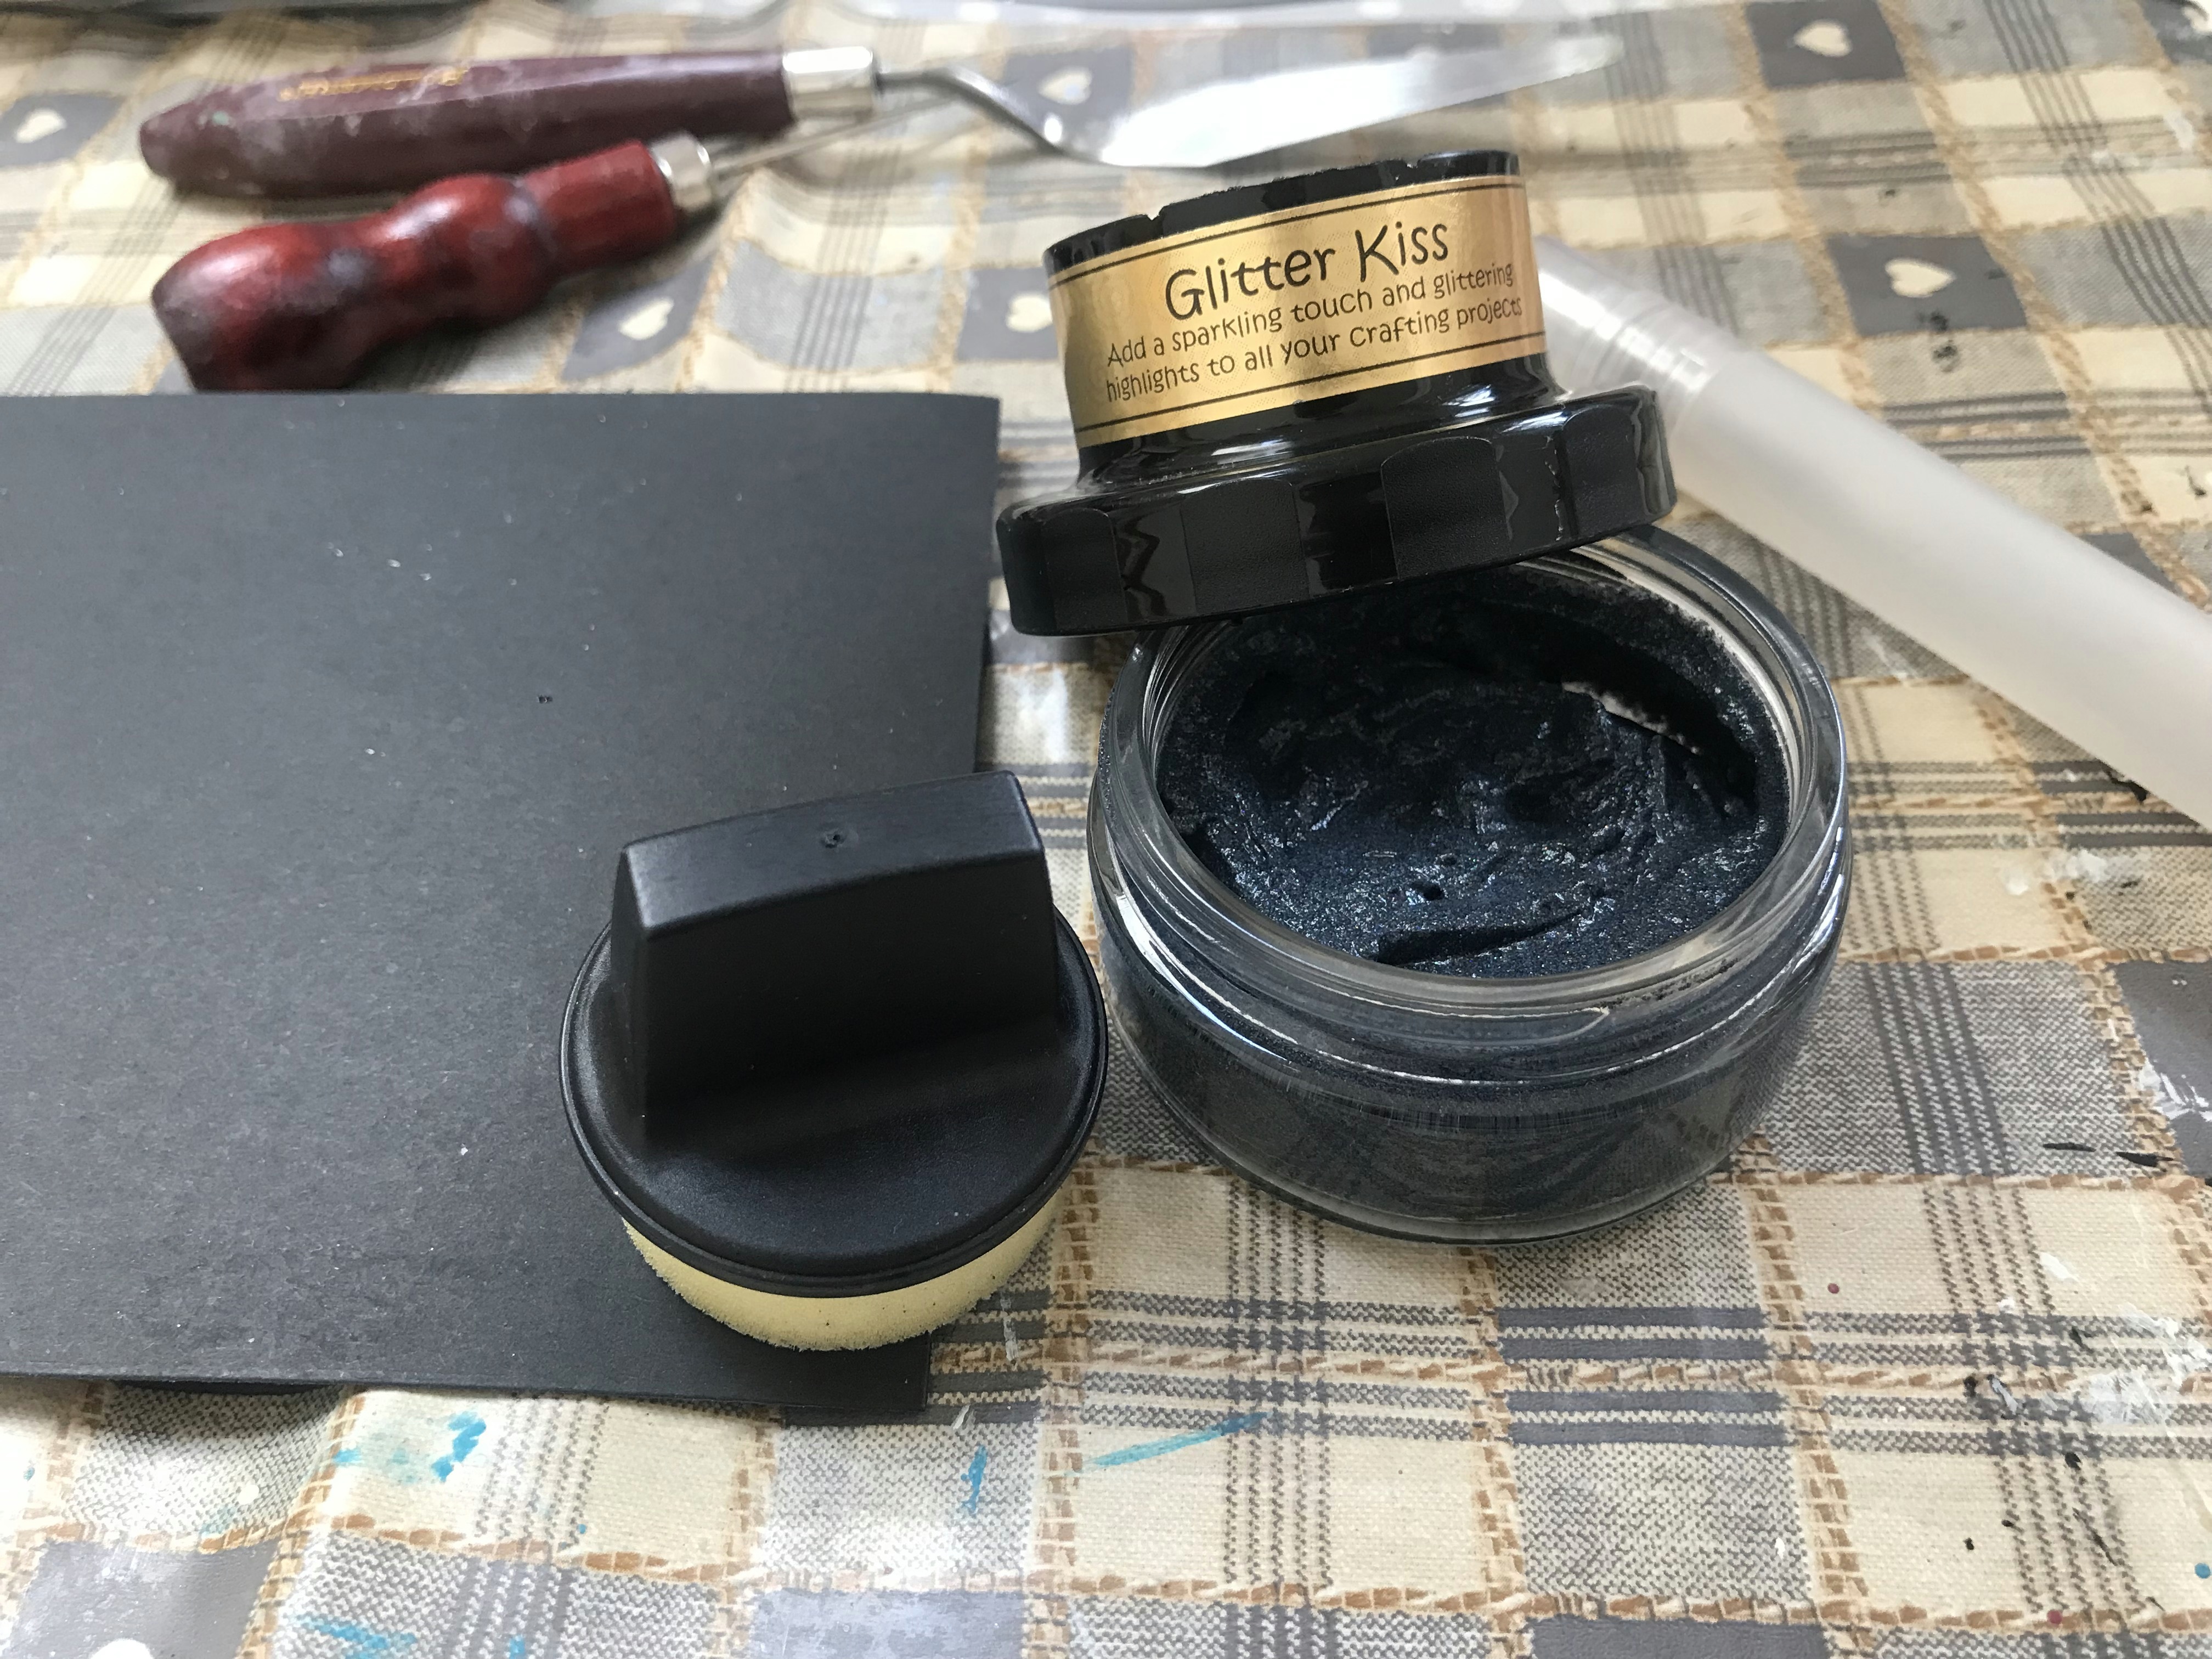
The lid of the box was finished with a touch of gold wax around all the edges.
I've loved the fantasy theme on this one and the fact that I can size it to my boxes too!

If you want more inspiration and demos from Opulence by Design, follow the links below. Amanda is a very talented designer and has a wide selection of kits and crafting sheets that can be mixed and matched with your own crafty stash.

Have a great week, whatever you have planned for yourself.

Happy Crafting


Crafts Galore - AG   - DT Favourite
Mix it Up -AG   - Top Pick

Wednesday, 8 January 2025

Cute Paws Birthday Cards - WOYWW

Today I am sharing a pair of birthday cards made earlier in the year for twins.


I'm also joining up with the weekly WOYWW group link up (what's on your work Wednesday) over on Sarah's Craft Shed, so I've got some catching up to do as usual. 

WOYWW is a weekly blog hop where we all have a look at look at what everyone has been up to. Follow the link above for more information.


So on my desk, I have downloaded and cut out one of files that I had called Cute Paws from Debbi Moore Designs  This particular download was from one of Debbi's weekly Treasure Hunts which she has run on her Facebook lives for the past few years to inspire crafters to craft and share.

Every week you can download a free project using the code from the Treasure hunt on the Facebook Live and collect some beautiful projects to craft with.

I have used this one a few times and sometimes when I need a card,  I don't need to look to very far but my collection of varied downloads which I can mix and match to suit what I need, which is how I like to craft these days.


I have used 6 inch white card bases, Sakura sparkle pens and glossy accents to highlight and add texture.

I edited the bones with the boys names and then mounted them on foam pads. I like the fact that I can resize the elements that I choose to use and only print off what I need.


I thought these images would look great inside the cards too.


This 6 inch birthday card was made more recently using the same design.


and another cute pup inside the card too.

During the summer, we came home to find this little robin bobbing abound on the lawn in our back garden, so he was named 'Bob!' 


Choosing to have a snooze on the lawn perhaps wasn't the safest place with so many cats around that would find him a tasty treat, let alone the sparrow hawk who frequently visits but we certainly enjoy to see the robins pass through our garden.

Have a great day,  whatever you have planned for yourself.


Happy Crafting


Monday, 6 January 2025

Birthday card

Happy New year to you all! My first crafty share of the new year is a birthday card that I made for a friend.


It's quite a clean and simple card that I have made using the Florence stamp from IndigoBlu.

I used Versafine vintage sepia to stamp this beautiful image and then painted the skin tone with IndigoBlu's matte acrylic in fair, also a touch of strawberry dream on the lips and cheek. 

For the flowers in her hair I used stormy skies distress ink.

For the background I used a wash of IndigoBlu mint choc chip acrylics and a stamped sentiment from Visible image.

Have a great start to your week,  whatever you have planned for yourself, for a lot of you it may be a very snowy one!

Happy Crafting


Challenge

Thursday, 26 December 2024

A trunk for a frog

I decided get one of those little projects sorted on my "intended to do list" and this is one of them - a trunk for a frog!


I discovered Des the frog in a wonderful little shop  - Nervous Wreck Designs on the Isle of Wight  whilst on holiday. Later in the year, I found out that Creative_._me (on Instagram) was also making cute little jumpers too for the frogs that she had been making for the frogs she made for the shop, so I decided that Des could do with a trunk to store them in.

If you are interested, pop over to Instagram and check out Sarah & Jaynes accounts - a small business selling handmade crafts made on the Island.


I remembered that I had a small case die from one of my retired Tattered Lace die sets -There's no place like home. I also used two of the downloadable background papers, which at the time were made available as a free download. 

I do love this die, it's one of those designs that you hold onto because it is handy for those random little projects.

For the card base I printed both sides onto the faux leather look design paper using my new card that I had bought with my Amazon voucher before Christmas. After some good recommendations I decided to give the Navigator Bold 200gsm card a try (150 sheets in a Ream in a royal blue wrapper). Lovely silky card and it went through my Epson ET2650 Ecotank printer - guided without any issues. 

I always print on standard settings and never on best quality but that is just my personal preference, as I just find that best quality always floods too much ink and doesn't give me a crisp image and I get dark soaked backing papers too. Unfortunately, this also happened with my all-in-one HP printer too.


I did get a bit carried away die cutting the label tags too but they just looked so cute!

I also recommend John Next Doors silicone crafting mat too, not only is it nice and long, heat resistant but you can press your cardstock down to keep it in place on your mat. 

Those red liner tape peel offs that migrate all over my house when I use them - stay on my mat until I throw them away and I spend less time looking on the floor for stuff that seems to stay put now!


I used red liner tape to make up the trunk but foolishly forgot to put the inserts for the trunk in first before making it up.  You can see on one side, but it didn't notice much, especially when I added the centre panel into the case.

The buckles were die cut from chocolate card and I added two strips across the top the trunk for a better finish.


Two jumpers and a scarf fit into the trunk quite comfortably. I love diorama, so I enjoy making little projects like this.


And to keep my trunk closed, I just added a few small black velcro dots that I cut in half.


Des looks all set for an adventure now I think!
I made him a froggy Clock seat a few months ago ....who knows what will come next in the new year!

Enjoy the rest of the festive season and wishing you all a healthy and Happy New Year.

Happy Crafting


Challenges-
Daring Cardmakers - Happy - Diorama crafting projects are right at the top of that list when it comes to crafting. I enjoy not just making them but looking at them too!

Wednesday, 11 December 2024

Birthday Card - Bright Lights Isabella Cardmaking Kit - WOYWW

I'm sharing another birthday card made for a friend and  I have used the travel the world through paper Bright Lights - The Isabella Collection mini download kit from Opulence by Design Crafts.


This digital download kit has two beautiful toppers, a selection of sentiments and 4 vibrant backing sheets to craft with.


I'm late today joining up with the weekly WOYWW group link up  (what's on your work Wednesday) over on Sarah's Craft Shed, so I've got some catching up to do as usual. 

WOYWW is a weekly blog hop where we all have a look at look at what everyone has been up to. Follow the link above for more information.

This is a view of how my desk started. I normally think about what I want to print off first and what paper I am going to use. I've been looking into textured papers and card to print onto as not only does this work out cheaper long term but it means that I have what I want onhand instead of having to search for it for a project. 

I printed the topper on 160gsm smooth paper and also mounted the topper onto a piece of die cut cardstock. These beautiful papers were printed onto some of Debbi Moore's double sided pearlescent paper. This paper is quite sturdy and off white in colour, also lovely to print onto. 


To make my glitter topper I swiped Cosmic Shimmer's Glitter Kiss in Midnight Sparkle across a piece of black cardstock. 

This craft product was another of my lucky finds in a charity shop. It was 50p and when I opened it I could see that it had gone hard but as I knew it was a water based product, I hoped that it could be rejuvenated. It was certainly worth taking a chance on for 50p and I was glad that I did!


This product dried quite quickly leaving a lovely sparkle, although I did speed it up with my heat gun.


As well as a growing collection of Stickles glitter glue for my flowers, I do love my  Sakura Stardust pens too. I use these a lot to highlight the edges of my projects.


My friend loves her flowers, so I wanted to fit a few on and had a look through my box of flowers to see what I could use to compliment the topper and these lush papers.


I picked out the Orange Nasturtium, the pink dahlias from the Happy Birthday Cardmaking kit, The Blue Marguerite Daisy Flower, and the golden leaves from the Steampunk Florals Collection. I didn't use the feathers in the end.

I added a touch of lemon Flower Soft to the centre of the Marguerite daisies and a mix of Stickles glitter glue/glossy accent to the centres of the other blooms.


I added a bright envelope with some more of the paper that I had leftover to coordinate with the card.

If you want more inspiration and demos from Opulence by Design, follow the links below. Amanda is a very talented designer and has a wide selection of kits and crafting sheets that can be mixed and matched with your own crafty stash.


Have a great day, whatever you have planned for yourself.

Happy Crafting


Challenges:-

Tuesday, 3 December 2024

Christmas Cards

I have just finished a few Christmas cards that I have made using the festive  Noel Christmas Bunting digital download kit from Opulence by Design Crafts so thought that I'd share them with you.


I used 6 x6 inch kraft card blanks for my card base (I cut these down a fraction) and the John Next Door Georgian Frame Maker die set (5 inch die set)  along with the Celtic outer frame (53/4 inch) die.  

I must say that this frame maker collection is an absolutely brilliant set of dies. John Lockwood thinks of everything when he designs a collection for crafters and this set is just perfect for me since I have gone back to making mostly smaller cards.  His products are also available from The Art of Craft who provide great customer service too.


My festive bunting is up and I wanted to make a few cards to illustrate the versatility of this great kit.  

I made some of the embellishments in the kit smaller so that I could make mini bunting out of the cookies for my card and used another reduced version of the NOEL lettering as a topper in my card too.


On this card, I have heat embossed the festive letters and on all my embellishments I have used my go to Sakura clear glaze gelly roll pen for the fine detail and stardust gelly roll pen. I would normally use glossy accents but find that I have more control using the pens in small areas.  I have also used a hint of Stickles stardust glitter glue on the larger star shaped cookie.

I've highlighted the fairy lights in the backing paper with a clear overlay sparkle brush pen for an added shimmer along with the trim of the gingerbead's hat.

The embellishments have been mounted on foam pads and shaped a little to add some depth.


I then went on to make these fun gingerbread festive tags and got a little carried away!
I also added a few sprigs of John Next Doors holly and a gold wax seal. I have been making a few of these to go on the back of my Christmas cards.

As if I didn't have enough on my tags, I added a stamped faux metal sentiment that I made using some of Debbi Moore's metal magic. It works like a chunky embossing powder that you melt and stamp into. After about 20mins it sets like an embellishment.


I've really enjoyed creating with this kit. I don't tend to make a lot of Christmas cards but love this bunting kit and the fact that you can also use it to make lots of little festive projects too. 

If you double-backed them and covered them in extra-thick embossing powder, they would make wonderful gingerbread paperchains and Christmas decorations, too!
Finally, cute little napkin holders, by attaching some organza ribbon as a tie.

Well, Christmas is only a matter of weeks away now and no matter how organised I think I am going to be, .....I never seem to be ready haha.

If you want more inspiration and demos from Opulence by Design, follow the links below. Amanda is a very talented designer and I really enjoy creating with her designs.

Have a great day, whatever you have planned for yourself.

Happy Crafting


Challenges

Kindness Postcards

I love a postcard; they come in all shapes and forms, from a reminder of where you have been to a hello friend, but unfortunately, they are ...