blog backbdrop

Showing posts with label Pretty Gets Gritty. Show all posts

Wednesday, 11 September 2024

Froggy Clock Seat WOYWW 797

I've finally finished this little chair that I have been meaning to make for my frog. I had originally intended to make a little frog house but when I got the dies out to create it, I realised that the proportions for my idea were far too small.


I'm linking up to the weekly blog hop for 'What's on my workdesk Wednesday' ( WOYWW), where we all see what everyone has been doing. If you'd like to know more about it, then please visit Sarahscraftshed.co.uk

So on my desk, I die cut grey board using the Pretty Gets Gritty Pretty Alarming die set. This is a really cool dimension set and I thought it would make a great 'upcycled alarm clock seat' for Des my little frog to sit and chill.

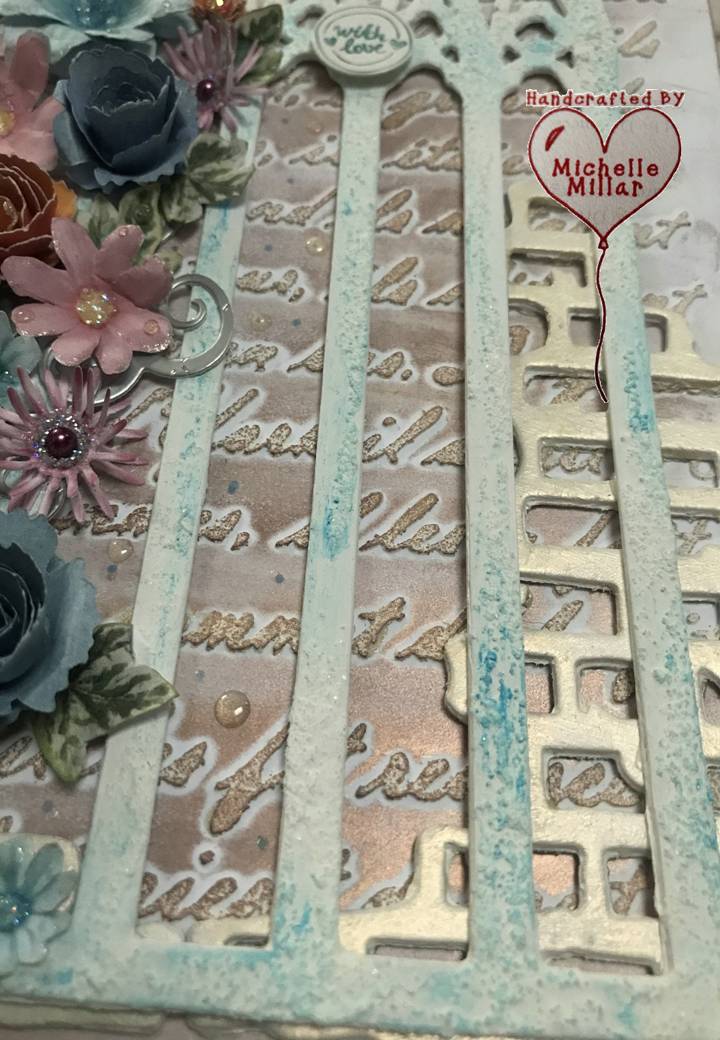
I also die cut some cogs and foliage to decorate the front of the clock chair along with some brick dies from the Pretty Gothic Window die set.


I discovered 'Des' in this wonderful little shop called Nervous Wreck Designs whilst on holiday on the Isle of Wight and being a lover of hand made crafts and falling for this cutie in its stripy jumper, it inspired me to build some kind of abode for him.


To make the shelf for his mug of tea, I just die cut an extra panel and glued it to the outside of the clock with matt gel medium.

I used cream gesso as a base and then added sand texture paste around the edges and to the cogs and embellishments.


Inside the clock I painted it with the Pretty Whipped Mousse in Sea Breeze. This mousse is lovely and rich with a great metallic sheen. I did add a little water to paint inside and  a little goes a long way.  I teamed that up with the l
ucky emerald antique brilliance art alchemy wax from Finnabair, inside.


I found some faux grass that I had bought in The Flying Tiger years ago, I love that shop , it has some great random stuff in there that you think you might use one day.

The lily pads were from a Debbi Moore digital download cardmaking  kit that I had. After cutting them out I sprayed them with varnish to gloss them.


I've added a little lucky emerald antique brilliance art alchemy wax  all around the edges of the upcycled clock seat and over the sand texture paste. 

Over the foliage I've gently rubbed a little vintage silk opal magic wax  for a hint of shimmer and I've also added a few of the vintage pearls along with some embellishments to finish it off.


Not forgetting the back, where I have stencilled part of a sunflower using one of Visible Images stencils with texture paste and added a touch of wax to highlight.


Des got his name from the biggest frog in our pond (which was also named by my son).
He resides in my bedroom on my dressing table in his quirky little seat.

 
And here is a picture of the original Des who lives in our pond. Well summer feels like it has departed and I have been tidying up in the garden getting it ready for Autumn. I Just have some crocus bulbs to pop into my lawn .

Have a great day,  whatever you have planned for yourself.

Happy Crafting


Challenges:

MixItUp - AG


Thursday, 25 April 2024

Gothic Fairy Arch

I've finished my Gothic fairy arch and have a few pictures to share with you and I'm also going to add it to one of the monthly challenges at Gecko Galz.


To begin with I die cut my arch from card to make a substrate and then  gave it a coat of gesso. 

I used the Pretty Gothic Window A5 die from Pretty Gets Gritty. They do some really cool dies that are great for making your substrates for projects.


With a small pallet knife, I scrapped  some sand texture paste across my arch. Then  I mixed a little acrylic paint and kept dabbing until my arch started looking a bit aged and rusty, drying in between the layers.

I then dry brushed with some grey acrylic paint - well gesso mixed with some black acrylic to dull it down a little. 

Next it got a spritz of frozen  toffee pretty pearl spray and then I edged the arch with rose gold wax. I was quite happy with how it turned out and told myself that i could leave it alone now!


I went on a search for some rice paper as I wanted the background of the arch to be transparent and found a leftover piece from one of my cardmaking projects that I had printed off.

I had also made a batch of cogs up a while ago. They were die cut from soup carton packaging and then I'd added some sand mixed into my acrylic paint. They were finally edged in copper wax.


The pearl spray has highlighted the texture in the arch a lot more and I then started to add some texture to the edges of my fairy image too, using a little coloured sand texture paste and seed beads.


I chose an image from the Gecko Galz Pixie Dream land Kit for the focal point of my gothic arch. These are really lovely images and I was spoilt for choice.  I also added a few butterflies from their Butterfly Wings Digital Collage Set too.

My paper flowers have also been edged with a little metallic gold paint and the tiny translucent flowers have  micro beads in their centres. I also thought that the wording was very apt for my project.

This was a fun little project to make.
What have you got planned for the day? Whatever it is, I hope it is a good one for you.


Challenges
Creative Artiste - AMM        Top 3  04/2024


Wednesday, 2 August 2023

Floral Gothic Arch Birthday Card

I'm really excited to be a Guest Designer this month over on the Paper Funday Challenges where the challenge is an Anything Goes with an Optional Twist of The Great Outdoors.


For my daughter's birthday card this year, I thought I would go with something a little different. I started with an A5 card base using a piece of A4 Centura Pearl 300gsm snow white card stock by Crafters Companion.

I used a white acrylic mousse through a Pretty Script stencil by Pretty Gets Gritty and as this dries quite quickly I was then able to highlight the text and later fill in the background with a touch of Art Alchemy metallique rose gold wax.


Before I could add the gothic arch, it needed to be die cut a few times from white card and stuck together to form a substrate to add more mediums onto.  The Pretty Gothic Window die set by Pretty Gets Gritty also comes with a smaller window and a set of brick wall dies that are really handy for your projects. 

I painted my gothic arch first with white gesso and then added sand texture paste to give it a more aged look. I also rubbed in a little patina blue Art Alchemy antiquing matte wax to highlight the sand texture and to add some highlight to the arch.


I added a few of my bricks die cuts in white Centura Pearl card stock, I thought they looked like a rustic broken wall and I then started to add my flowers up the aged gothic arch. These are a mix of pink and blue dahlias from collections by Opulence by Design along with the Variegated ivy leaves.
I also made the rolled roses and added the smaller die cut flowers to add more volume.


I didn't think a birthday sentiment looked right on the front and quite often I don't add one if I don't think that there is a place for one, so I added a little 'with love' in the centre which fitted in nicely and I put a personalised sentiment inside to finish the card off.
The little droplets in the background of the card are glossy accent, I've also used it as dew drops on the petals of my flowers too.


Have a look a some of the great inspiration over on Paper Funday this month and why not enter the challenge too!

What have you been making? or have you just been enjoying spending time outdoors.
Have a great day whatever you have planned for yourself.

Happy crafting


Challenges:-
Beautiful Blossoms - Flowers 
Love to Scrap -ATG ( Top Pick)
Mix It Up - ATG
Allsorts - Anything but Square 


Kindness Postcards

I love a postcard; they come in all shapes and forms, from a reminder of where you have been to a hello friend, but unfortunately, they are ...