blog backbdrop

Tuesday, 18 July 2023

Converted cookie Gift Box

I have a converted cookie gift box to share today.  Like many crafters, I tend to collect and keep 'things' that I think might come in handy one day and this particular cookie box from a pizza place enters my house regularly when my son is home from Uni.


This is the type of project that I really enjoy doing; making something out of nothing.


This is how my gift box started its life. I have saved a few of these that are clean inside, deconstructed and put away as they are a good size for a dimensional shaped cards, mdf or more cookies!!

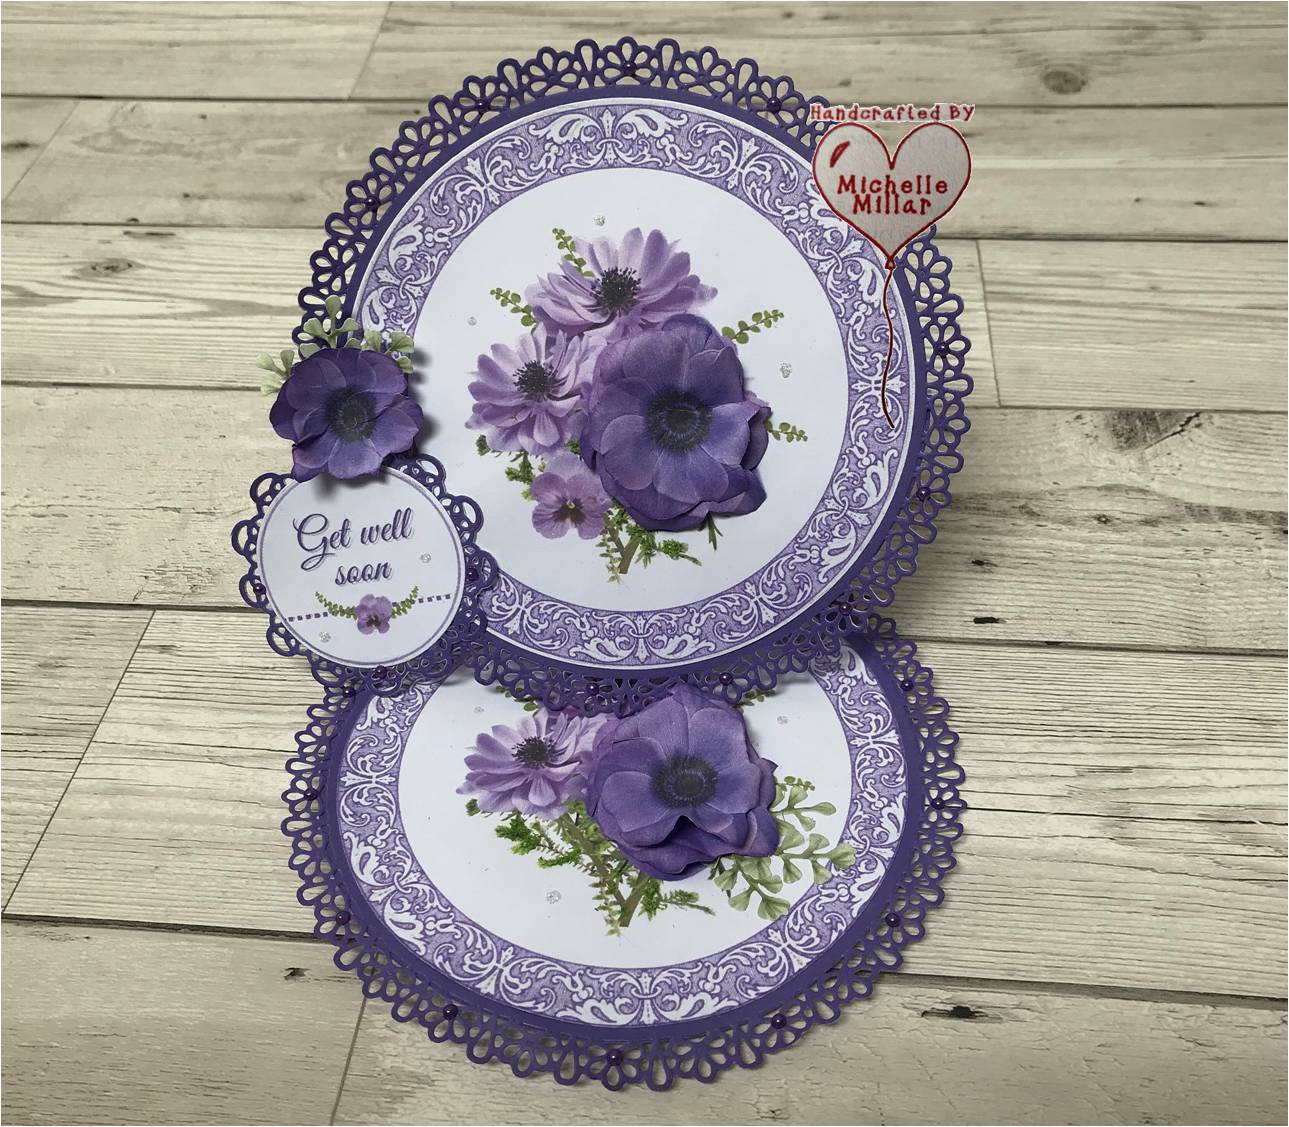
I went through my Tattered Lace dies to see what delicate lace dies I had to fit on this box as I was sure that I had one for my flowers to sit on and I found the Nested Quatrefoil die set from the Winter Solstice collection that was the perfect size for this box.

I die cut the lacy detail from the lighter colour block paper from the Digital Florist Pansy Leaf Former Sheet by Opulence by Design and the solid shape from that beautiful salmon pink colour paper in the Digital Florist Ranunculus Flower Former Sheet.


I printed my flowers as usual onto 120 gsm colour document Navigator paper, which I like to use as it works well for me and then layered them up. They look quite different to the ones I made on the pearlescent paper.  I inked the edges with a violet rose sparkle dinky inky by The Dreamees and added some springtime Flowersoft to the centres of my flowers.


It was then just a case of building up the layers on top of my box. I edged my die cut toppers with my stardust gelly roll pen. I have a few of these as I go through them. It adds enough of a shimmer to your projects without too much glitter and without the mess of glitter.

I then added sisal, pollen head stamens, frosted berries and the variegated ivy leaves also by Opulence by design.  I like the different sizes on this sheet as they work so well to just poke into little corners of your project.  I think these Ranunculus flowers work really well on gift boxes.


A few 4mm mint pearls to finish off and my little cookie box has a new lease of life. I just have to decide what I am going to put in this one now.

If you are after some crafting inspiration why not pop over to YouTube and follow Opulence by Design. There are also some wonderful flower-making tutorials

Have a great week whatever you have planned for yourself

Happy crafting


Challenges:

Friday, 7 July 2023

Earth Queen Shadow Box Frame

I'm really excited to be a guest for this month's challenge over at Creative Artiste Mixed media Challenge.  The theme is always anything goes with mixed media so decided that that my shadow box frame would be a good project to share with you all.


There is a lot that I really like about this Magic Forest collection from Stamperia and  in particular the Earth Queen mold. I am still quite a novice with mixed media and gradually building up my stash so tend to use whatever I have in my stash to compete my projects, with a bit of experimenting along the way.

I finally found a use for a 6 x 6 inch wood box frame that I had bought a few years ago and decided to make a paper mache textured base for my box using torn up tissue and pva glue. I then added lots of texture to resemble tree bark with a pokey tool. I thought this would give me  a more rustic base rather than texture paste and its cheaper too!


Once dry I planned to paint it first with black gesso and then with burnt sienna acrylic paint, leaving a hint of the black to show through.


I also experimented with colouring my air dry clay.  The closet colour that I had in my stash to a skintone ish colour was Pebeo studio acrylics paint in buff, and it worked out fine (although its not a great picture). This saved me having to worry about a streaky face and it did look a lot better when I added some highlighter blusher all over (that I no longer use) to add some tone.


Being a very slow crafter these days the painting of the Earth Queen mould was probably what took me the longest to finish purely because I use a very fine paintbrush as I find it easier to paint with less mistakes and do a section at a time. I also used burnt sienna acrylic paint for her hair too and LuminArte H20  watercolour paint in gold for her hair band.


I painted my leaves with Stamperia Allegro paint in avocado, adding a touch of  ocra acrylic mixed into the centres for more tone and then edged them with Art Alchemy antique brilliance lucky emerald wax. I love using wax, it really brings out the detail in your projects.


I used part of one of the rice papers from the Magic Forest collection on the base of the frame and used Art Alchemy rusty brown matt wax, a little antique gold wax and patina antiquing paste wax on the jewelled piece at the front to finish my frame off.


I have really enjoyed creating this shadow box frame and hope join the in the challenge this month too.  There are some amazing projects and inspiration over on the blog to follow too every month.

Have a fab week, whatever you have planned for yourself

Happy crafting


Wednesday, 5 July 2023

Birthday Ranunculus flower card

A special birthday card to share for a friend today. I knew what I wanted to make for this one and by changing the type of paper that I decided to print my downloadable file on, totally changed how my card turned out.


I used the Digital Florist Ranunculus Flower Former Sheet by Opulence by Design, which comes with 2 bonus plain colour sheets. I printed these onto Centura Pearl snow white pearlescent paper from Crafters Companion. I love this paper and use this to die cut my flowers too.


These flowers are so beautiful on their own but by printing onto a different paper you can create a totally different texture and fantasy flowers for your projects especially if you layer them up and edge them with a gold ink pad as I have done here.

 I have used the my pokey tool to curl some the petals very slightly and thought the pearls finished them off nicely. These were large beads, you can hide the holes easily, I find sometimes flat back pearls don't nest as well in the centre.


I printed the lightest colour sheet onto Centura Pearl snow white pearlescent paper to coordinate with my flowers and used the papers to die cut too. The dies I have used for this card are the Centre of Attention die from the Portmanteau collection from Tattered Lace. 


I do love this die collection by Tattered Lace and I have layered the dress on the mannequin with the papers to add some dimension.

I normally make an envelobox for my cards that have a bit of dimension to them and as this is A5 in size I know that I can easily make one out of a piece of 12 x 12 inch cardstock so that it will hopefully reach its destination as it left.

If you are interested in more inspiration from Opulence by Design and love crafting and making flowers as I do you can follow her on  Youtube https://www.youtube.com/@opulencebydesign/featured

Have a great week whatever you have planned for your self

Happy crafting


Challenges: 


Saturday, 1 July 2023

Pretty Primulas

I have a few more flower cards that I have been meaning to share using these Pretty Primulas flower forming sheets so I thought I'd do a quick post to show you them.


I made this card for my neighbour who had recently come out of hospital after an operation. I used these beautiful Digital Florist Pretty Primula Flower Forming Sheets by Opulence by Design, along with the Digital Florist Pansy Leaf flower forming sheets which I really love using with my flowers.

I printed my flowers as usual onto 120 gsm colour document Navigator paper and I also printed the bonus colour block sheets out so that I could die cut the layers for my card using one of my  Tattered Lace oval torn edge die sets.


I've added a little Stickles glitter glue to the centre of my flowers and a dragonfly die cut to the the sentiment.


My second card is a 6 x 6 inch greeting card. I added this adorable topper with my favourite little bird on a branch. I also used the colour block papers with the downloads for the die cuts on my cards too, matching the green background with the pansy leaves.
You can download this  FREEBIE Birdie on a Branch  from the website. It also comes with another topper and a selection of sentiments. I've added the link below for you to view and download other free downloadable projects available.  The papers are great to use for your die cutting and flower making too.


I like to layer up my blooms and cut into the petals a little so that I can give them some shape. I think detail in these pansy leaves is very natural and I like to curl them both inwards and outwards, then cluster them altogether like they look in my garden. My flowers have a bit of sparkle in the middle from my Stickles glitter glue too.


I have a family of these little lovelies visiting my garden everyday and they are such a joy to see.


Enjoy the rest of your weekend whatever you have planned 
Happy crafting


Tuesday, 13 June 2023

New Home Card in a bag

It's been years since I have made one of these and thought it would be cute combo for a New Home card, except mine will accompany a few chocolates and a bottle of wine!


I have used the Digital Florist Pretty Primula Flower Forming Sheet which comes with 2 bonus plain A4 colour sheets by Opulence by Design.
I printed my flowers as usual onto 120 gsm colour document Navigator paper, which I like to use as it works well for me.
I also used the Digital Florist Pansy Leaf flower forming sheets which also come with the  2 A4 bonus colour sheets.

The colourways of these sheets are just perfect for die cutting your foilage too. I often find it hard to find the right shade to green for my cards and foliage. Also, if you want a perfect match on both sides for your leaves , you can print the lighter colour block page on the other side of your foliage.

This is a Stamping Up design, originally from the famous 'Hallet Bag' which was created by Caroline Hallet.  I have attached a link to her UTube channel below  to follow the tutorial for the bag and many others on her channel.

Caroline Hallet H (Stamping U Demonstrator)

For my tote bag I used a 200gsm card to print my plain colour block sheets (double sided) for a bit more structure for my tote bag.

I thought that this project would be a good example to show that this download kit is great for your card craft projects too.


The white feathered edge around these beautiful primulas made it so easy to cut these out with my decoupage scissors. To give them a more natural shape, I cut into a few of the petals so that when I press into the centre of the flower with my ball tool, the petals curve more naturally. You can curl the tips of the petals with the end of a pokey tool too.


I added some lemon pollen head stamens from The Dreamees. They sell some great bundles of multi coloured stamens for your flowers.

I am really loving these Pansy leaves at the moment. I know these are Primulas but when I saw them online, I just thought of all floral projects that I could add them to and liked how they looked when added to these primulas too. They have a natural highlight to them, so when you shape them, they don't look flat. I like to print the lighter plain green colour block on the other side of the leaves so that when I curl them, they mirror the front.

If you are interested in more inspiration from Opulence by Design and love making flowers as I do you can follow her on  Youtube https://www.youtube.com/@opulencebydesign/featured


The bunting came from a Tattered Lace die that I remembered I had in my stash and I added some small white peel offs that just fit onto the flags. This one is ready to go now and I've just included one more picture of my own primulas from my garden this year.


Enjoy your week whatever you have planned and it looks as if the sunshine is staying with us too.
Happy crafting


Tuesday, 16 May 2023

Purple Petals

 In between spending  some time in my garden over the past week I have made a few cards with these beauties which I have had the pleasure to craft with. 


I tend to sit and cut my flowers out whilst watching TV using a small pair of curved scissors that I purchased a few years ago from The Dreamees website. I find that they are the perfect shape to cut out your floras with.

I used the darkest of the bonus papers from the download with one of my lacy Tattered Lace doily dies to create the easel card and both the toppers from the sheet to decorate my card. I also used icicle Stickles glitter glue around the topper.


For my birthday card I used a 7 x7 inch white card base and a strip of the darkest plain paper from the download for a contrast against the topper and background inside my card. 

I decided to emboss the backing paper using one of my metal die sets on my cut n' boss die cut machine, as  I liked the pattern and thought it would add a  bit of texture to the paper too. 

I used my icicle Stickles glitter glue around the  edge of the topper this time and Black Diamond in the centre of my decoupaged Anemone.


Finally A tall stepper card using a Tattered Lace die from my stash and I have layered these beautiful flowers and shimmered the edges of the petals with my stardust pen ( unfortunately the picture doesn't capture that). 

I have added black Flowersoft to the centre of  some of the flowers and black diamond Stickles glitter glue to the rest for a mix of textures with the green foliage ivy leaves flowing throughout. These can also be found on the website.

I love to cut these gorgeous flowers out and create dimensional blooms with them but they are just as beautiful cut out and given a gentle curl to the edge of a petal with your finger or pokey tool for a more natural look before being added to your project.

If you're creating dimensional blooms and don't want any white to show on the back of your petals, after printing your floras out, turn your page over and re-print choosing the lighter bonus sheet. This is a good alternative to inking them.

If you are interested in the link to Opulence by Design's Website, you can follow the link below including the YouTube channel where you will find lots of really inspirational card craft and some brilliant flower making tutorials that I have certainly made use of.


Apparently, Anemones sense the approach of a rainstorm and close up their petals. I did have pink ones in my garden but think our harsh winter has killed them off. With all the rain and random sunny days my garden is resembling more of a jungle at the moment  with everything shooting up at the same time and a lawn covered with by a blanket daisies that I am reluctant to mow away.

Enjoy your week whatever you choose to do and let's hope there's a little more sunshine in that too.

Happy crafting


Challenges:-


Monday, 1 May 2023

Its shining sunflowers

I have been having a play with some flowers and thought that I'd show you what I have been making.  


When Amanda showed me her new set of sunny flowers that she had designed I was really enthusiastic about crafting with them. There is something very therapeutic about flower making.

I thought these flowers would look really pretty on my flower pot that I painted with acrylic paint. I printed the sunflowers onto 120gsm Navigator colour document paper and I find them easy to cut out. 


I gave the sunflowers a coat of Mod Podge in matte finish to seal them and add a little structure to them which helped as I moulded them around the pot , finishing off with another coat of Mod Podge to seal the pot. I added gold prills in the centre of the flowers for dimension.


My little pot is ready for plant life and will sit nicely on my window sill. 

The Digital Florist Sunflower Flower forming Sheet can be found at Opulence by Design as a PDF digital download with 2 bonus plain sheets.

Opulence by design have a YouTube channel packed with inspiration and tutorials on card craft and I especially love all the flower making tutorials which I find very useful with very handy tips too. Follow the link below if you would like to catch up on any of these.


I have also made a few cards with these gorgeous blooms.


For my birthday card, I used a 6x6 inch  white card blank, a woodgrain embossed topper by The Dreamees  with a hint of wax and a wreath die cut for my sunflowers to sit. on. I have used the leaves from the Opulence by Design Steampunk Florals . I have also used the darker of the 2 plain sheets available in the download and for the centre of my flowers I have used a mix of Stickles glitter glue and glossy accent.


For my easel I card used both colourways of the papers  on a mushroom card base, adding the foliage Ivy leaves which I already had in my stash. This time for the centres of my flowers I used a lemon Flowersoft.


Finally a little thank you card on cream linen cardstock. I used a script embossing folder and a gold scroll die cut in the background. I just focused on the dimension of a single flower and added lots of gold prills over the fine detail that was already on this beautiful design.


I do love sunflowers, they are one of my favourites and I had quite a few in my garden last year.


These flower former sheets are a fabulous edition to your crafty stash as they can be used in so many ways to suit the changing ways that we all craft now.

The sun has been out and I have been out in the garden.  The birds are nesting and the black birds have decided to take the rest the coco coir liner from an old plant pot base that I left them for their nests (which they destroyed last year with my plants in it).

There's a new window bird feeder on my list as either the pigeon has tried to perch on it and it has snapped or I am feeding those sparrows too much!!  
At least its been a sunny bank holiday for a change, I hope you've had a good one.

Happy crafting


Kindness Postcards

I love a postcard; they come in all shapes and forms, from a reminder of where you have been to a hello friend, but unfortunately, they are ...