
Week 1

They started by making an A5 inch deep handbag box for the girls and box envelope for the boys.

The girls handbag boxes were made from 12 x 12 double sided card from a card pack. They used some die cut flower shapes and paper doilies to decorate the boxes before finishing off with organza ribbon handles.

The boys boxes were decorated with a mix of Visible Image music stamps and Sheena Douglass music & dance stamps, which have been stamped onto kraft card.

The boxes seal with a velcro dot.
Week 2
I thought the group would enjoy starting with a bit of mixed media. making some backing papers and the covers for their notebooks

We used shaving foam acrylic sprays, gold & silver metallic paint, bubble wrap with some white cardstock.


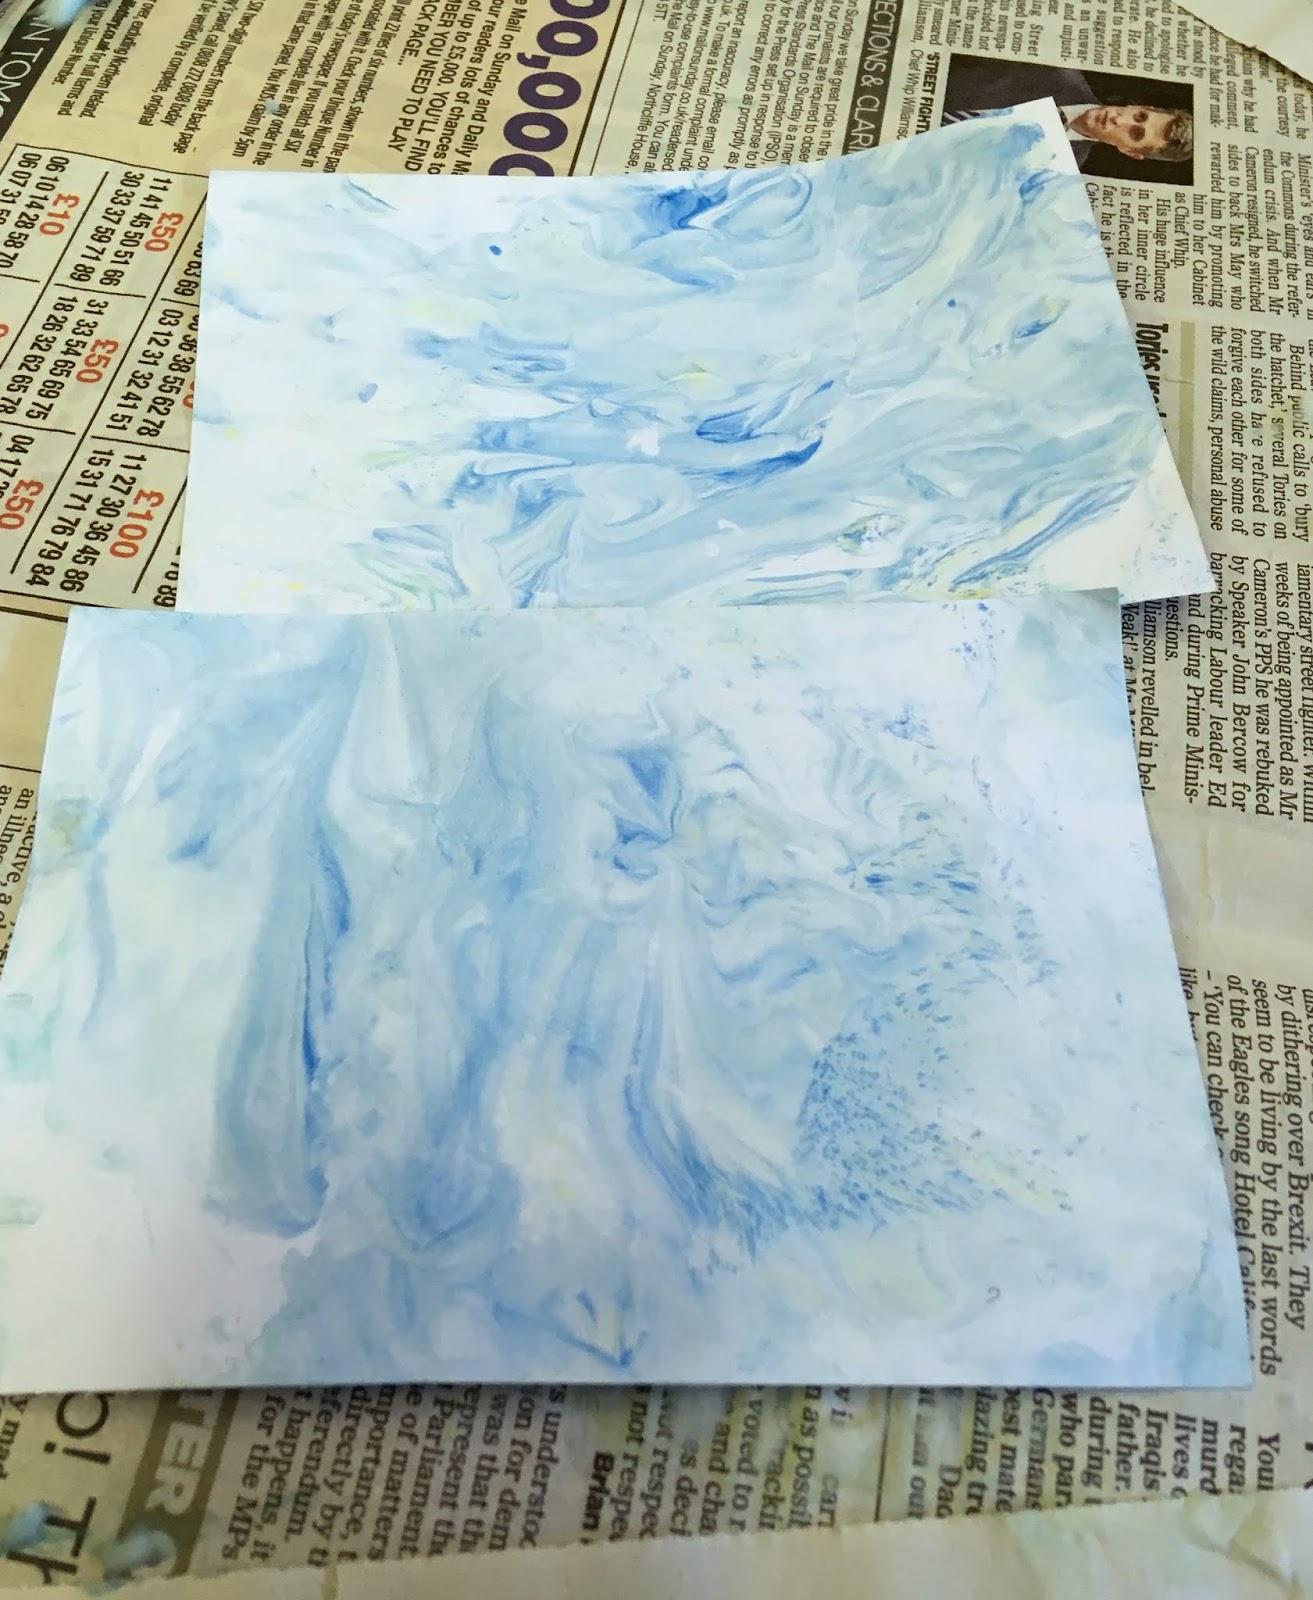


They really enjoyed experimenting making their backing papers especially when they saw their own results. They used the end of a paintbrush to lightly swirl the colours together and used a ruler to scrape the excess off their card which dried really quickly. From the excess which was scraped off back into the tray, they could make a more muted background and reapply to a new piece of card. This can be moped up with more card to use later.
They then moved on to the bubble wrap. Of course, I had extra bubble wrap for them to pop as I knew the temptation to leave the bubbles intact for the project would be too great! They experimented with gold and silver paint to use their bubble wrap to print onto white card, creating texture and varying the pressure to get a different print.


As these techniques dried quickly, we were able to complete our notebooks. The children chose one of the marbled cards to make the cover for their notebook and then we used an A4 piece of paper cut into signatures for the pages. They carefully used a glue stick along the edges of the pages to fit them into their notebooks. The remainder of the backing papers went back into their box to create something of their choice or re-create another notebook at home.

Each sheet is different and equally as good as the next. I gave them the materials and to work with, showed them what they could do with them and they produced their own little works of art that they were really happy with, which is what it's all about at the end of the day.


Week 3
Bedroom door hangers were one of the suggestions the children talked about making, so that was the next project the children made using thick card cut from a sturdy shoe box.


The children decorated their door hangers with a selection of toppers, die cuts, peel offs and embellishments on both sides.
After that, they made some large decorative paper clips using J20 bottle caps and large coloured paper clips with a few embellishments. I thought this was a really great idea from my crafty colleague Katie Lamb. I used a glue gun to attach the bottle caps to the paperclips.

At the moment they are using them to clip their backing papers together in their box envelopes.
Week 5
Was comic book week. I found some of my sons old Beano magazines and thought the children could cut them up and use them to decorate a cork coaster and bookmark.

I die cut some greyboard (from the back of an A4 lined notepad) and then gave it a coat of water resistant Modge Podge. Once the children had decorated it, I glued it to the cork coaster using some Cosmic Shimmer acrylic glue. I thought it would give the cork coaster a bit more stability.

They used a thin layer of Modge Podge on the base to stick it down and on top of their coaster to seal it.


One of the children chose to decopatch her coaster with various piece of the comic instead of one single piece.

One of the children decided to use pencils to decorate her coaster. They all turned out really well. I gave the coasters an extra layer of Modge Podge to make sure that they were sealed well.

They did the same with the bookmarks on both sides.


Week 6
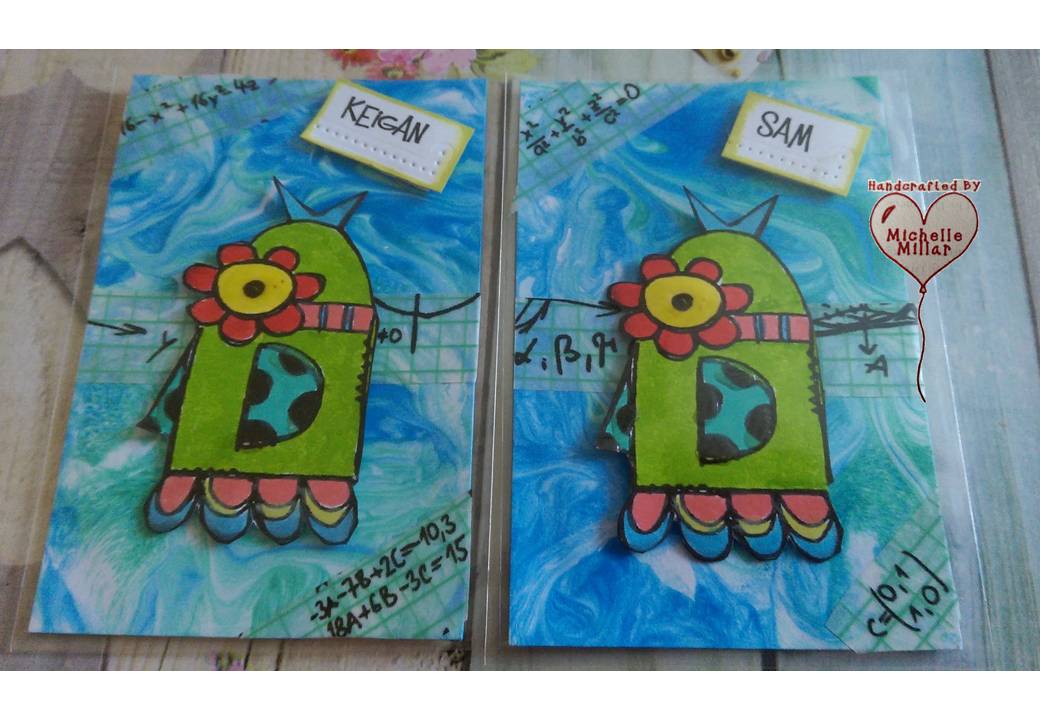
Our final week and its ATC week (Artist Trade Cards). Along with a selection of materials to decorate their cards with, I gave them some digi and stamped images to play with.


As usual, I have made each of the children their own ATC. I have used a marbled background using the acrylic inks and shaving foam and the BeeBow digi image from Vera Lane Studios. I also used this very valuable ATC stamp from Imagine Design Create . As I make ATCs to swap for a few facebook groups and with the children at our craft club, I thought that this stamp would come in very handy.


Inspiring young minds to craft.
That's it for this month.
Happy Crafting


2 comments:
WOW didn't they do brilliantly love all the projects and the shaving cream backgrounds look fabulous -really love the decopatched coaster-a definite crafter in the making
Carol x
Thanks very much Carol x
Post a Comment