blog backbdrop

Tuesday, 13 June 2023

New Home Card in a bag

It's been years since I have made one of these and thought it would be cute combo for a New Home card, except mine will accompany a few chocolates and a bottle of wine!


I have used the Digital Florist Pretty Primula Flower Forming Sheet which comes with 2 bonus plain A4 colour sheets by Opulence by Design.
I printed my flowers as usual onto 120 gsm colour document Navigator paper, which I like to use as it works well for me.
I also used the Digital Florist Pansy Leaf flower forming sheets which also come with the  2 A4 bonus colour sheets.

The colourways of these sheets are just perfect for die cutting your foilage too. I often find it hard to find the right shade to green for my cards and foliage. Also, if you want a perfect match on both sides for your leaves , you can print the lighter colour block page on the other side of your foliage.

This is a Stamping Up design, originally from the famous 'Hallet Bag' which was created by Caroline Hallet.  I have attached a link to her UTube channel below  to follow the tutorial for the bag and many others on her channel.

Caroline Hallet H (Stamping U Demonstrator)

For my tote bag I used a 200gsm card to print my plain colour block sheets (double sided) for a bit more structure for my tote bag.

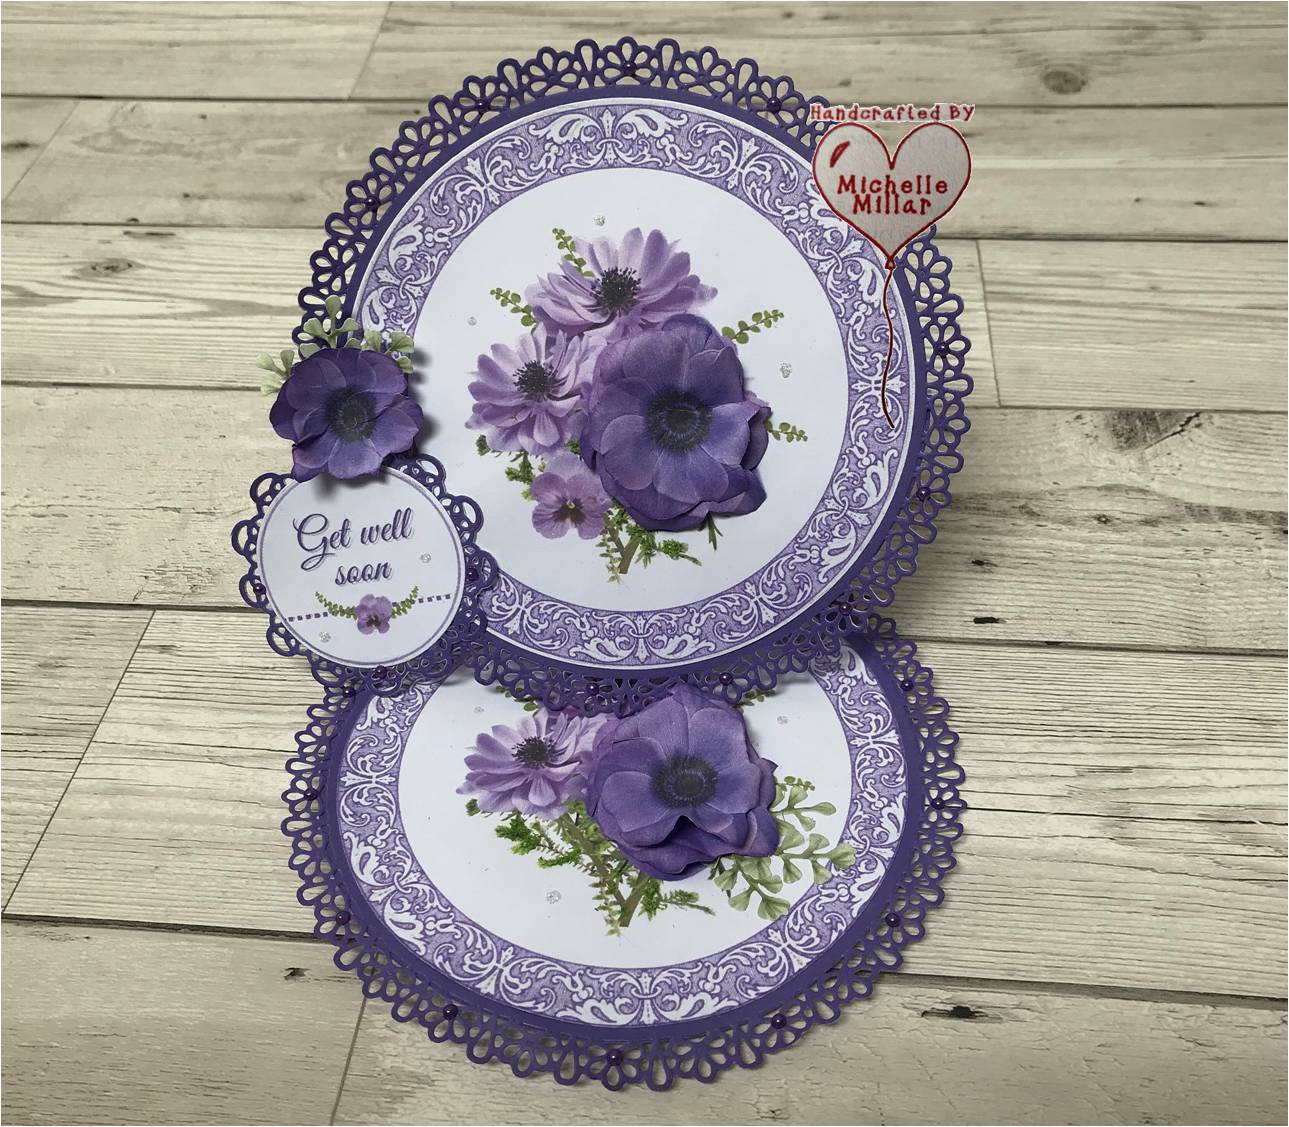
I thought that this project would be a good example to show that this download kit is great for your card craft projects too.


The white feathered edge around these beautiful primulas made it so easy to cut these out with my decoupage scissors. To give them a more natural shape, I cut into a few of the petals so that when I press into the centre of the flower with my ball tool, the petals curve more naturally. You can curl the tips of the petals with the end of a pokey tool too.


I added some lemon pollen head stamens from The Dreamees. They sell some great bundles of multi coloured stamens for your flowers.

I am really loving these Pansy leaves at the moment. I know these are Primulas but when I saw them online, I just thought of all floral projects that I could add them to and liked how they looked when added to these primulas too. They have a natural highlight to them, so when you shape them, they don't look flat. I like to print the lighter plain green colour block on the other side of the leaves so that when I curl them, they mirror the front.

If you are interested in more inspiration from Opulence by Design and love making flowers as I do you can follow her on  Youtube https://www.youtube.com/@opulencebydesign/featured


The bunting came from a Tattered Lace die that I remembered I had in my stash and I added some small white peel offs that just fit onto the flags. This one is ready to go now and I've just included one more picture of my own primulas from my garden this year.


Enjoy your week whatever you have planned and it looks as if the sunshine is staying with us too.
Happy crafting


Tuesday, 16 May 2023

Purple Petals

 In between spending  some time in my garden over the past week I have made a few cards with these beauties which I have had the pleasure to craft with. 


I tend to sit and cut my flowers out whilst watching TV using a small pair of curved scissors that I purchased a few years ago from The Dreamees website. I find that they are the perfect shape to cut out your floras with.

I used the darkest of the bonus papers from the download with one of my lacy Tattered Lace doily dies to create the easel card and both the toppers from the sheet to decorate my card. I also used icicle Stickles glitter glue around the topper.


For my birthday card I used a 7 x7 inch white card base and a strip of the darkest plain paper from the download for a contrast against the topper and background inside my card. 

I decided to emboss the backing paper using one of my metal die sets on my cut n' boss die cut machine, as  I liked the pattern and thought it would add a  bit of texture to the paper too. 

I used my icicle Stickles glitter glue around the  edge of the topper this time and Black Diamond in the centre of my decoupaged Anemone.


Finally A tall stepper card using a Tattered Lace die from my stash and I have layered these beautiful flowers and shimmered the edges of the petals with my stardust pen ( unfortunately the picture doesn't capture that). 

I have added black Flowersoft to the centre of  some of the flowers and black diamond Stickles glitter glue to the rest for a mix of textures with the green foliage ivy leaves flowing throughout. These can also be found on the website.

I love to cut these gorgeous flowers out and create dimensional blooms with them but they are just as beautiful cut out and given a gentle curl to the edge of a petal with your finger or pokey tool for a more natural look before being added to your project.

If you're creating dimensional blooms and don't want any white to show on the back of your petals, after printing your floras out, turn your page over and re-print choosing the lighter bonus sheet. This is a good alternative to inking them.

If you are interested in the link to Opulence by Design's Website, you can follow the link below including the YouTube channel where you will find lots of really inspirational card craft and some brilliant flower making tutorials that I have certainly made use of.


Apparently, Anemones sense the approach of a rainstorm and close up their petals. I did have pink ones in my garden but think our harsh winter has killed them off. With all the rain and random sunny days my garden is resembling more of a jungle at the moment  with everything shooting up at the same time and a lawn covered with by a blanket daisies that I am reluctant to mow away.

Enjoy your week whatever you choose to do and let's hope there's a little more sunshine in that too.

Happy crafting


Challenges:-


Monday, 1 May 2023

Its shining sunflowers

I have been having a play with some flowers and thought that I'd show you what I have been making.  


When Amanda showed me her new set of sunny flowers that she had designed I was really enthusiastic about crafting with them. There is something very therapeutic about flower making.

I thought these flowers would look really pretty on my flower pot that I painted with acrylic paint. I printed the sunflowers onto 120gsm Navigator colour document paper and I find them easy to cut out. 


I gave the sunflowers a coat of Mod Podge in matte finish to seal them and add a little structure to them which helped as I moulded them around the pot , finishing off with another coat of Mod Podge to seal the pot. I added gold prills in the centre of the flowers for dimension.


My little pot is ready for plant life and will sit nicely on my window sill. 

The Digital Florist Sunflower Flower forming Sheet can be found at Opulence by Design as a PDF digital download with 2 bonus plain sheets.

Opulence by design have a YouTube channel packed with inspiration and tutorials on card craft and I especially love all the flower making tutorials which I find very useful with very handy tips too. Follow the link below if you would like to catch up on any of these.


I have also made a few cards with these gorgeous blooms.


For my birthday card, I used a 6x6 inch  white card blank, a woodgrain embossed topper by The Dreamees  with a hint of wax and a wreath die cut for my sunflowers to sit. on. I have used the leaves from the Opulence by Design Steampunk Florals . I have also used the darker of the 2 plain sheets available in the download and for the centre of my flowers I have used a mix of Stickles glitter glue and glossy accent.


For my easel I card used both colourways of the papers  on a mushroom card base, adding the foliage Ivy leaves which I already had in my stash. This time for the centres of my flowers I used a lemon Flowersoft.


Finally a little thank you card on cream linen cardstock. I used a script embossing folder and a gold scroll die cut in the background. I just focused on the dimension of a single flower and added lots of gold prills over the fine detail that was already on this beautiful design.


I do love sunflowers, they are one of my favourites and I had quite a few in my garden last year.


These flower former sheets are a fabulous edition to your crafty stash as they can be used in so many ways to suit the changing ways that we all craft now.

The sun has been out and I have been out in the garden.  The birds are nesting and the black birds have decided to take the rest the coco coir liner from an old plant pot base that I left them for their nests (which they destroyed last year with my plants in it).

There's a new window bird feeder on my list as either the pigeon has tried to perch on it and it has snapped or I am feeding those sparrows too much!!  
At least its been a sunny bank holiday for a change, I hope you've had a good one.

Happy crafting


Saturday, 8 April 2023

The Slowest Felter in the West

I thought that I would share some of my mindful crafting with you, especially now that I have actually finished something to tell you about.


It all started with this little chap, my pointy eared gnome that my daughter bought me as a kit for Christmas from Lincolnshire Fen Crafts.

Last year I was looking for something creative that I could still do, albeit slowly for when I don't feel able to craft and need a distraction as another form of pain relief or just a bit of creative space with no time limits that I could just pick up and put down at any time.

I had been watching Sandy felting on YouTube for some time and this has always been something that I have been interested in but not a craft that I had thought would be suited to someone with joint issues.

My crafty friend Caron, who has also felted many wonderful things, one of which was an adorable bunny plaque that she made me, sent me some wool and a needle for me to have a  play with and see how I got on. I certainly wasn't put off.

I took a particular fancy to this pointy eared gnome and really liked how Sandy had so many free tutorials on her YouTube channel, especially from her kits, and that she made felting look like something that I could do, more importantly.

There wasn't too much to this little gnome either which also made it a perfect Christmas gift for me to start with and it didn't matter how long it took for me to make it either or that I was the slowest felter in the West!

I had quite a bit of wool left over and have since acquired some more along the way and find it very therapeutic stabbing a ball of rolled up wool. Slow is still good......you tend not to stab your fingers with the barbed needle and in the story of the tortoise and the hare wasn't it slow and steady that won the race?.....


Now I have two pointy eared gnomes!........ a slightly smaller version. I haven't ventured off these quirky little critters yet but I am certainly enjoying my newly found therapeutic craft.


If you're interested in looking up Sandy from Lincolnshire Fen Crafts  I have also added a link to her YouTube channel below. She also has a Facebook group page called The Felt Hub and does regular 'Facebook lives'.

The Felt Hub


The idea of mindful crafting is to take time out and do something relaxing that you enjoy and that you can lose yourself in, a break from technology, a break from daily routine, de-stress, and clear your mind. It can be anything really long as you enjoy doing it.

Have a great weekend whatever you choose to do and let's hope there's a little more sunshine in that too.


Happy crafting


Challenges:-
Love to craft:- ATG  (Top Pick)
Classic Designs Challenge - ATG (Best Technique)


Thursday, 16 March 2023

Vintage Birthday card

Sharing another birthday card, made for a friend. I think I am up to date on my cards for now and can take a bit of a break from cardmaking.


I wanted to make something a little bit different, so opted for a vintage look using a vintage flapper girl postcard that I spotted and was allowed to download on Pinterest. 

I used cream card and a square-shaped die along with a ribbon threader die to create the card base.


I thought that some of the papers from the Graceful Gerbras collection by Opulence by Design would work perfectly with my card and the pretty gerbera paper was printed onto white pearlescent paper from Crafters Companion that I have had in my stash for ages.
I also used one of my Tattered Lace frame dies from my stash which I die cut from a textured rose gold matte mirror card.


I like to sit and cut out my flowers whilst watching TV and then I know that I always have flowers on hand for my projects and when I am trying to decide what to use. I use a lot of smaller flowers so find it very handy to downsize enough blooms to cut out and have ready to craft with.

The flowers that I have used are a mix of pinks from Steampunk Florals along with leaves, Blue Dahlias from the Breathe collection, and rose leaves all by Opulence by Design.

I've used a mix of Stickles glitter glue and glossy accent in the centre of my flowers for different textures and I edged my petals with a Treasure gold dinky inky ink pad by The Dreamees. I use this ink pad and reinker a lot in my crafting and not sure whether The Dreamees will bring this set of sparkle dye-based essential inks back into stock.  Some of the petals I went over with a stardust gelly roll pen for a little more highlight.


Inside my card I added a coordinating insert from the paper kit, adding a little shimmer to the papers with my gelly roll pen.


To the rim of the hat of my Vintage lady, I added 3 small flowers that I thought nestled just nicely on her hat. My card has been threaded with white organza ribbon and embellished with small white pearls.

Have a great day whatever you have planned for yourself and if you've been crafting, what's been your craft table this week?  

Happy crafting


Challenges:-

Daisy Chains - Flowers
Beautiful Blossoms - Flowers 
Triple B - Blooms
Love to Scrap - ATG (Winner)
Fab'n'Funky - Vintage/Retro

Saturday, 11 March 2023

Steampunk Floral cards

I thought that I would share a few cards that I had made using the Steampunk Floral collection by Opulence by Design


On an 8x8 inch kraft card base I first  layered a piece of antique gold pearlescent paper and then for some texture, I used s piece of brown packing paper from recent Amazon delivery. This packing paper is not only quite sturdy but has a lovely ribbed texture and takes ink very well. I used my Treasure gold dinky inky from The Dreamees and was really happy with the results.

I printed out two of these design sheets so that I could cut out the metal picture frame and smaller elements, then decoupage them back onto a fresh sheet.  I used my stardust gelly roll pen to highlight the picture frame and the edges of the flowers.

I added a monocle die cut from my stash over one of the clock faces in the paper and created a metal-like sentiment using  Debbi Moore's metal magic.


Another large card and with this one I have used one of my Tattered Lace steampunk dies and my smallest embellishments to highlight its wings.

I have decoupaged the rose in the bottom left corner and cut out more of the leaves from the same design sheet as I wanted to use them around the large clock face and flowers. I also added acetate to the clockface to make it stand out more, especially as I was draping my flowers around it.


I made a few rolled roses to tie in with the pink flowers in the collection and created another metal-like sentiment that fits in with the steampunk theme.  This card is bound together with a rose ribbon to coordinate with the colour theme throughout.

Not sure we were all expecting snow in March, but there you go,  I'm glad I haven't taken the fleece off the plant pots in my garden yet, a shock to the daffodils out there!
If you've been crafting, what's been your craft table this week?  

Happy crafting


Challenges:-


Monday, 27 February 2023

Graceful Gerbera Birthday Card

A quick little card to share today, another birthday card made in advance for my neighbour who loves flowers so I thought that this card would be perfect for her.


I loved the large beautiful white gerberas on this Graceful  Gerberas kit, they really jump out of the papers and topper in this kit by Opulence by Design Crafts. There is a selection of toppers and sentiments along with a set of pink/cream backing/collage papers for you to choose from.


I've been stocking up on my paper too since I have been using more downloadable crafting. I use an Epson Eco tank colour printer which I have been very happy with as I find it very economical on ink and for printing and for a while I have been using A4 Navigator white paper (250 sheets) for colour documents (in the orange wrapper) which is 120gsm.

It's a nice smooth paper, lovely for flower making and I buy it from Wilkos which often has it on offer. It is very popular though.  The other slightly thicker card I use is Hobbycrafts A4 white smooth card 160gsm (100 pack). Lovely for toppers. I think you have to try a few out and see what works for you.

There are lots of different texture papers around that these papers would look gorgeous printed onto.


I used an 8 x 8 card base for my card and used a ribbon threader die so that I could weave a little rose taffeta wired ribbon under the topper. I also used my stardust gel pen to highlight the gold splatters already on the design and added a matching insert inside my card.

My neighbour is so kind, when she gardens, she digs up little clumps of pinks, lilies french marigolds or whatever is growing in her garden at the time that she thinks I might like and pops them on my doorstep. Her husband used to do the gardening but unfortunately, that's down to her now.

I'm looking forward to getting back into my garden and sorting my little greenhouse out.
If you've been crafting, what's on your craft table this week?  

Happy crafting


Challenges:-

Allsorts - ATG (option matching) - matching insert
Let's Craft and Create - Use a Sentiment
Crafty Calendar - Add ribbon


Kindness Postcards

I love a postcard; they come in all shapes and forms, from a reminder of where you have been to a hello friend, but unfortunately, they are ...