blog backbdrop

Showing posts with label Jazz it Up. Show all posts

Wednesday, 5 May 2021

Capture the Moment - Birthday Card

I have some men's cards to share today, which were made for my brother and brother-in-law. They are virtually the same, apart from the colour ink that I have used. 


It's also the start of our blog challenge at Let's Craft & Create and as we have a no patterned paper theme, I thought that this would be a good project to share. A with all our challenges, they are also ATG.


The camera was stamped twice onto white stamping card, for each card, so that I could decoupage the camera lens. I then added clear embossing powder to the top layer to give the camera lens the illusion of a clear lens.


For my background and topper for each card, I used Peacock feather & Salty Ocean with Antique Linen & Black Soot distress oxides by Tim Holz. I mimicked a random bokeh effect using one of the circle stamps from the Visible Image - Music on Wold Off stamp set in frayed burlap distress oxide.


I mounted the topper on foam pads to add a little dimension and used the splat stamp from the same stamp set around the edges of the card in black soot with some 2nd generation stamping.


I also went for a more faded look with my negative stamp on the background of my topper. I love this stamp by Inkylicious. I bought this film strip years ago and it's been well used and is a great quality grunge effect stamp.


This is about as close as you will get with me making two cards the same, hence why I would not be the right person to make your wedding invitations.......I suppose they would be unique... as they would all be different ...ha ha.

Anyway, I have backed these onto smokey grey card before mounting them on the white card.I thought it needed a softer colour than black.

Great wording for a card, of course by Visible Image, unique stamps and wording.  On a card like this, I add a personal sentiment inside, so I focus on what I want to create rather than worry about putting a birthday sentiment on the front.

Our design team have also been busy this month with projects of their own and there is always lots of fabulous inspiration shared by the crafters on our blog too. If you are interested,  there is a prize for the winning entry, following our theme and a badge for your blog for the top 3 runners up. Just click on the link below which will take you to our blog challenge. 

Happy Crafting


Wednesday, 24 March 2021

Musical Soul birthday card

My card today is a stamped card that I made for my son's birthday with a musical theme to it as he is a budding musician.


To create the background and the topper for my card I used Tim Holtz distress oxide ink pads in peacock feathers and twisted citron. I love these distress oxides, they are perfect for layering colour without losing tone.


The card I used for this project happened to be Hunkydory ink Me 300 gsm card. It's a beautiful super smooth card which takes the ink really well and I think I am running very low on it.

For the main image I used one of my many favourite stamps by Visible Image - Jazz it up and the reason I chose this one is simple, not only is it a brilliantly textured stamp, but my son also plays the saxophone. I stamped and heat embossed my image with black embossing powder to add to the textured finish on this stamp.


I created a stamped border around my topper and the background that I had made, using the small splatter stamp from the Music on - World off stamp set by Visible Image. I also added glossy accent to the piano notes from the piano/keyboard stamp in the  Jazz It Up stamp set, along with the scales and musical notes from Sheena Douglass's Music & Dance stamp set.


Visible Image has some really thought provoking sentiments to accompany their stamp sets and I love the slightly blurred typewriter style too.


I used black card to frame the topper and my background too before backing it onto my white cardstock. I also chose these colours as my son likes green and I liked the two-tone blend of the colours that I have used.


I didn't feel that it needed to have a birthday sentiment on the front as I added a personal verse for the inside of the card and I made an envelope using some two-tone 12x12 card from my stash that I had bought some time ago from The Works, great shop.


I love to hear my son play the saxophone, he has an ear for music and a  natural ability to play. I can't even read music let alone play an instrument.....unless you count the recorder in junior school ha ha....not a good memory!!

Music is the one thing that can unite souls around the world from every walk of life.
"Music is a world within itself, it is a world that we all understand "- Stevie Wonder
Enjoy your day,


Tuesday, 9 January 2018

Teenage Birthday Card using Visible Image - Jazz it Up stamp set.

This set of stamps by Visible Image were perfect to use for my musically minded son.


I used the Visible Image Jazz It Up stamp set, watercolour card, a circle mask and 3 inks ( evergreen borough by Tim Holtz and a red & blue waterbased dinky inkies by The Dreamees).


After creating my background I heat embossed the saxophonist stamp onto my cardstock


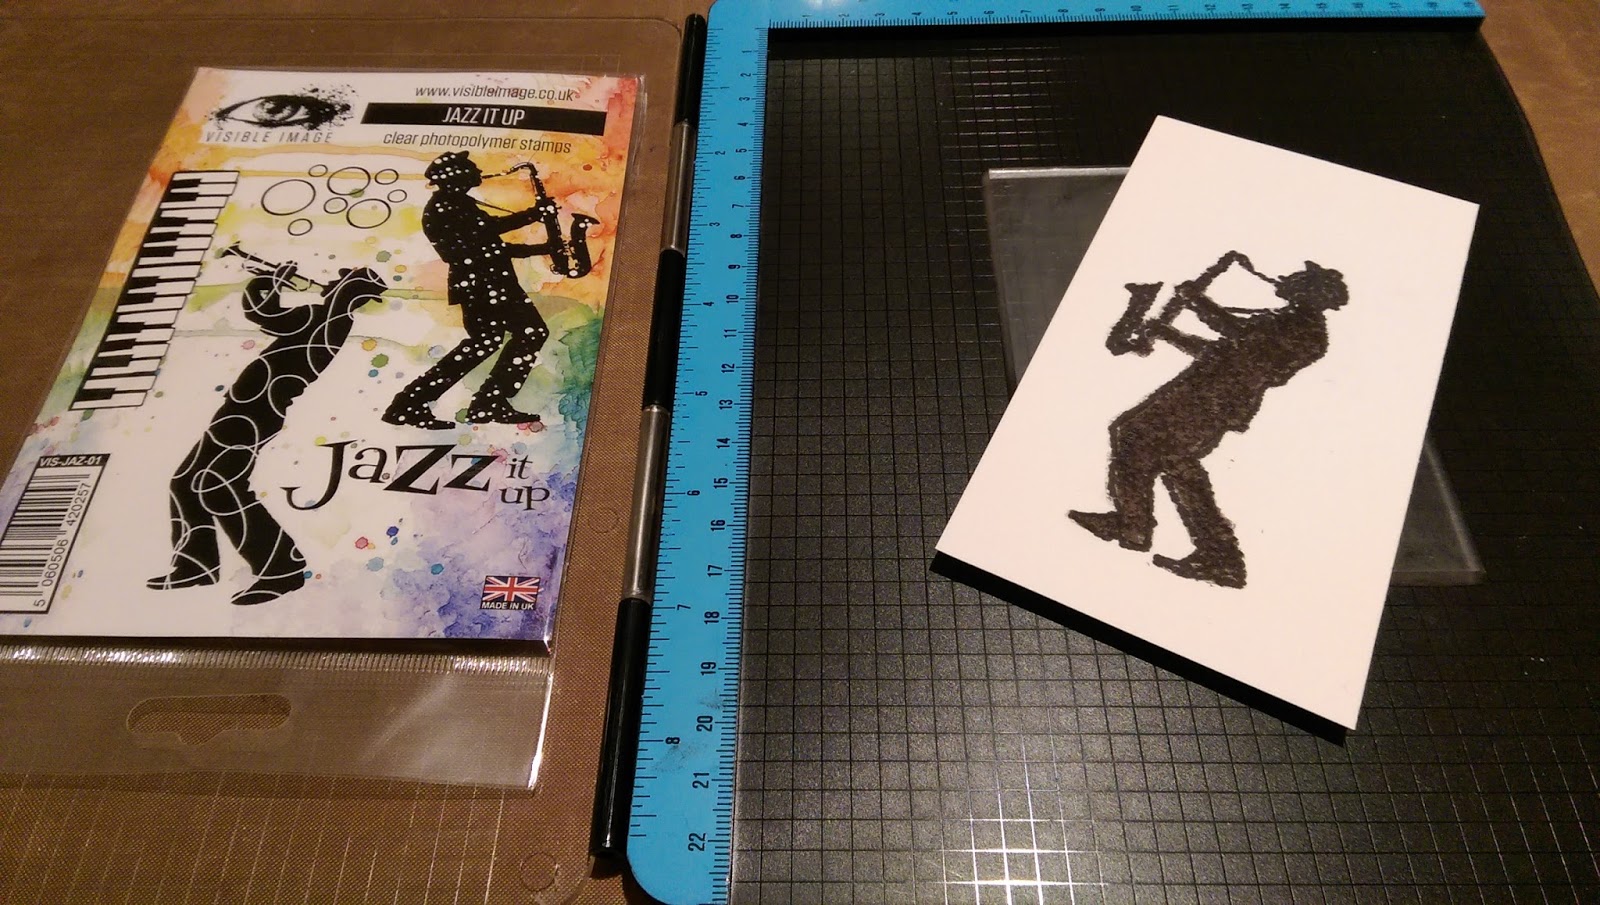
I wanted two saxophonists facing each other so thought I would have a play with my new mirror mat I purchased from The Dreamees.

This Magic Mirror Background Creator by The Dreamees is a clear solid polymer panel which allows you to stamp an image onto the panel using a juicy ink pad and them transfer that image back onto the cardstock so that it is mirrored.


Using my stamping platform I decided to have a practice before actually stamping onto the card topper that I had just made.


The Dreamees recommend using a juicy ink pad for this technique and I think a stamping platform gives you a much better chance of re-inking on the same spot if you need more ink.


I placed a piece of watercolour card over the inked image and pressed down on the stamp firmly and carefully as the last thing you want to do is make the paper slide and smudge your image. I also used the flat edge of one of ink pads to do this whilst practising this technique.


I achieved this after a little practise as you need to get used to how much ink you need to apply to your stamp and how much pressure to apply also. Different makes of stamps will vary when using this technique I think. For instance, Visible Image stamps are firm, deeply etched stamps packed with detail and my reversed image came out more solid with less detail but I was really happy with this result as on my card topper I used clear embossing powder on the wet ink to match the prevously embossed image on my card.


As you can see the left image is slightly distressed, which is how it is meant to look and the right image is more solid but it worked and achieved the result I wanted, which I was happy about.

I have to say.... with hindsight I would have stamped and embossed first and inked after, purely to ensure I got the position correct on my card as it was a case of luck of judgement to line it up after I had made the background and stamped the first image.


On some more watercolour card I had left over I heat embossed the piano keys with black embossing powder in one long strip to form the border on the card.  Using the rest of stamps with Versafine black ink around the saxophanists.  I also decoupaged the saxophones for a bit of dimension on the card.


For the inside of the card I used a selection of stamps from the Visible Image Jazz it Up & Music On, World Off set and a free sentiment stamp set from the November issue of the Papercraft Essentuals magazine.


One personalised verse for the card done.


Happy Crafting


Thursday, 28 December 2017

Visible Image - The Ripple Effect stap set Male Birthday Card

Using the inspiration from the Visible Image gallery on their website, I used their Ripple Effect background stamp to form the main image on a male birthday card I needed to make.


To make this A5 card I used Kraft card for the base with black card as a layer for the main panel of the card which was watercolour card.


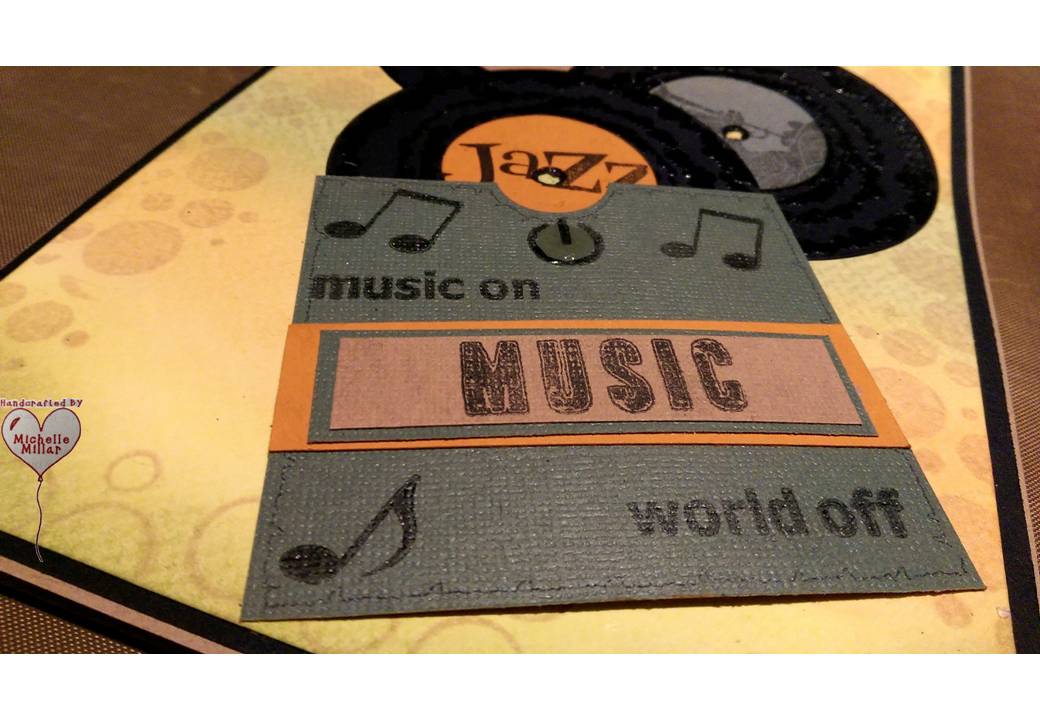
Using the largest stamp I heat embossed it onto black cardstock using black embossing powder to form the 3 music records.


On a piece of A5 watercolour card I used my Dreamees dinky inkies to form the background. I chose an orange and yellow from the Spring/Summer Collection and a green from the Autumn/Winter collection.  These are water-based inks. I use a little glycerine on my craft mat to help them glide and blend in the same way as my Tim Holtz distress inks.


Using both circle stamps from The Ripple Effect set. I then made a border around the card using a light brown dinky inky from the Spring/Summer collection.


I then die cut the stamped circles along with some smaller circles to form the middle part of the records and some coordinating card from the Tim Holtz kraft card nostalgic textured card pad.


Using two of the stamps for the centres, I saved the last disc to stamp a birthday sentiment.

I made a record sleeve with the card that I had pre-cut and stamped the wording from the Jazz it up stamp set.  I love this cardstock, it has a lovely grain and slight sheen on one side. the other side is kraft card.


I then arranged my records on the card. I love this background stamp, it's so versatile and after seeing a sample card made using this stamp to make a record, I thought it was a great idea to recreate.


I have chosen these colours as I wanted to achieve a retro feel to the card.


https://visibleimage.co.uk/

Happy Crafting


Birthday Card using Visible Image - Music on World Off Stamp Set

My son needed a last minute birthday card as he had forgotten to get one whilst in town. Well, the snow came and he asked me if I could rustle up something in time for his friends birthday celebrations that evening.

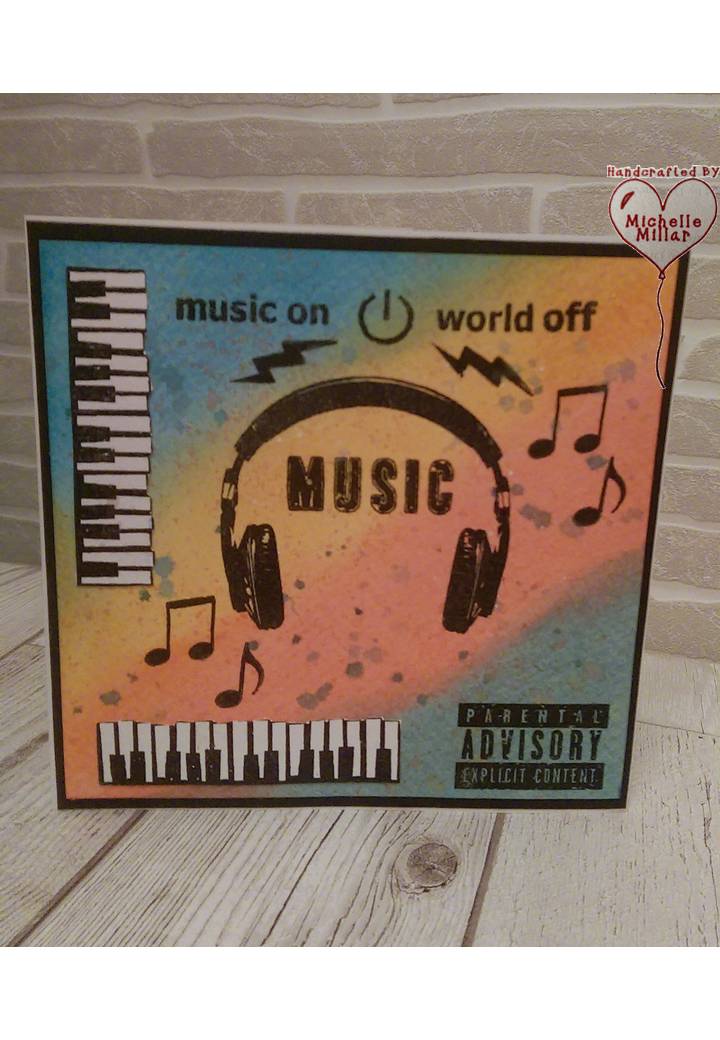
It just so happened I had received my bundle of Visible Image stamps from the black Friday sales and thought they would be perfect for the task in hand.   I decided to use the Visible Image Music on World off stamp set.
Instead of an insert, I used the same headphone image and some word stamps from another stamp set  I had.


On watercolour card, I stamped the main image using black Versafine ink and then very quickly covered it with Stamps Away clear embossing powder before the ink dried. This is a good alternative to using the black embossing powder (as long as you work quickly using this technique). Sometimes when using dark embossing powders you can get stray flecks of powder on the image when heat embossing it and can end up with a speckled image.  Tip the powder off as normal and heat emboss and you will still end up with an embossed image.  Visible Image stamps are deeply etched and pick up so much detail.


Another good tip when inking a background with distress inks/waterbased inks is to use a little glycerine with your ink applicator but do not add it to your ink pad. I kept a misting bottle I had and decanted a little glycerine that I purchased from the chemist into it. You only need a few drops mixed with your ink to help it glide across the paper when creating an inky background.

 I first inked my mat then dabbed by dauber into the glycerine (which you can just see above by dauber on the mat) then gently stroked it across the card starting from the corner working in. It gives you a streak free finish.   As you can see I started with Tim Holtz spiced marmalade, broken china and evergreen bough (mini ink pad) distress ink.

I also used Tim Holtz scattered straw distress ink in the centre of the card. Once the inked card was dry I used various stamps from the Visible Image Music on World Off stamp set and heat embossed them onto the card, with the exception of the keyboard which was from the Visible Image Jazz It Up stamp set. This has been heat embossed onto white card.


I then thought it needed to be grunged up a little, so splattered a little distress ink mixed with water on my craft mat and randomly splattered it onto my card, dabbing it with a piece of kitchen towel to absorb the excess ink.

My son was delighted with the outcome and I was happy with it too.


https://visibleimage.co.uk/


Happy Crafting

Boutique Birthday Card

I made a card for my daughter's birthday earlier this year, which was inspired by samples from this kit. When you make cards for family ...