


I used the Visible Image Jazz It Up stamp set, watercolour card, a circle mask and 3 inks ( evergreen borough by Tim Holtz and a red & blue waterbased dinky inkies by The Dreamees).


I wanted two saxophonists facing each other so thought I would have a play with my new mirror mat I purchased from The Dreamees.
This Magic Mirror Background Creator by The Dreamees is a clear solid polymer panel which allows you to stamp an image onto the panel using a juicy ink pad and them transfer that image back onto the cardstock so that it is mirrored.

Using my stamping platform I decided to have a practice before actually stamping onto the card topper that I had just made.

The Dreamees recommend using a juicy ink pad for this technique and I think a stamping platform gives you a much better chance of re-inking on the same spot if you need more ink.

I placed a piece of watercolour card over the inked image and pressed down on the stamp firmly and carefully as the last thing you want to do is make the paper slide and smudge your image. I also used the flat edge of one of ink pads to do this whilst practising this technique.
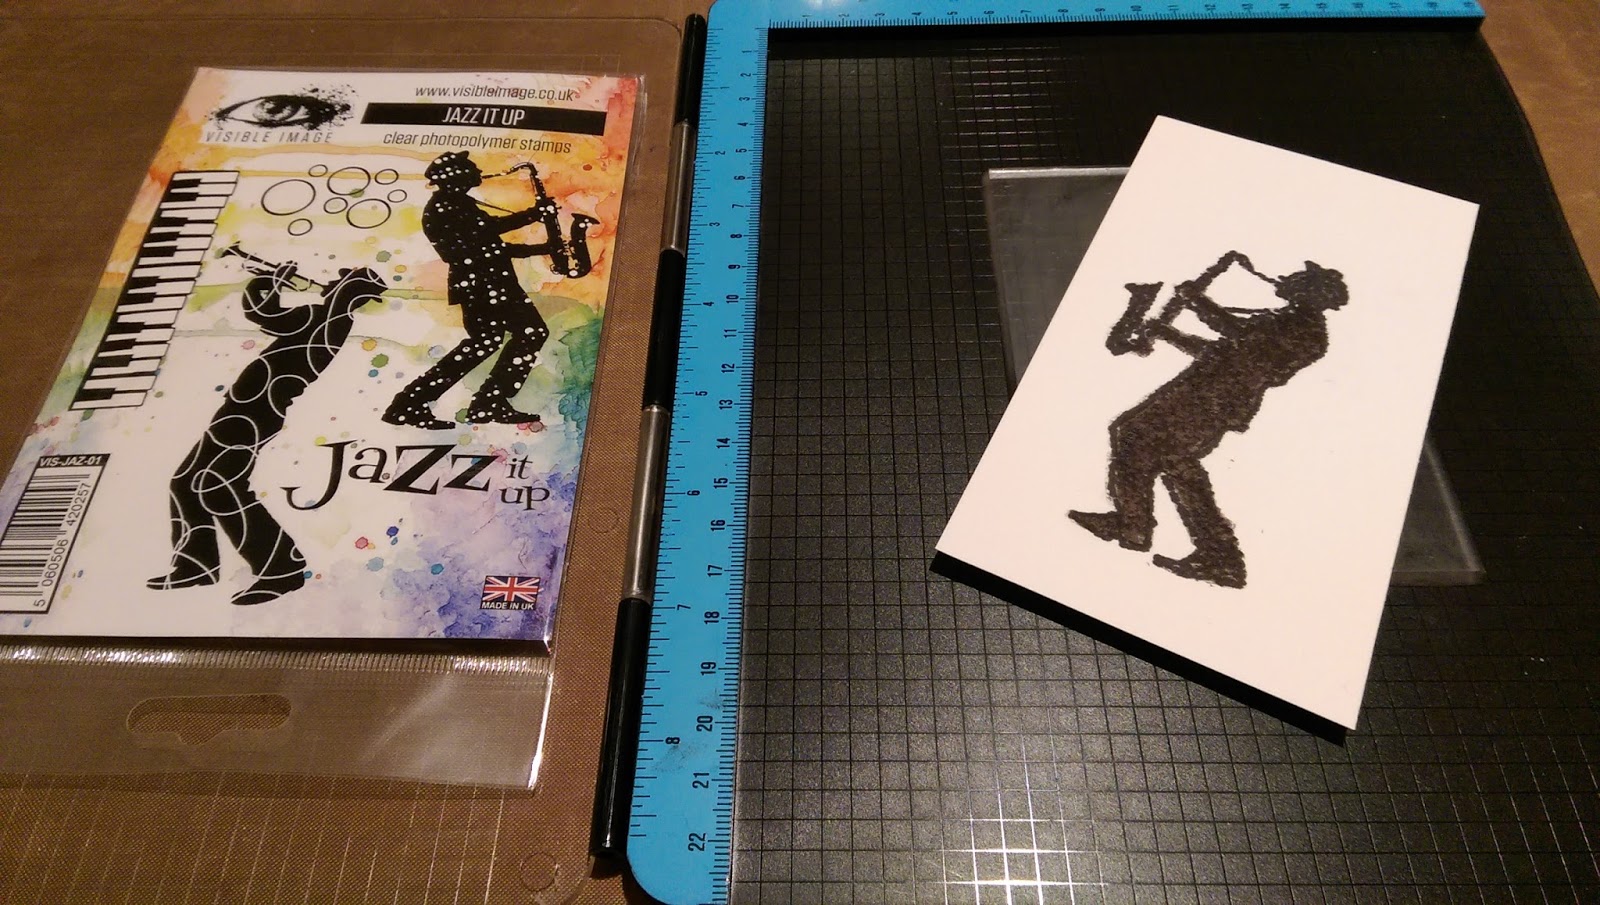
I achieved this after a little practise as you need to get used to how much ink you need to apply to your stamp and how much pressure to apply also. Different makes of stamps will vary when using this technique I think. For instance, Visible Image stamps are firm, deeply etched stamps packed with detail and my reversed image came out more solid with less detail but I was really happy with this result as on my card topper I used clear embossing powder on the wet ink to match the prevously embossed image on my card.

As you can see the left image is slightly distressed, which is how it is meant to look and the right image is more solid but it worked and achieved the result I wanted, which I was happy about.
I have to say.... with hindsight I would have stamped and embossed first and inked after, purely to ensure I got the position correct on my card as it was a case of luck of judgement to line it up after I had made the background and stamped the first image.

On some more watercolour card I had left over I heat embossed the piano keys with black embossing powder in one long strip to form the border on the card. Using the rest of stamps with Versafine black ink around the saxophanists. I also decoupaged the saxophones for a bit of dimension on the card.

For the inside of the card I used a selection of stamps from the Visible Image Jazz it Up & Music On, World Off set and a free sentiment stamp set from the November issue of the Papercraft Essentuals magazine.

One personalised verse for the card done.
Happy Crafting

1 comment:
Brilliant card and fabulous technique-love the keyboard border stamp
Carol x
Post a Comment