These are my offering for this months Anything Goes swap. For the ATCs, I decided to theme mine "Burlesque - keep your cards close to your heart". I went for sassy this month.
They were a lot of fun to make. I had an idea and just went with it. I used two stamps on these cards. The I Love Lace background stamp by Stamping Up and the Torn Fishnets by Visible Image.
First I heat embossed the Stamping Up I love Lace stamp onto a piece of burgundy card stock I had. I did the same with the Visible Image Torn Fishnets stamp onto some black card.
I made a template of how I wanted the corset to look and fit on the card and then used it to cut around my stamped black card.
I scored the edge of the corset so that I could stick it to the lace panel card. Before doing this I used the smallest hole on my punch to to make the holes on the corset. Then I used a silky black embroidery thread to thread it. After that I stuck the corset to the lace panel to make sure it fit properly. ( I used red liner tap on the tabs) Once stuck I used a tacky pva based glue like cosmic shimmer to glue my laced corset panel to the black card.
I added a black organza bow (made on my bow maker) to the front of the corset and some tiny Queen of Spades playing cards I sourced online across what would be the cleavage (these have been backed with red pearlescent paper).I used a little velvet adhesive lace to finish them off.
I hope you like my creation.
These are my inchies for this month. I've decided they are Christmas stars.
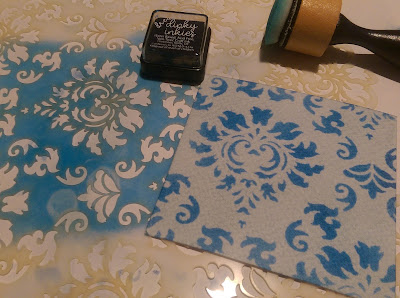
I used a pale blue The Dreamees dinky inky on some watercolour card and then inked through an Anna Marie stencil using The Dreamees navy dinky inky.
I then cut my inchies into 6 x 1 inch squares and stamped a little script star stamp onto the squares and heat embossed with silver metallic embossing powder.
I threaded a bell and some silver twine through the square, also adding the acetate star. I finished it of with some tiny metallic gems.
I hope you like my creation
Happy Crafting


No comments:
Post a Comment